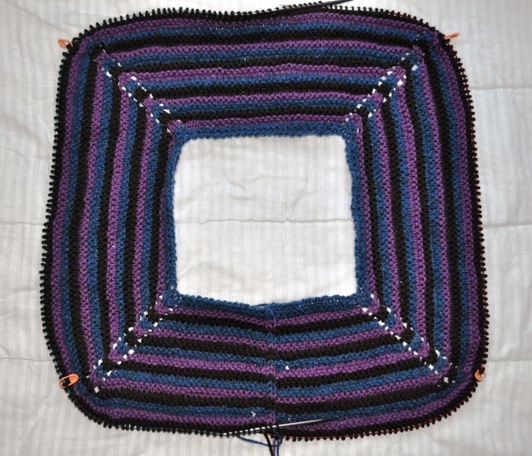
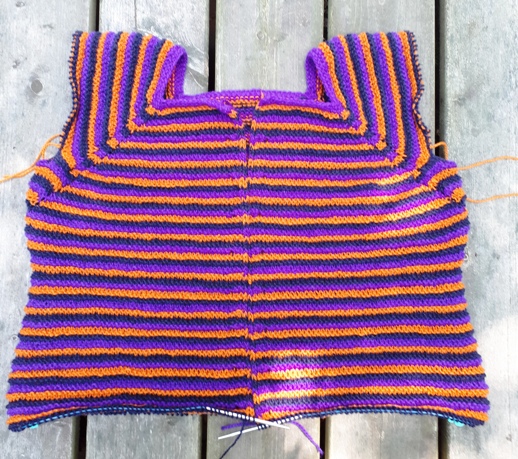
That’s what I’m asking myself as I knit the Top Down yoke of my 3×3 cardigan. How much ease do I want to add to this one? I’m working on an Any Gauge Raglan Cardigan where I get to make the decision for how much ease to add to the body of my sweater. All my decision. When I work the Divide Row I’m going to add the ease (extra stitches added at the underarm to make the sweater several inches bigger than my actual body at the bust). But how much?
Have you ever measured all your sweaters to see what size you really love to wear? Try this. Get out your measuring tape and measure around your bust, then around the chest of different garments. Look at the difference in the measurements. I bet you regularly wear garments with a wide range of ease: positive ease ( garment is larger than your actual bust measurement) and negative ease (smaller than your bust measurement).
There are charts for this. Here is one from the Craft Yarn Council.

I usually knit to the Classic Fit with 3″ of ease. But … I’m starting to rethink this.
Here are some sweaters with various amounts of positive ease. Sweaters worn by me and my daughter who is several sizes smaller. Here we go.
A wool sweater from the Need A Cicular Yoke book by Cabin Fever, in Tuffy wool by Briggs and Little. It’s an Aran weight (Heavy Worsted) knit at a gauge of 16 sts = 4″.
Left: My sweater with +3″ of ease. Right: Morgan with +7.5″ of ease. I love this sweater and wear it all the time. Morgan liked the fit of this one, really comfortable. The waist shaping really makes this sweater work for both of us. On Morgan the sleeves are too big and it is 2-3″ too short but we would both happily wear this.
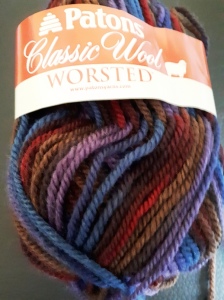
Now let’s go to a heavier weight of yarn. Any Gauge Raglan Pullover in Rowan Chunky Tweed knit to a gauge of 12 sts = 4″.
Left: Me with +5″ of ease. Right: Morgan with +9.5″ of ease. I find this sweater really comfy and could even have gone with more hip ease but Morgan said it was too sloppy for her. If I was knitting this for her I would fill in the neck to make it smaller which would make it look and feel like a better fit. This one is long enough, with nice long sleeves.
Three more to go. Any Gauge Raglan Pullover for a vest in Worsted Weight wool by Dragon Strings, knit at a gauge of 20 sts = 4″.
Left: Me with +1″ of positive ease. Left: Morgan +5.5″ positive ease. I have always found this vest slightly uncomfortable and now I know why. One inch of ease feels a little tight, especially over a top. I can block it slightly bigger so I will wear it more often. Morgan thought this fit nicely on both of us.
My favourite. Any Gauge Raglan Pullover in Solid Sock by Mineville Wool Project. knit at a gauge of 24 sts = 4″.
Left: Me with +1″ of ease. Right: Morgan with +5.5″ of ease. I think this one works for both of us. I might block mine slightly bigger for comfort. Because it’s a light weight sweater with A-line shaping and a tunic length it works for two different sizes and figures.
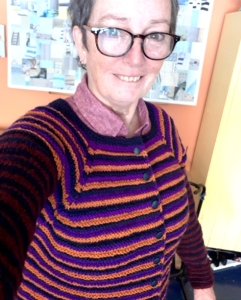
Last One. Any Gauge Cardigan in various canadian wools knit at 18 sts = 4″.
Left: Me with +5″ of ease. Right: Morgan with +9.5″ of ease. This is a really comfortable amount of ease for me but is huge on Morgan. It’s a stiffish fabric that doesn’t mold to a smaller frame.
My conclusions are:
- For a firm knits with heavier yarns 3-6″ of ease seems to work really well. The sweater is going to hold it’s own shape. I would make sure there is waist and hip shaping to give the sweater a curvy look.
- For a sweater knit in medium weights of yarn producing a nice soft fabric, the Classic Fit of 2-4″ of ease works really well. More ease coupled with a longer length would also work.
- A finer fingering (sock) weight sweater can look great with any amount of ease from 1″ to as much as 7″ or maybe more. A sweater with a nice drape and A-line shaping in a longer tunic length can be knit with lots of ease and still not look over-sized.
What has your experience of ease been? Do you have a favourite amount of ease that works for you? Were you astonished by the range of ease in the garments you regularly wear?
I can’t wait to hear from you,
Deb
Any Gauge and GAUGE-FREE patterns by Deb
Cabin Fever Books and Patterns
Deb on instagram


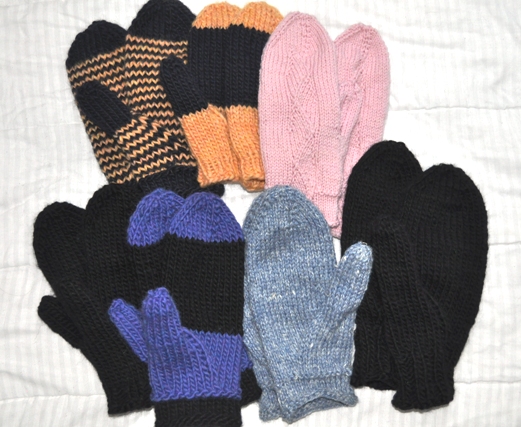
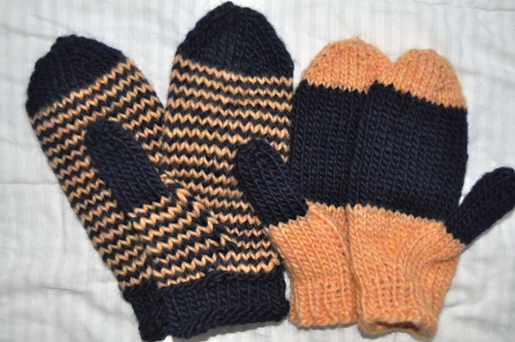

 Here’s a tip: For the Right Hand you work the Palm first and the Back of Hand second. For the Left Hand you knit across the Back of Hand first and then the Palm. Now you can add any pattern you like to the Back of Hand. I’m sure you have a couple of favourites that would fit nicely.
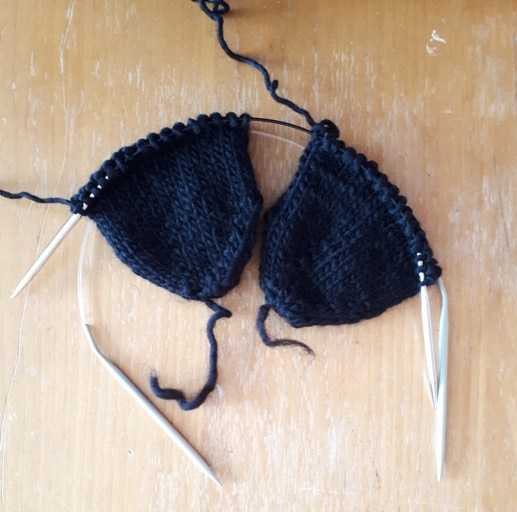
 It sort of worked. There was a lot of clacking of needle tips above my knees but that’s sort of music to my ears.
 The next pair I knit I had a correct circular needle for Magic Loop method (still rather new to me) but no problems this time (worsted weight).