I am right in the middle of choosing patterns. Maybe this one, maybe that. Do you love doing this?
It’s amazing how much time I can spend deciding and undeciding (is that a word?). One little voice is saying ‘make up your mind’, another voice is saying ‘let’s look at one more ravelry page’. I also scan my library of patterns over and over. I downloaded those patterns for a good reason, at least I thought so at the time.
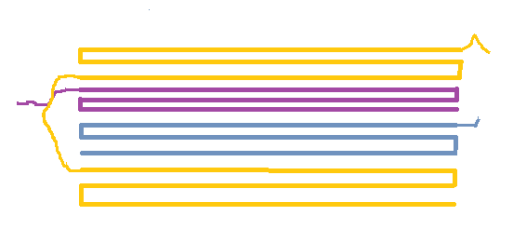
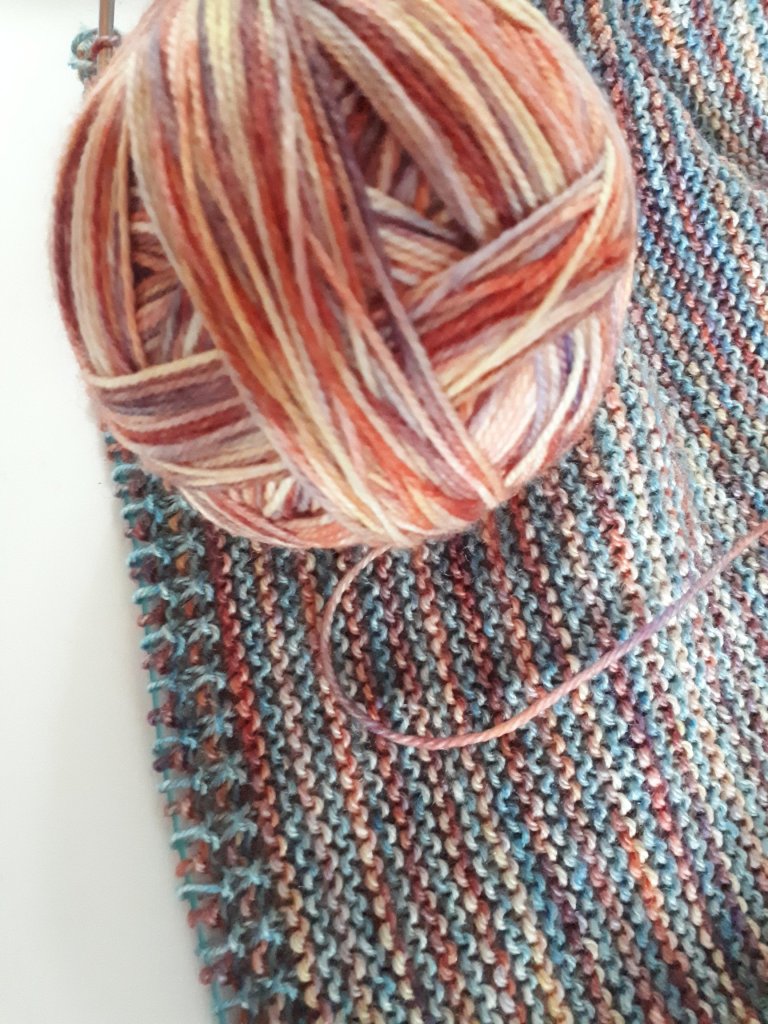
This one is from my library. I do love a long project. I am knitting the Polaris Wrap by Veera Valimaki as a blanket. I belong to the Rustic Heather Sport Club by Lichen and Lace, where I get 2 50g skeins of rustic sports wool every month. I am going to knit the blanket out of my club wool. It will be bigger than the wrap because I’m jumping from fingering (pattern) to sports weight (my wool) and a much bigger needle. I think it will make a great blanket.
Looking good so far don’t you think, ha, ha.

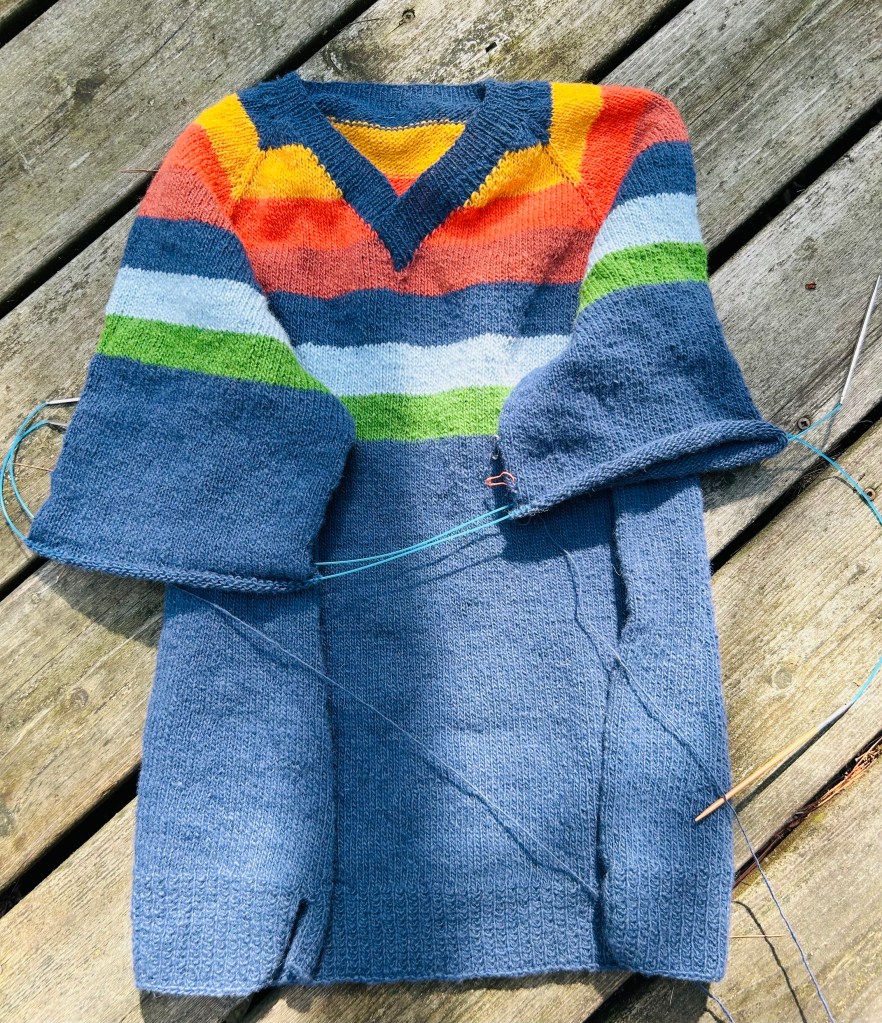
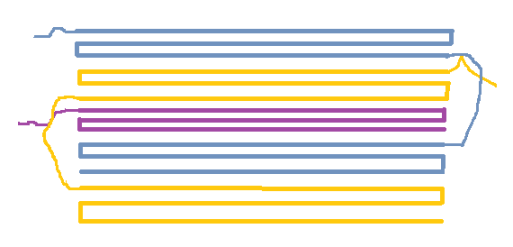
Next I cast on Romi Hill‘s Winter’s Finery shawl, again in the Rustic Sport wool. I am experimenting with what this wool can do.
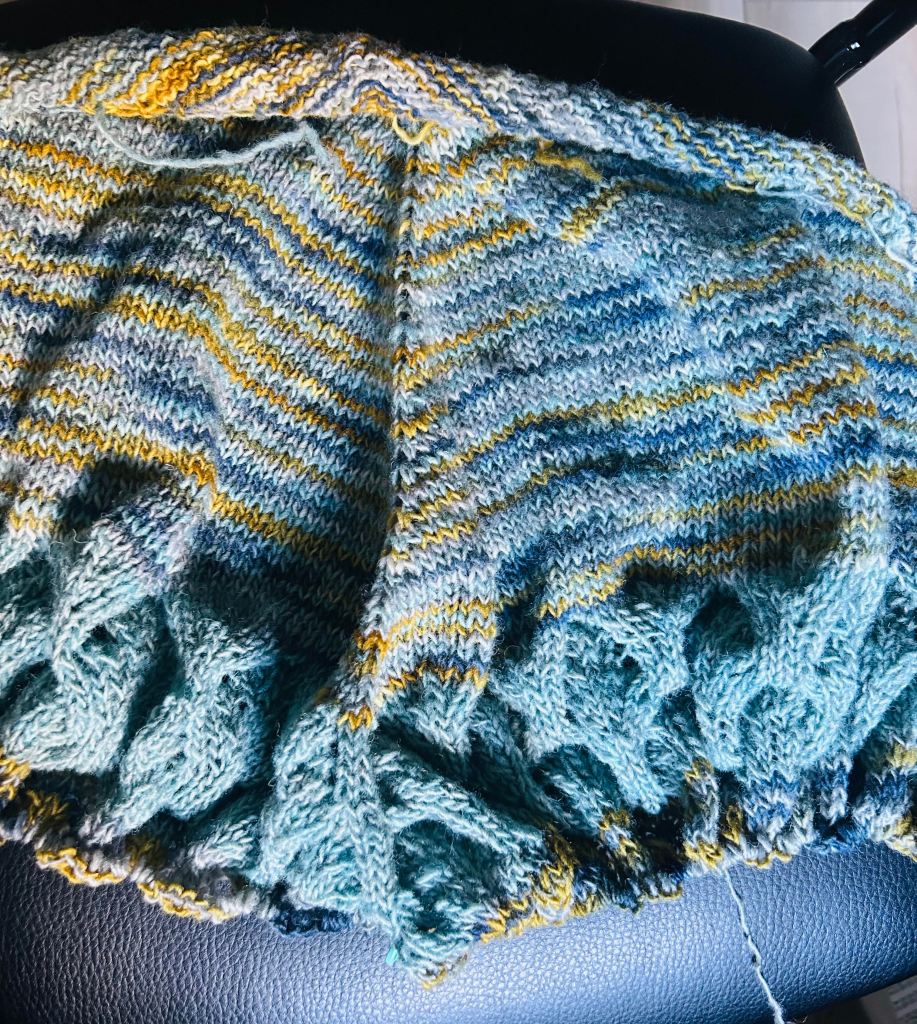
A lace shawl always looks a mess before it comes off the needle. I am very close to being done.
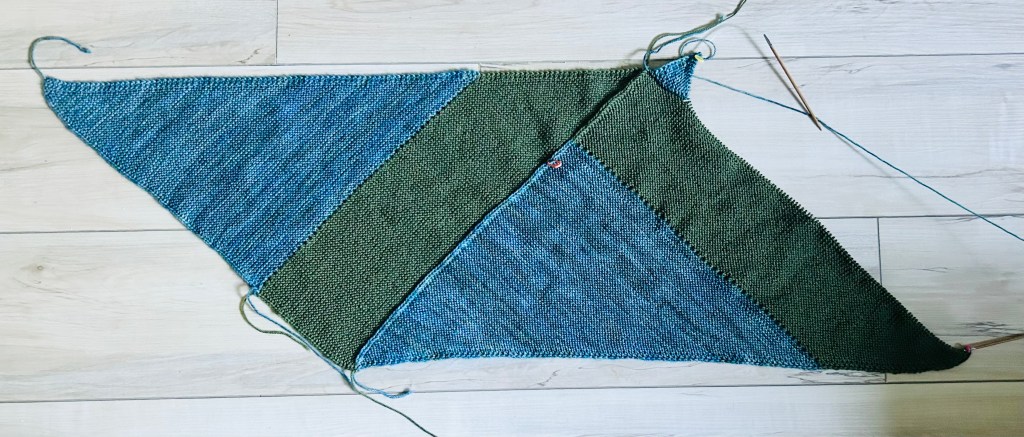
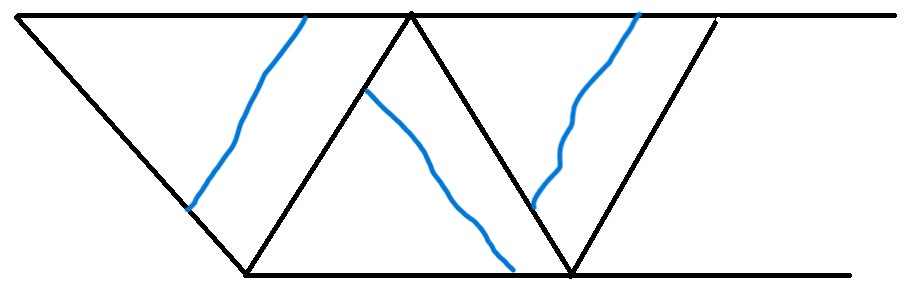
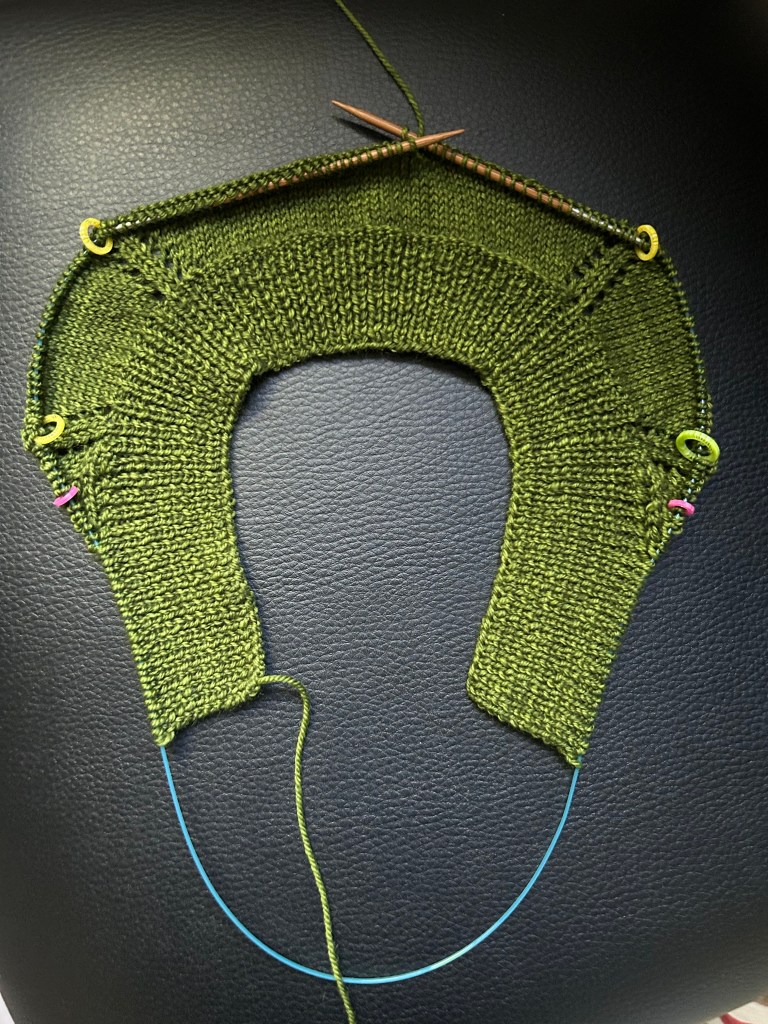
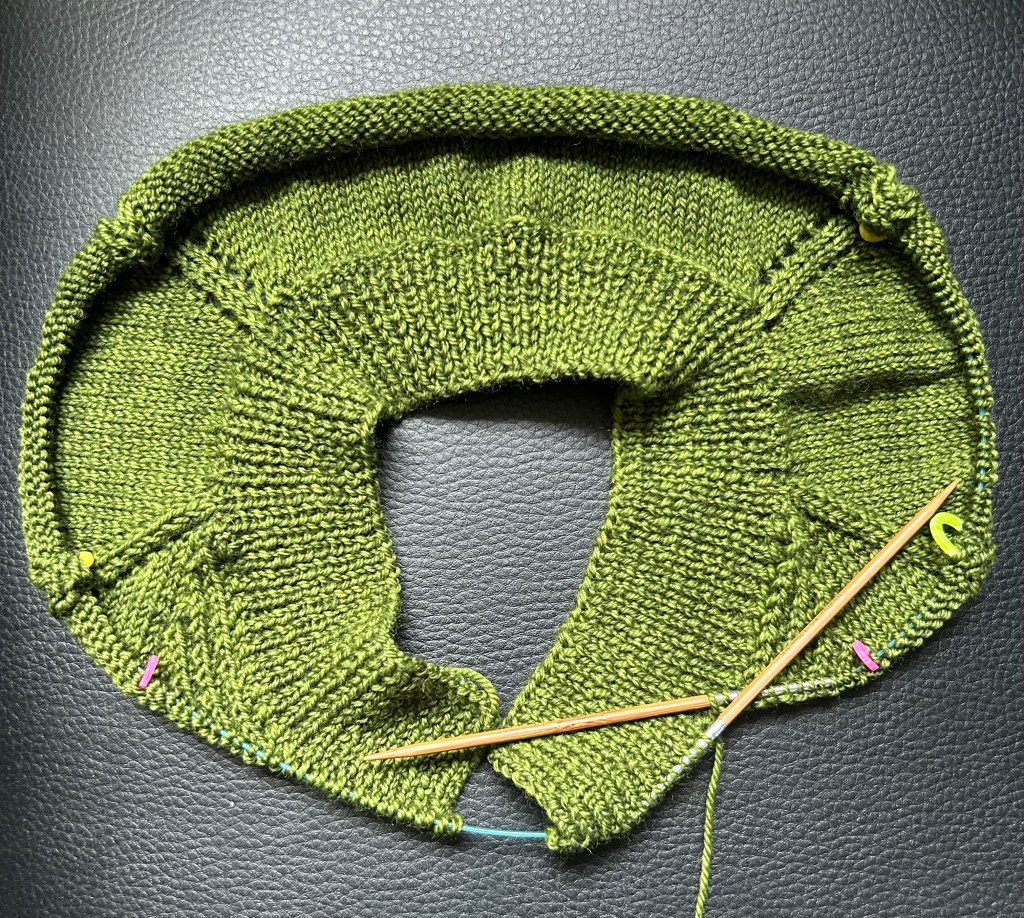
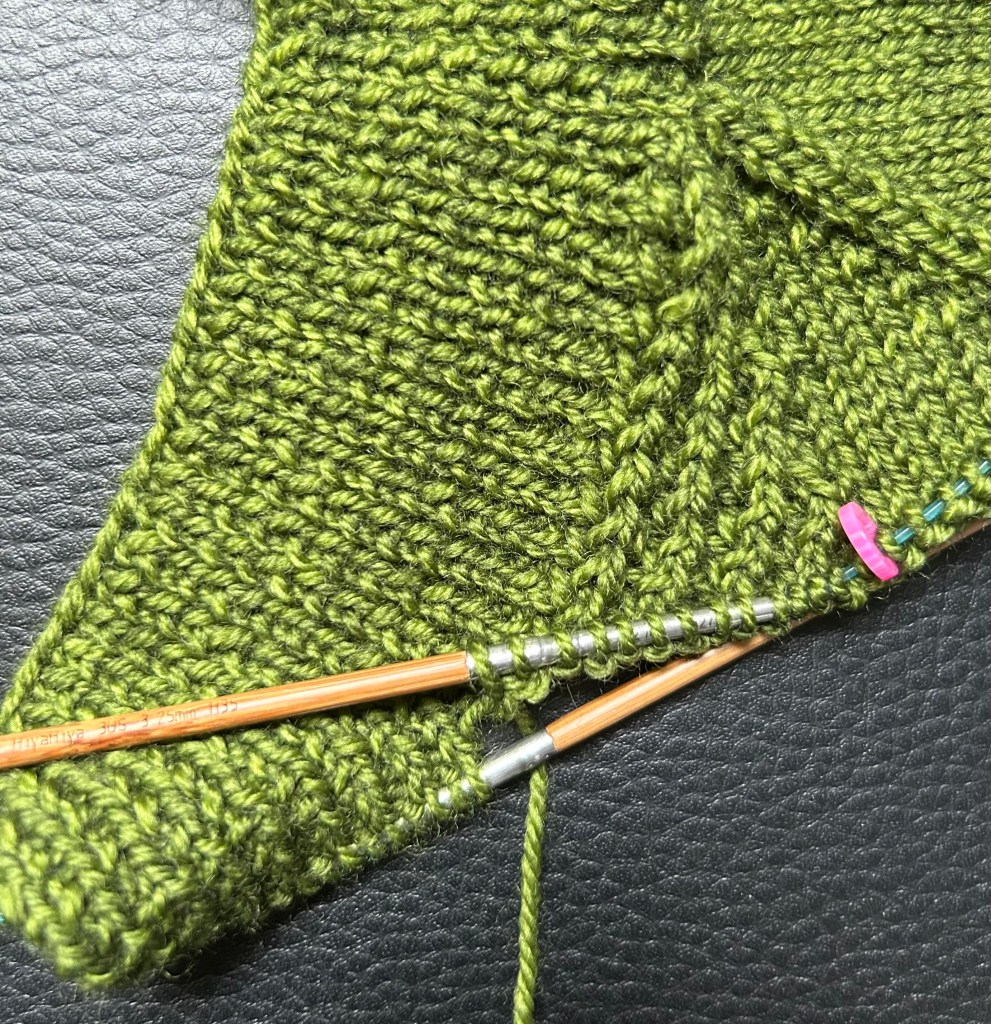
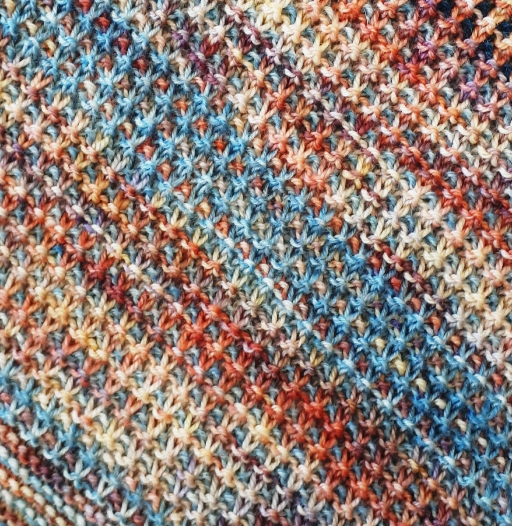
I am also knitting from one of my own workshop instructions: 3 Tier Shawl Workshop. I have taught this do-it-yourself triangular shawl at several retreats. I give you a basic structure and you choose the stitch patterns from a list in the pattern. It starts with the normal tab cast on to knit a triangle shawl with centre increases. Then it breaks into sections where you can work different stitch patterns. It’s tons of fun and I will tell you more about it as I get going.

I have knit several shawls using this pattern. Here’s one of them.

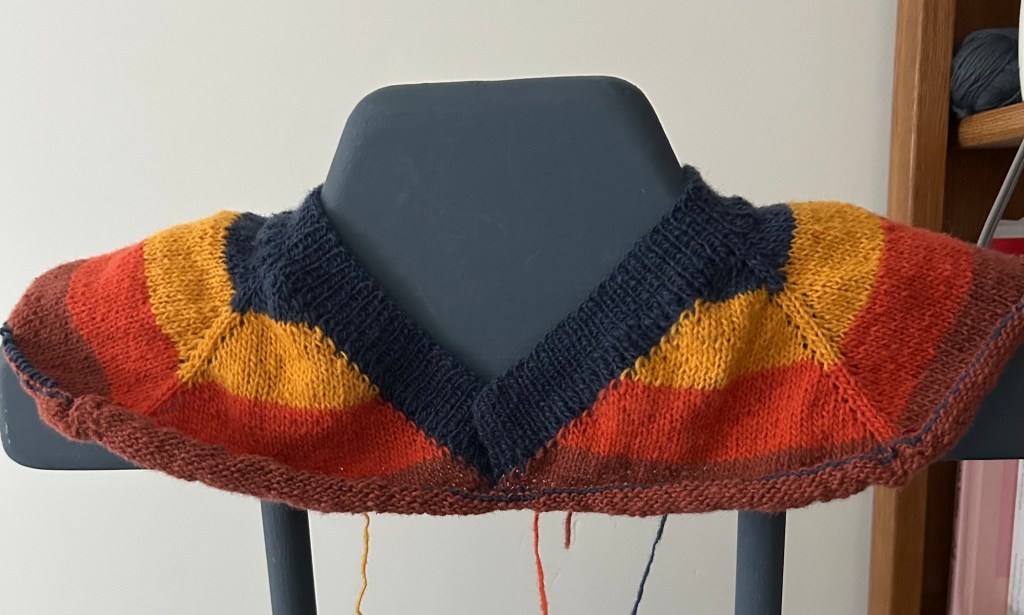
The shawl here is a stockinette based version (wrong side rows are purled). This time I decided to jump on the wool/mohair band wagon and work a garter stitch based version (all wrong side rows are knit) of the same shawl. I’ll post the pattern on ravelry this week. (The title of the workshop pattern might change since ravlery quite often doesn’t like my titles.)
How many is that, 3 so far. One long project, one almost done and one shawl just started.
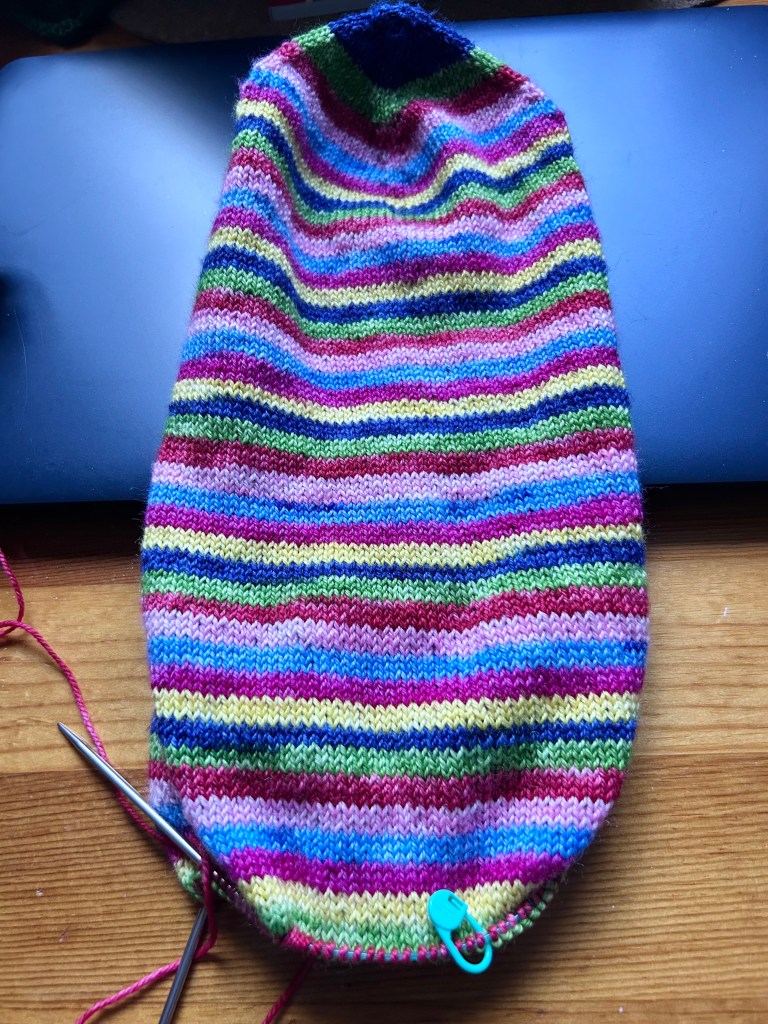
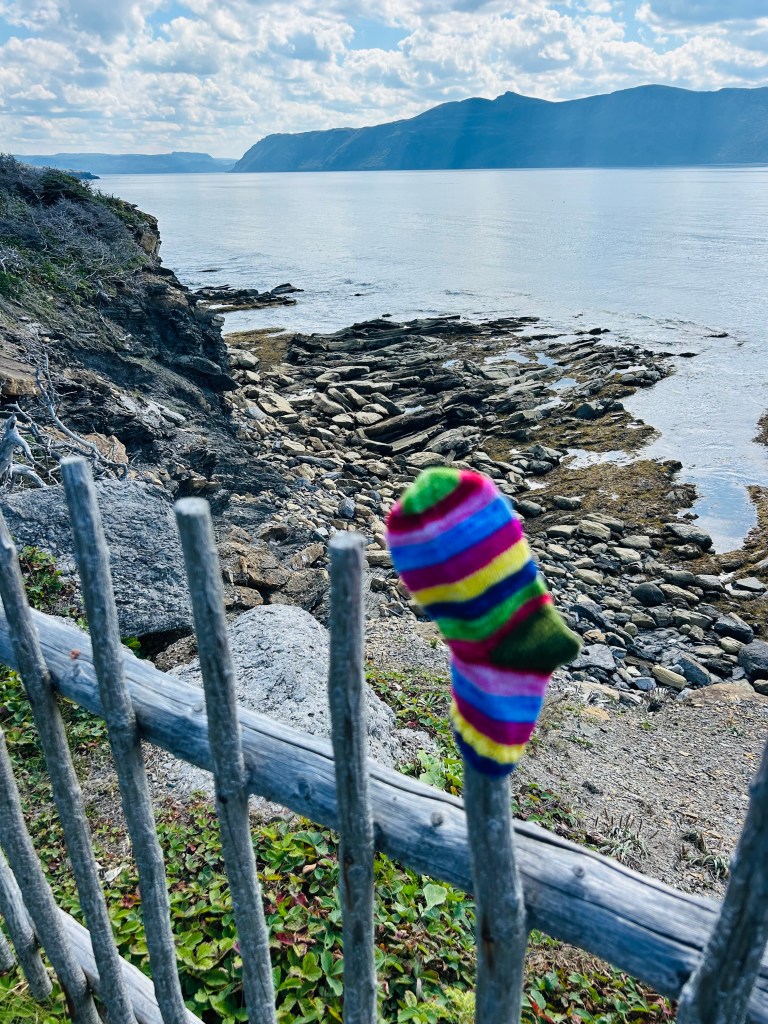
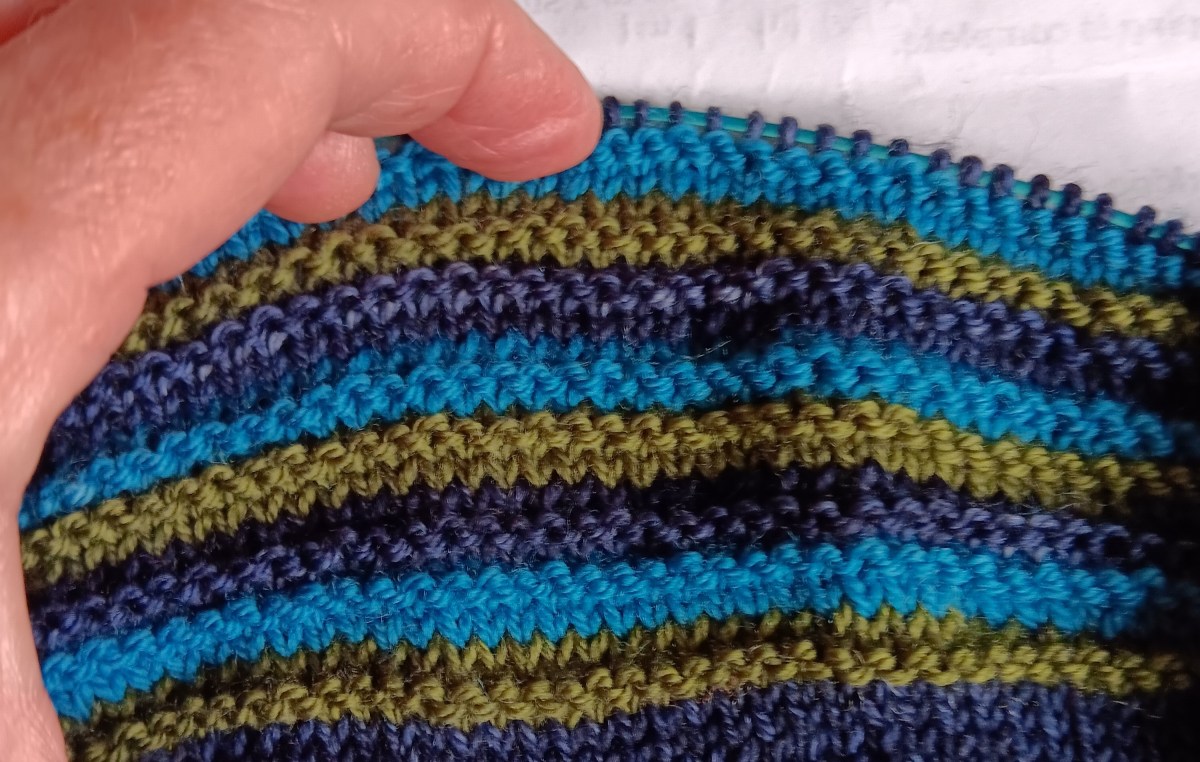
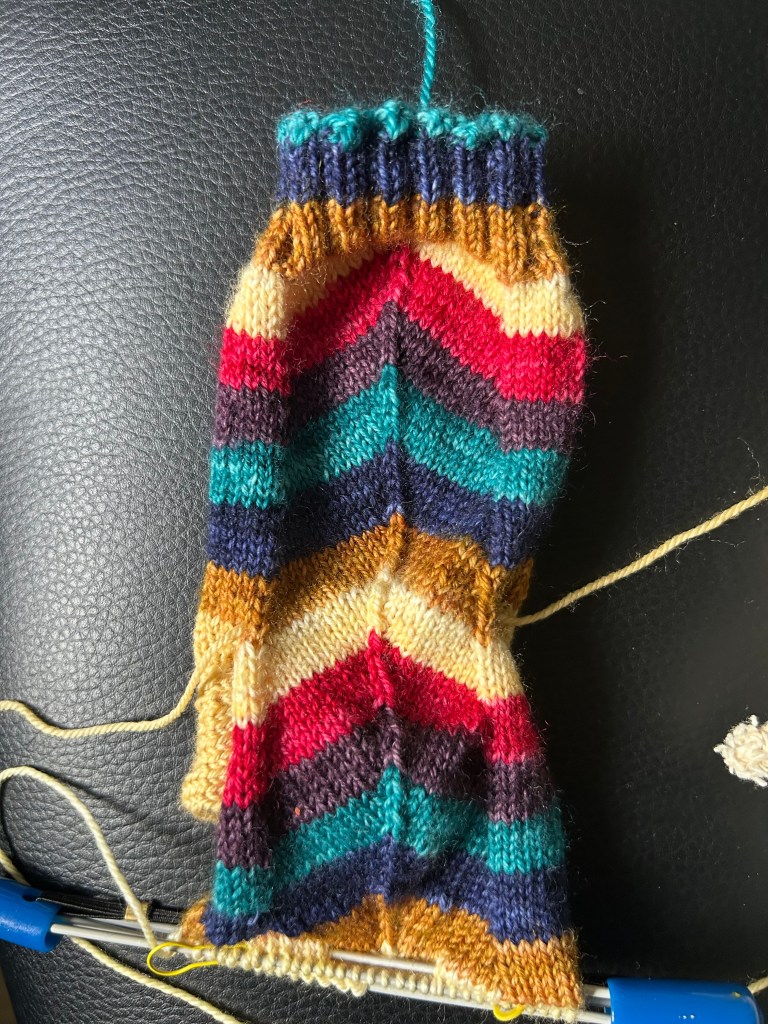
I have a sock on the go, of course. I am trying to see how I can make Timberyarns stripes dance a bit. Nothing too complicated. An increase at either side of the front of the sock and a double decrease in the middle, with a short row heel. Fun to watch the stripes move.

I guess that’s enough to get on with at the moment. I have one more I want to start but nothing on the needles yet.
How about you? Is this Cast On time for you? What is taking your fancy?
Cheers, Deb
Cabin Fever patterns by Deb & Lyn and the cabinfever crew
Any Gauge and Gauge-Free patterns by Deb
Debgemmell 435 on youtube
deb.gemmell on instagram