It’s been a while but I’m going to get in front of a classroom and teach a couple of knitting classes at the Elliot Lake Arts Club in July. I’m really looking forward to it.
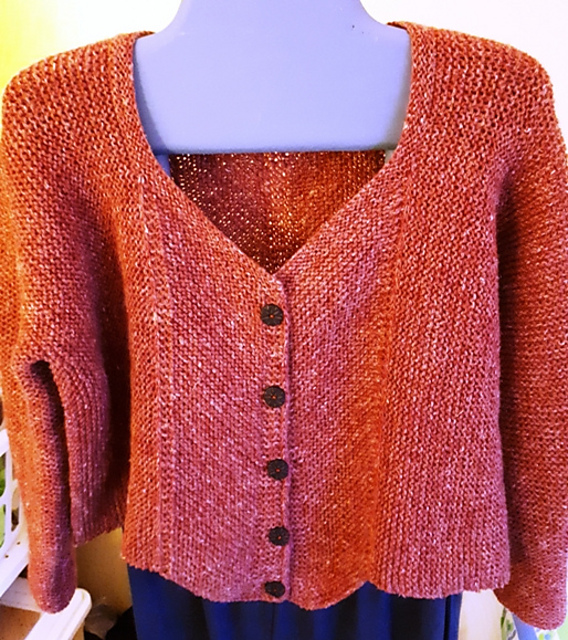
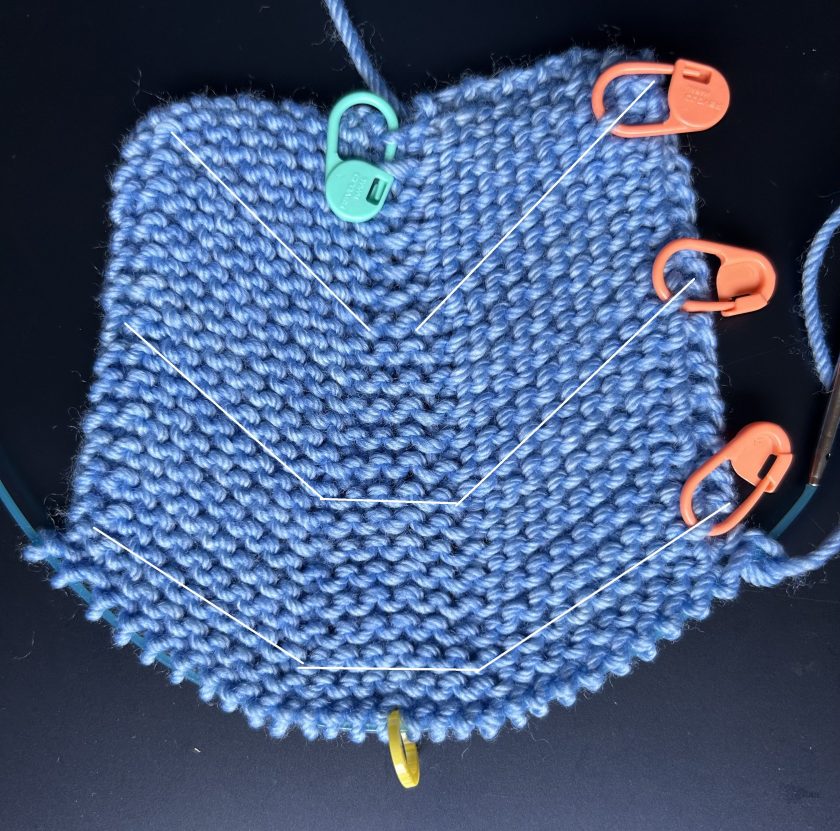
First up will be a Top Down V-Neck class . We’re going to knit a Baby Cardigan Vest with short rows to form the V. I have written out an option for long sleeves too. There will be lots of chat about adding this neckline to any top down raglan pattern and how to make your top down fit your unique body shape. That’s all information I have been working on for quite a long time and am really happy to pay forward.
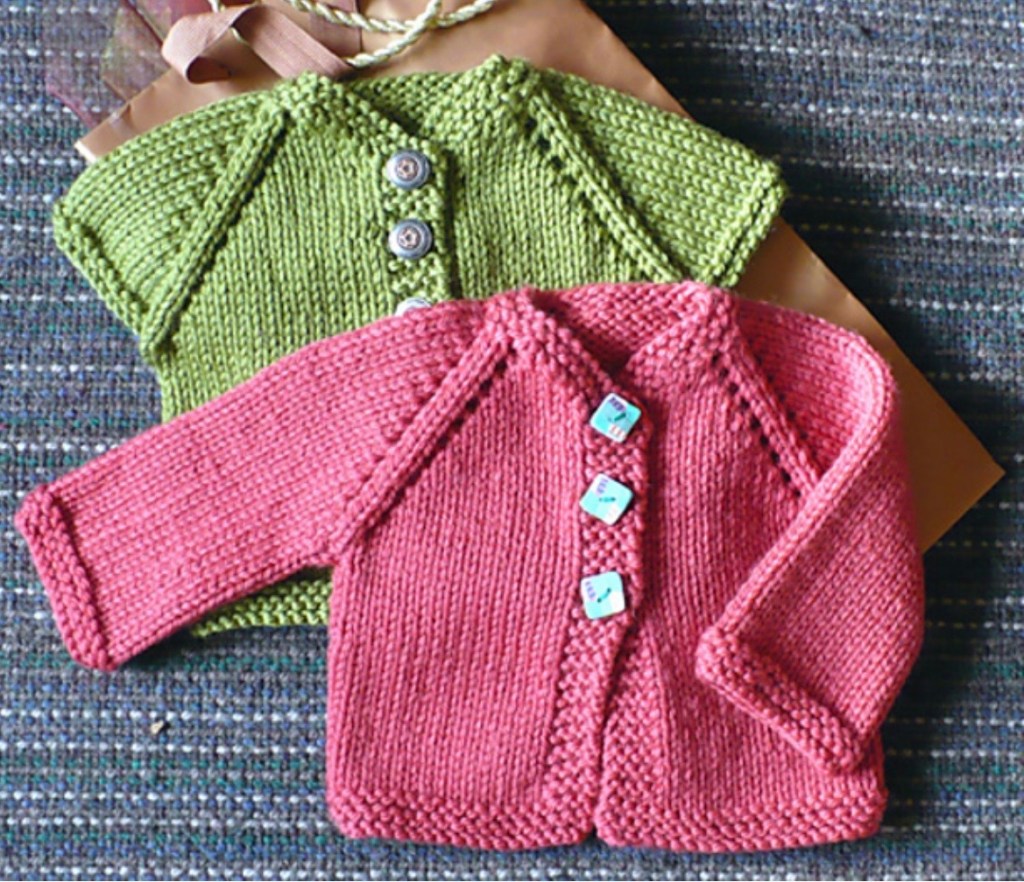
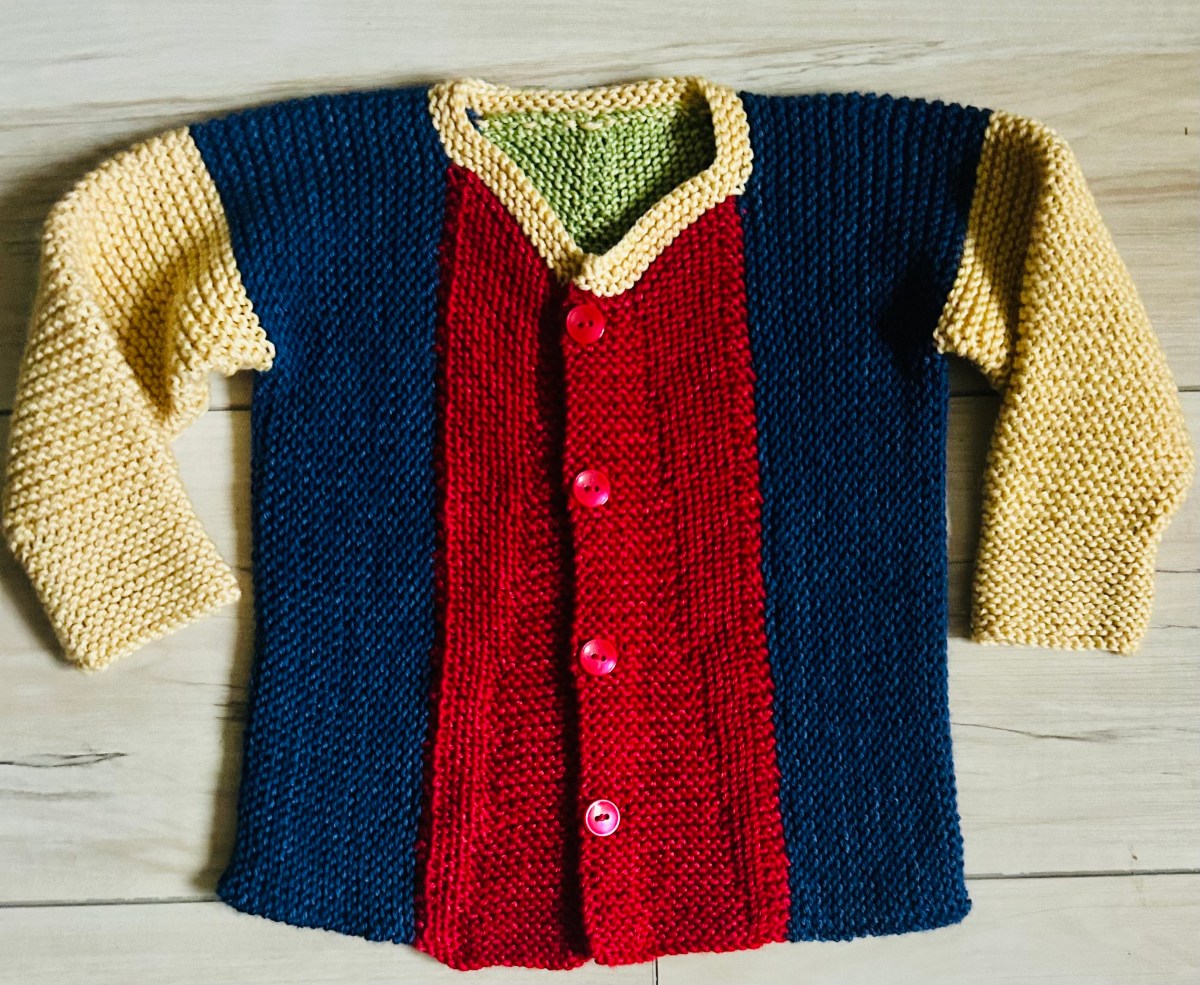
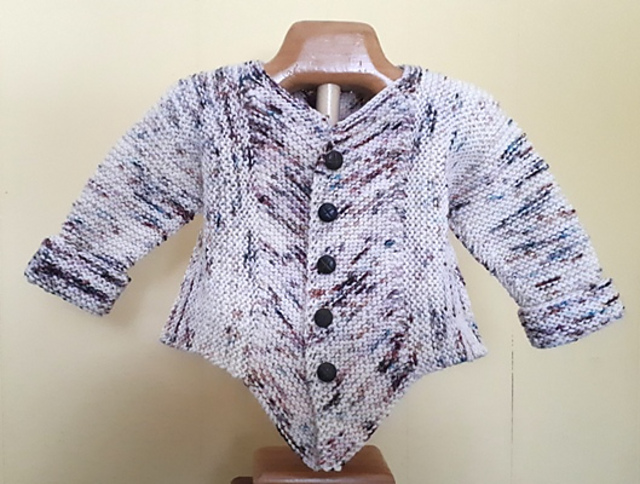
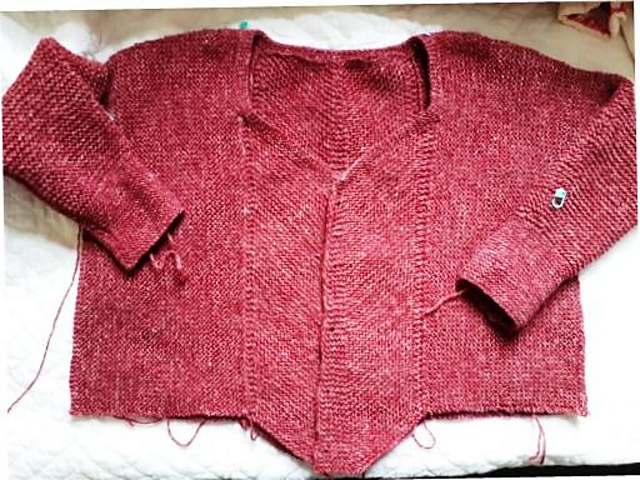
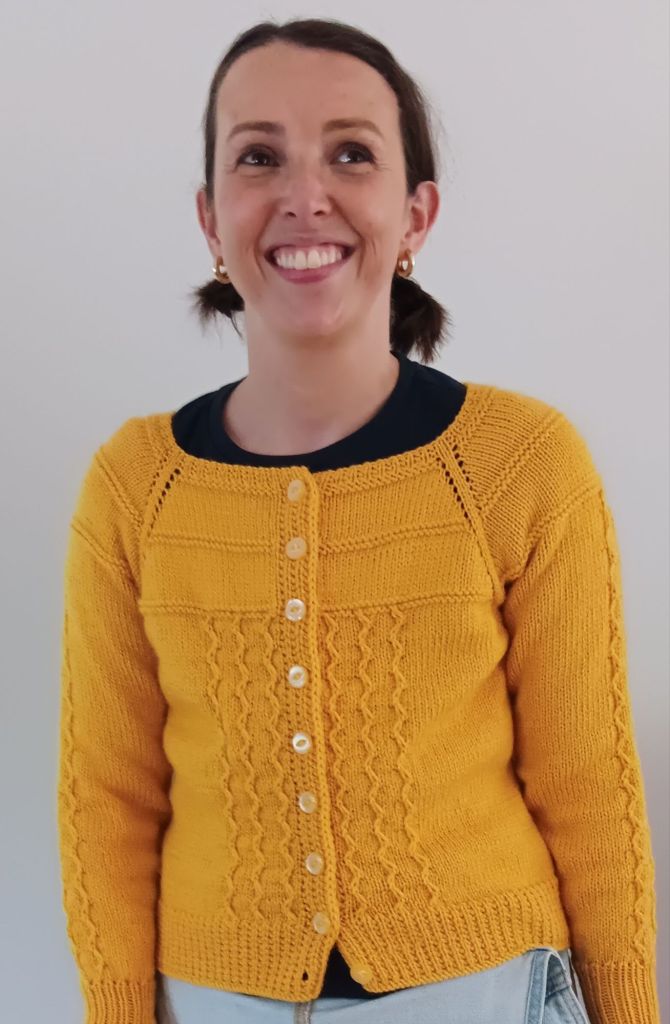
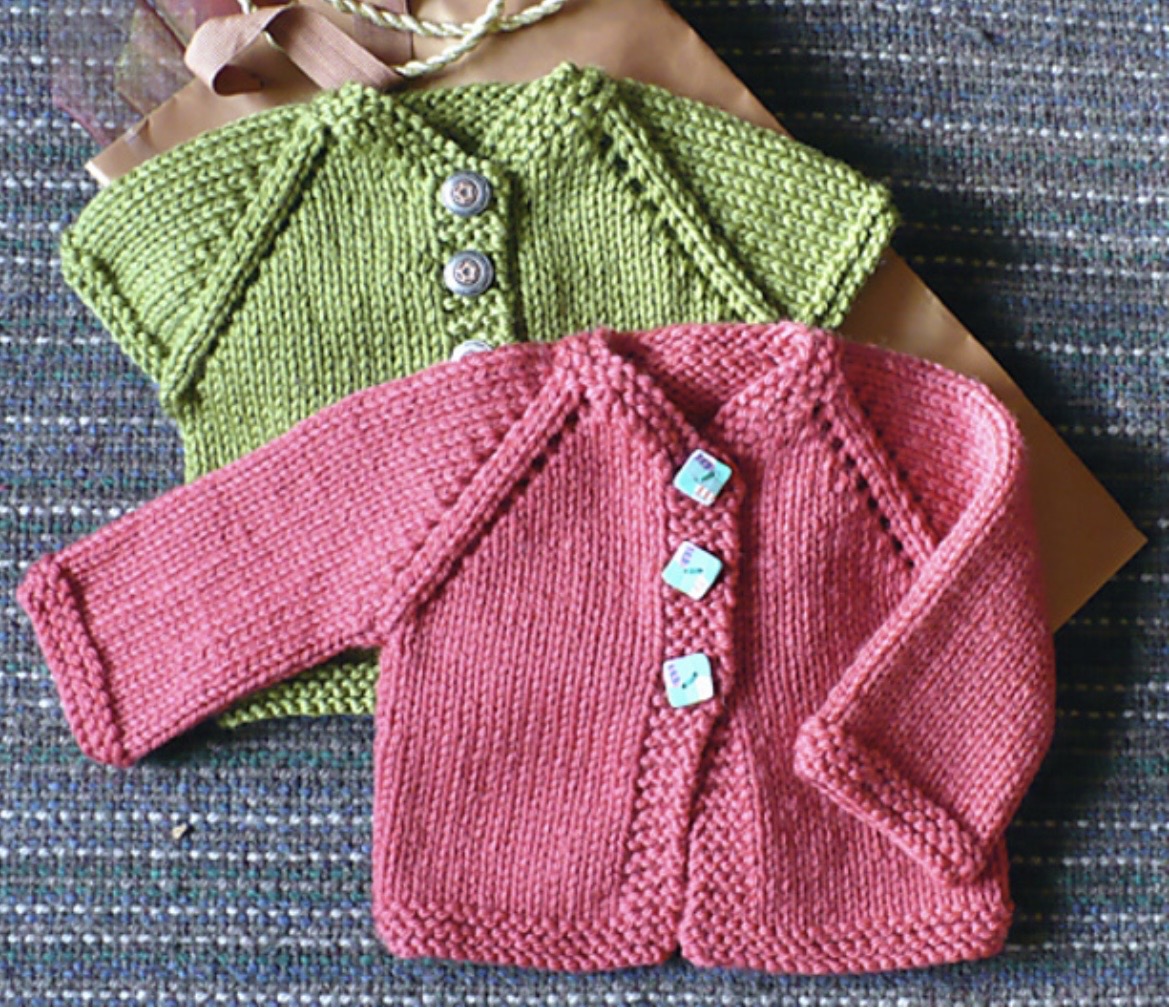
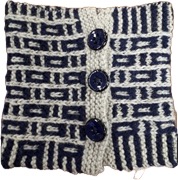
Elliot Lake Arts Club – Baby V-Neck Vest Knitting Workshop over Two Sundays July 5 & 12, 1 – 4pm. You might notice that the little sweaters showing are not V-necks. This is the photo that will shortly be showing.
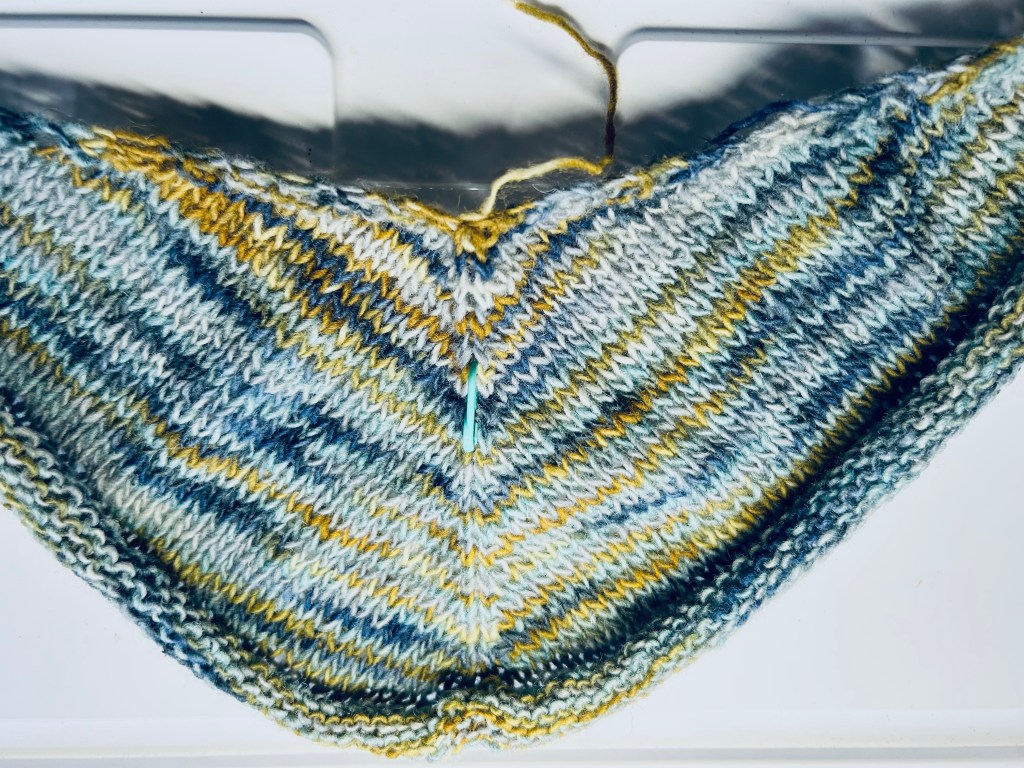
I just finished the DK weight sample for the class. It’s drying outside. I need some buttons and then it will be finished.
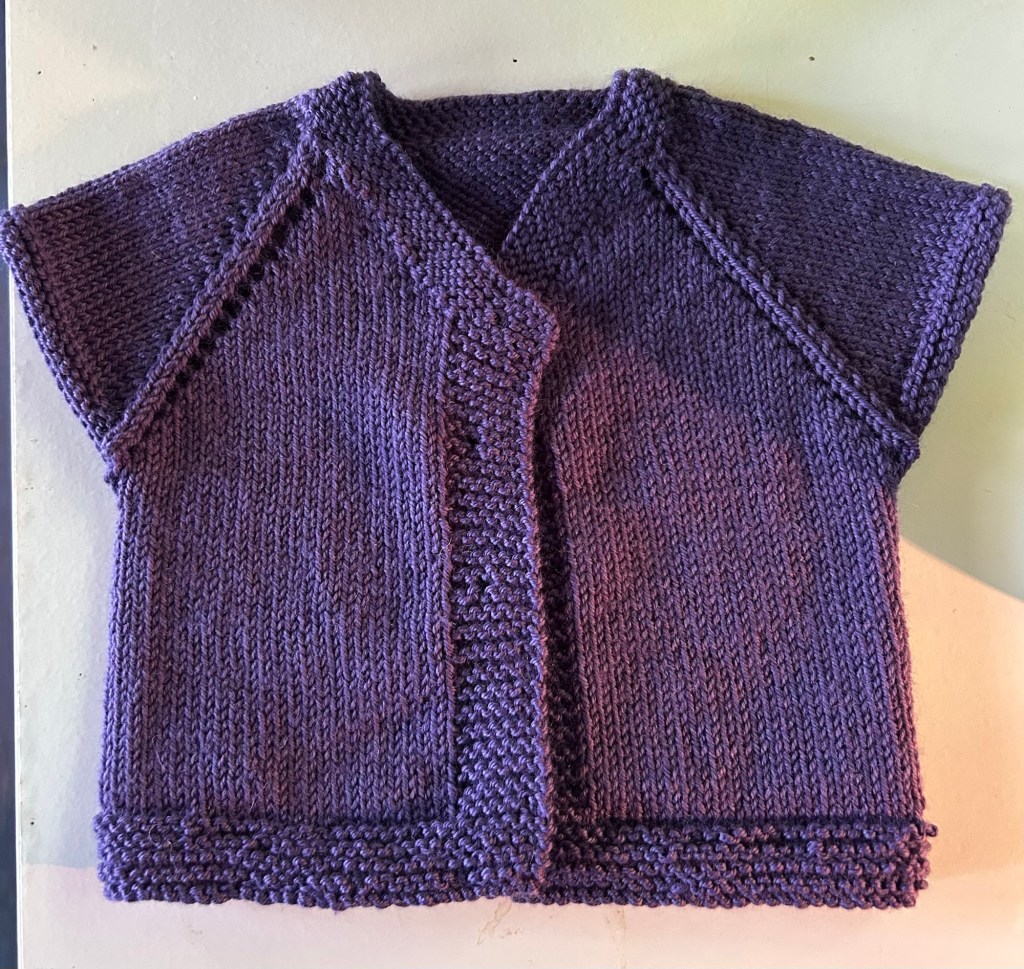
It’s so relaxing to be knitting tiny sweaters!
The second class will be: Knitting Mosaic Cowl Workshop. I love this technique. Colourwork without the stranding! What’s not to like. The class will also be over two Sundays, July 19 & 26, 1-4pm.
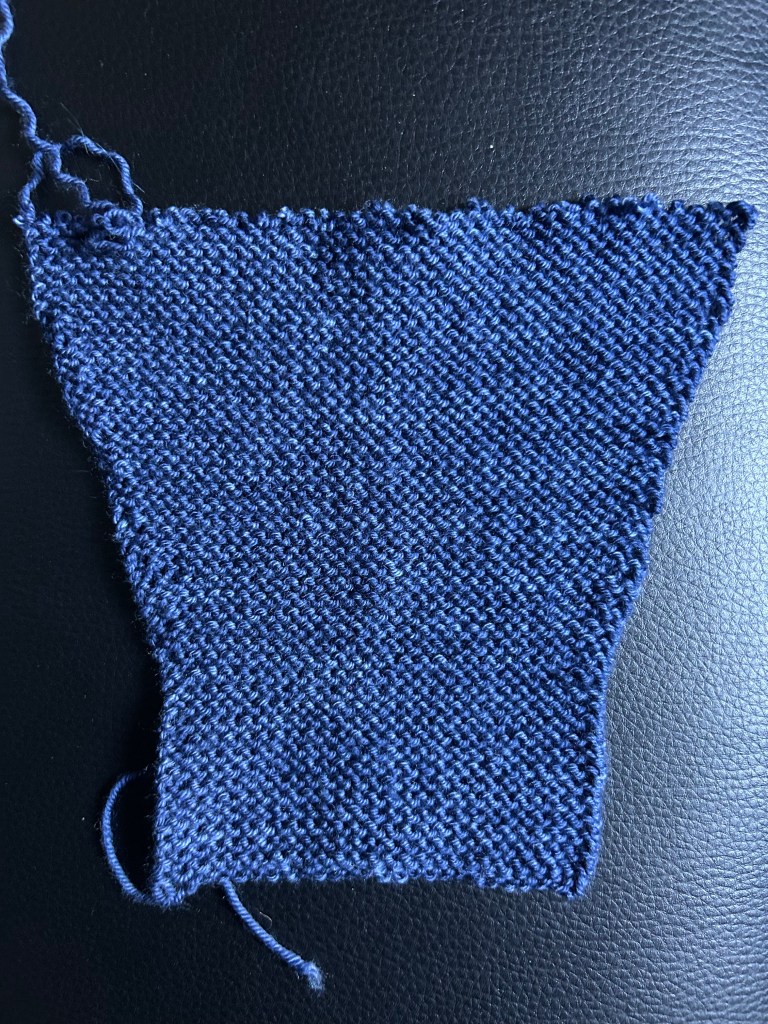
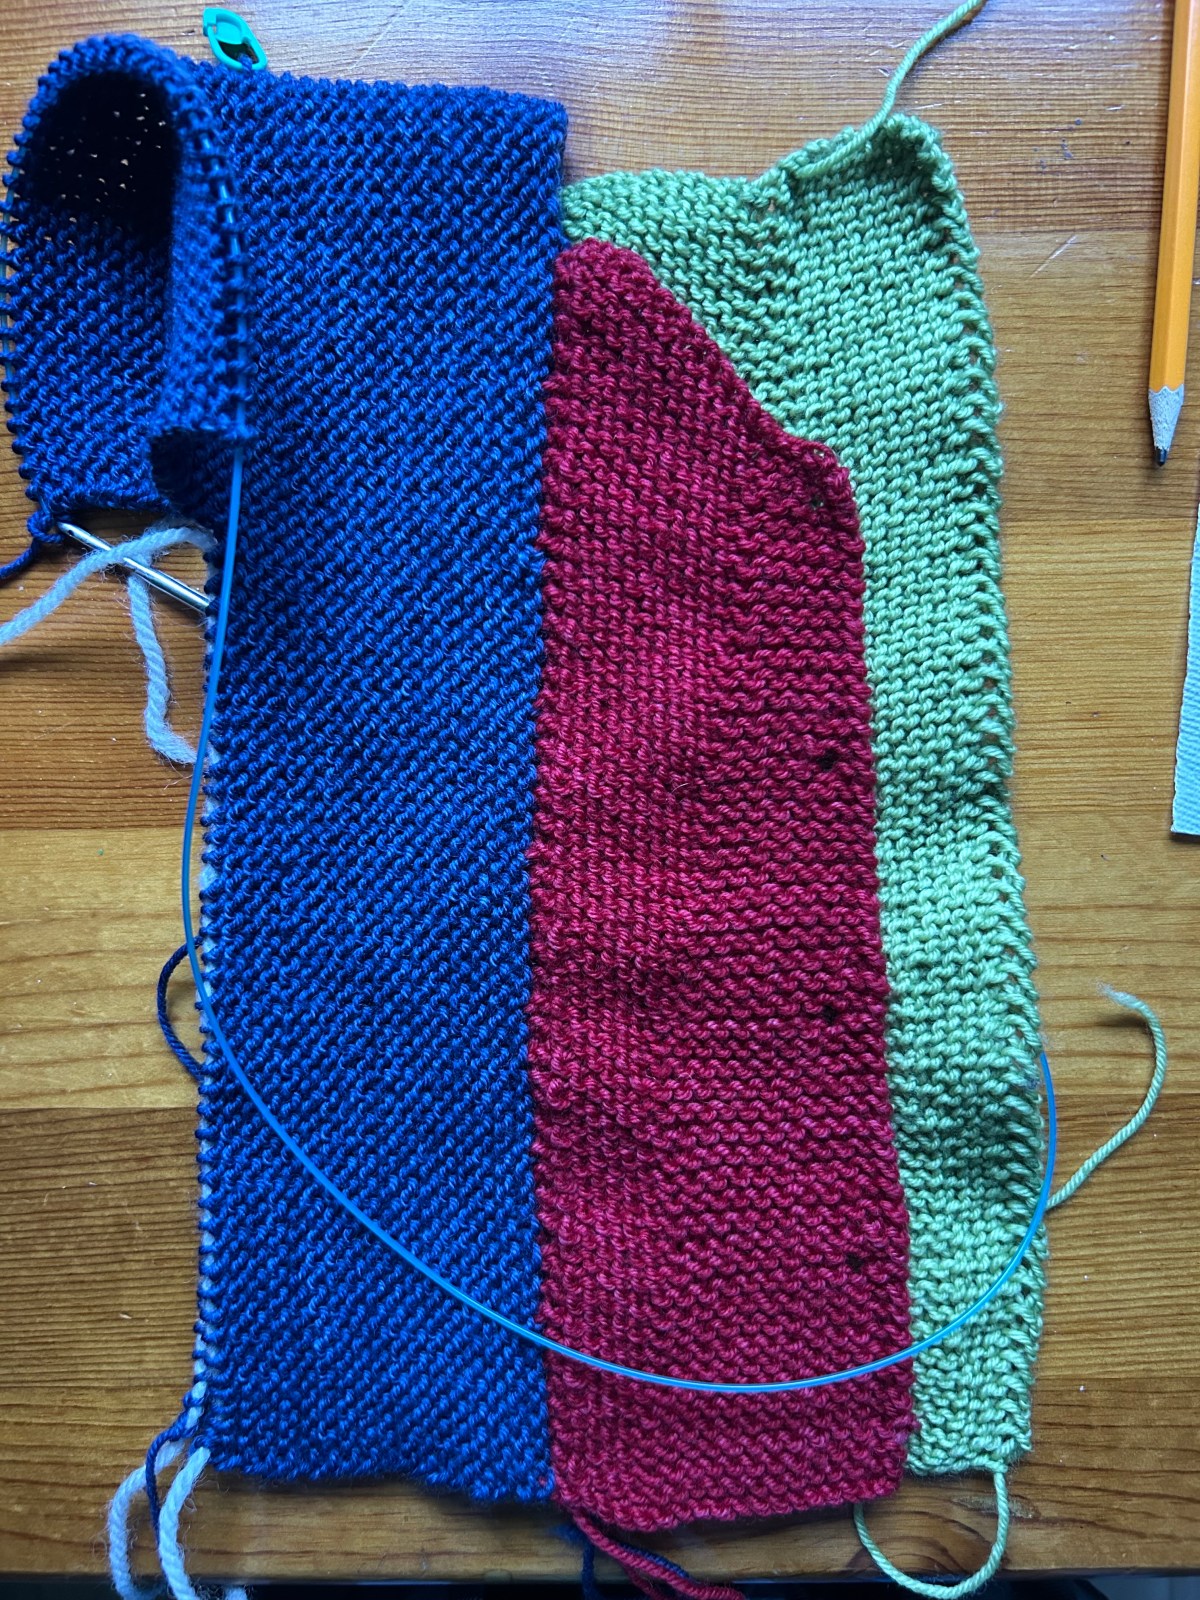
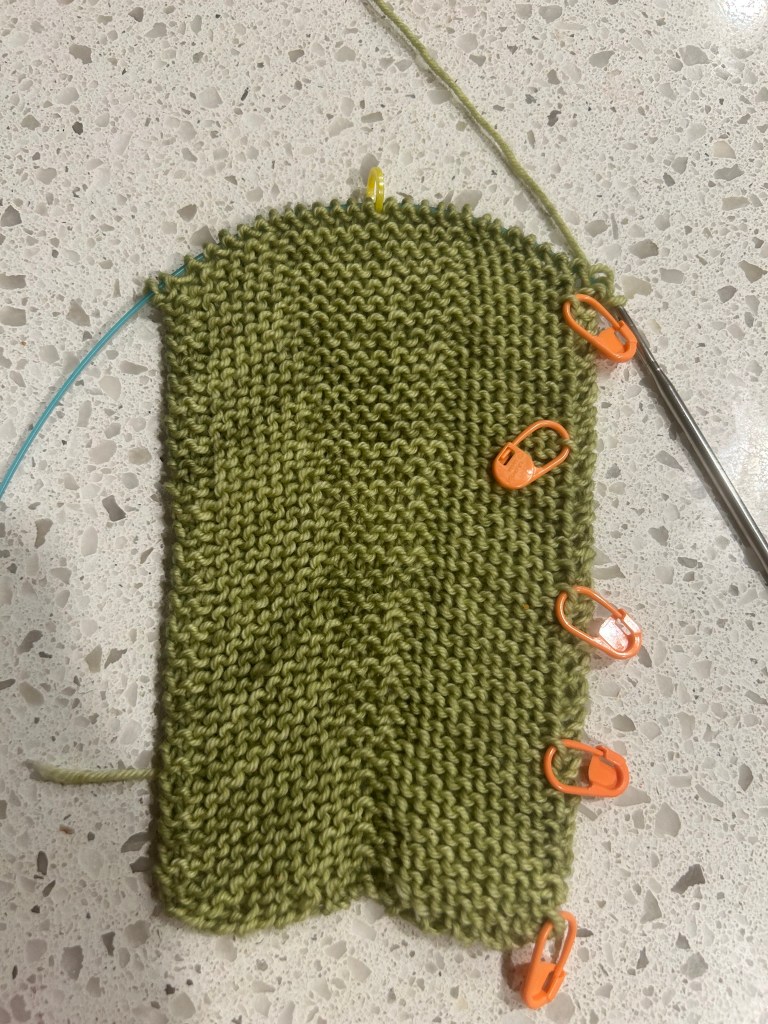
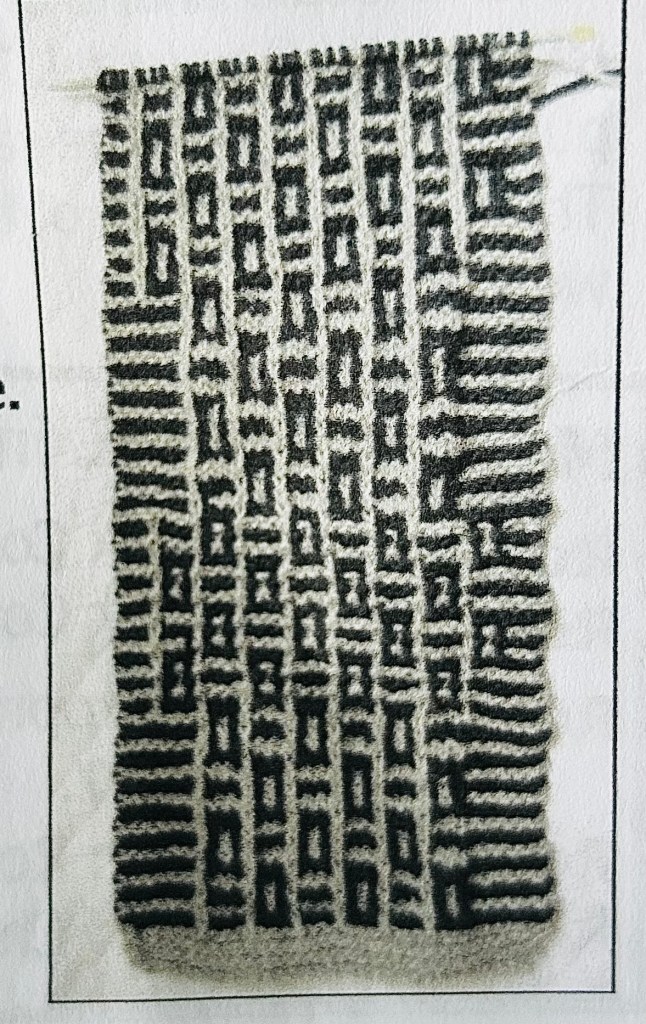
We will knit a strip of mosaic knitting in chunky weight yarn, working first in stockinette stitch, then in garter stitch (my favourite) and then a combination of the two. This is a photo from my class notes. Can you see the mosaic stockinette stitch at the bottom, garter stitch in the middle and the combo at the top?
I will provide both written instructions and charts. I’m going to explain how the charts work because I think they are a much superior way to work mosaic knitting and once you get used to them they are really helpful in working the design. We’ll have lots of time to get the hang of them.
If you are a northern person and within driving distance, I hope you will join me on these Sunday afternoons. I am really looking forward to teaching these classes.
I am going to be a studen too. I’ve signed up for the T-shirt into Bowl crochet class in June and the Fibre Camp in August. A fun filled fibre summer!
Summer time and the knitting is easy! Cheers, Deb
Any Gauge and Gauge-Free knitting patterns by Deb
Cabin Fever patterns by Deb & Lyn and the cabinfever crew
Debgemmell435 on youtube
deb.gemmell on instagram