So I took a chance and decided to Add A Pattern to the Raglan Lines. It looks amazing. The pattern on the raglan lines are perfect. I’m at the bottom of the yoke. After this row it’s really going to look like a sweater and I’m excited. Then it happens, as I put my sleeve stitches on spare yarn I realize my lovely raglan line pattern is half on the sleeve and half on the body and not what I intended. My raglan line pattern is ruined!
Yes, it’s happened to me too. The first time it’s hard to envision the entire process. A little time thinking ahead would have saved me some grief.
Don’t get surprised when you do the Great Divide (separating the Sleeves and Body). Look ahead to the bottom of the Yoke. Where do you want the pattern you’ve added to the raglan lines to end up? Maybe you do want half of it on the Body and half of it on the sleeve. Or do you want the pattern to continue down the sides of the Body?
That’s what I decided to do this time. I wanted to widen the raglan lines so that when I reached the bottom of the yoke and put my sleeve stitches on spare yarn, I would have the raglan patterned stitches on the Fronts and Back.
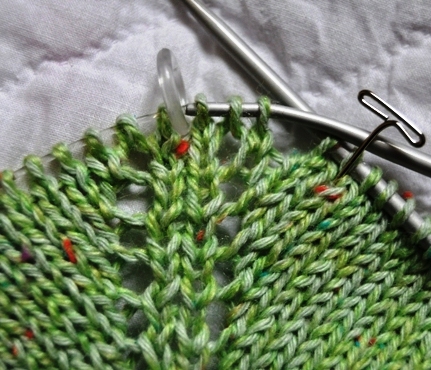
To do this, at the top of the yoke arrange the raglan lines placing a new raglan marker the number of stitches for the pattern away from the stitches for the sleeve, towards the Front and Back of the yoke.

The dark lines are where the original Raglan Markers are. Then place a second marker at each raglan line towards the Front and Back, in this case moved over by 5 stitches.
When I place my sleeve stitches on spare yarn at the bottom of the yoke my raglan patterned stitches will remain with the Body.

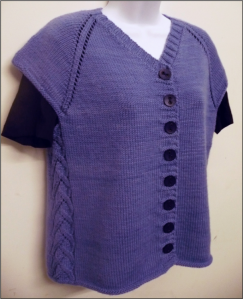
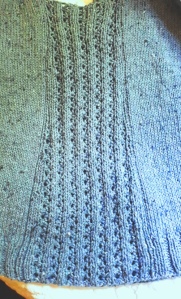
Now I can continue down the Body with a nice little pattern down the sides. This is a child-sized sweater so there are no underarm cast on stitches to consider.

If this was an adult size there would be underarm stitches separating the two sets of garter stitch patterns. More thinking might be required. I’ll leave that to you. Now I need to get going to finish the Body.
Cheers,
Deb
Any Gauge Patterns by Deb Gemmell
Cabin Fever Patterns and Books on Ravelry


 Yes, that brought my neckband in for a smaller neck opening and left my shoulder drop as long as I could. Finish knitting the ribbing and I’m done.


