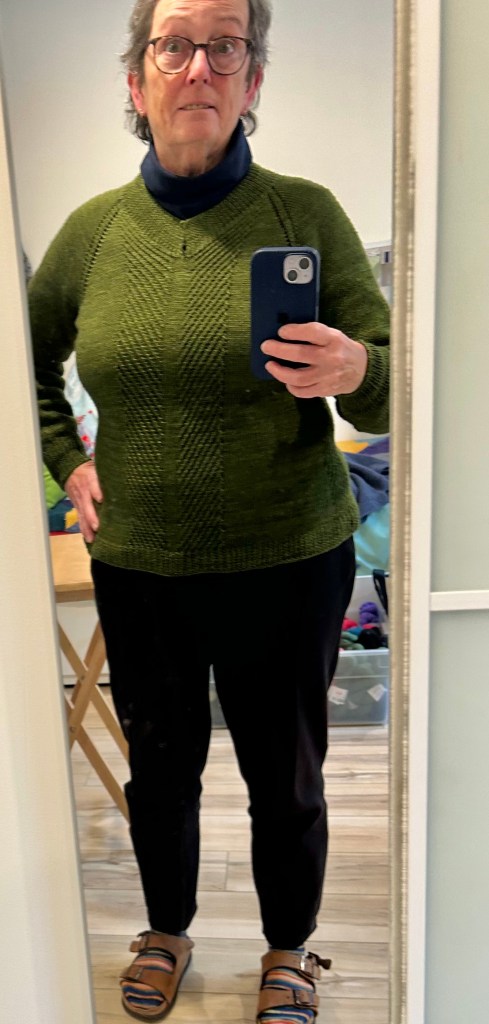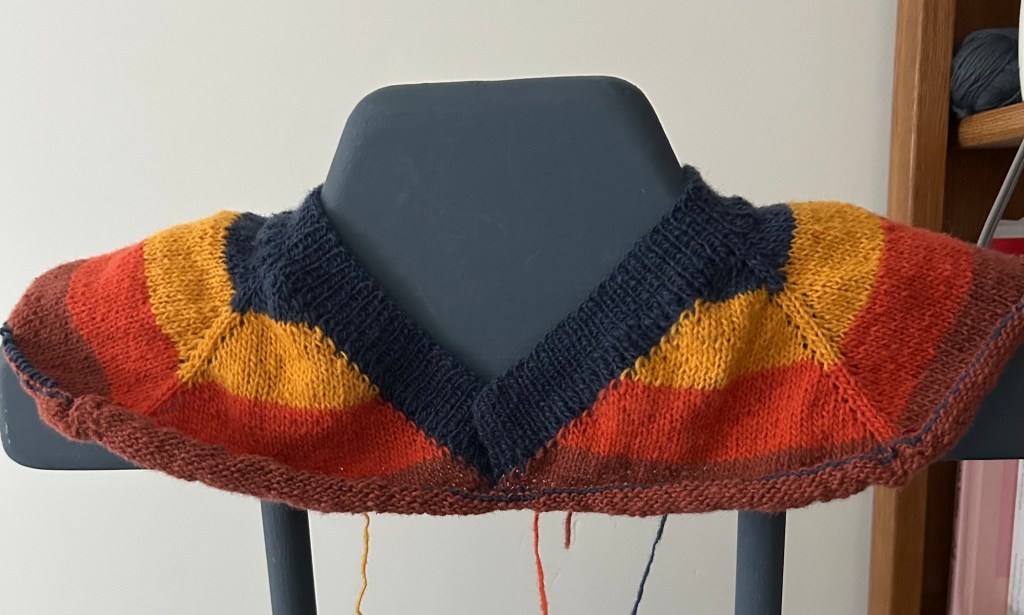
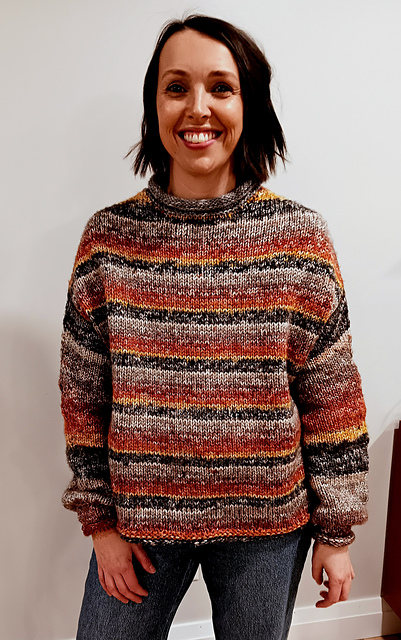
My next fingering weight pullover has been started and it’s going to take quite a long time to finish but I’m happy with it so far.
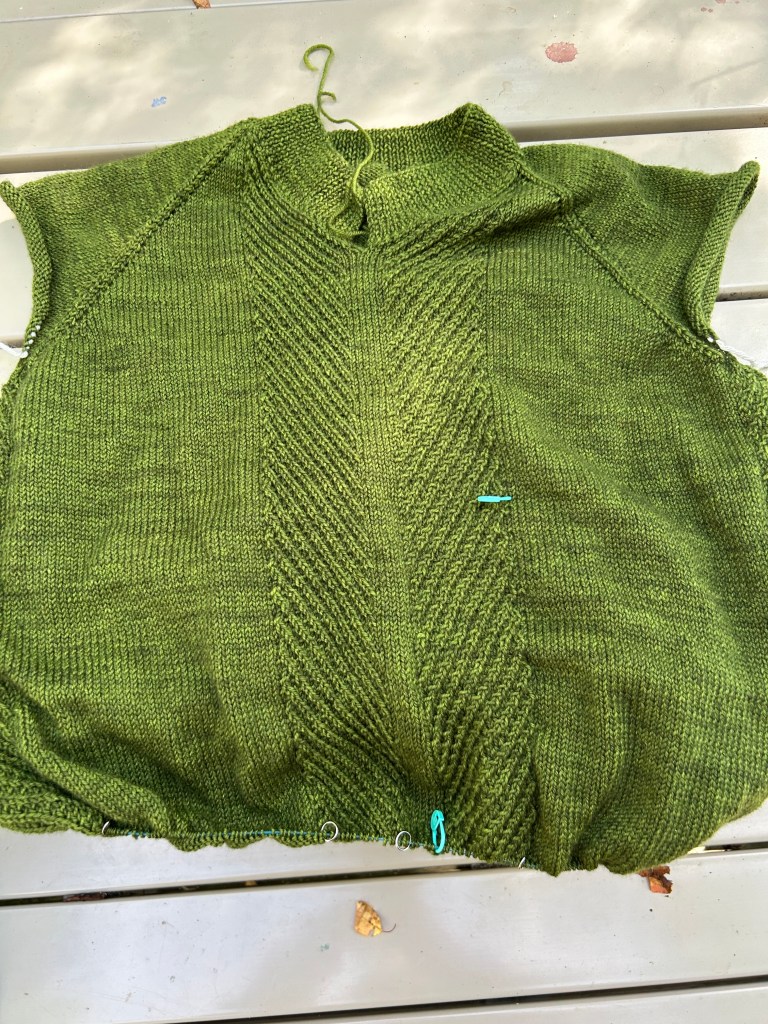
This pattern, Contiguous Drop Shoulder,
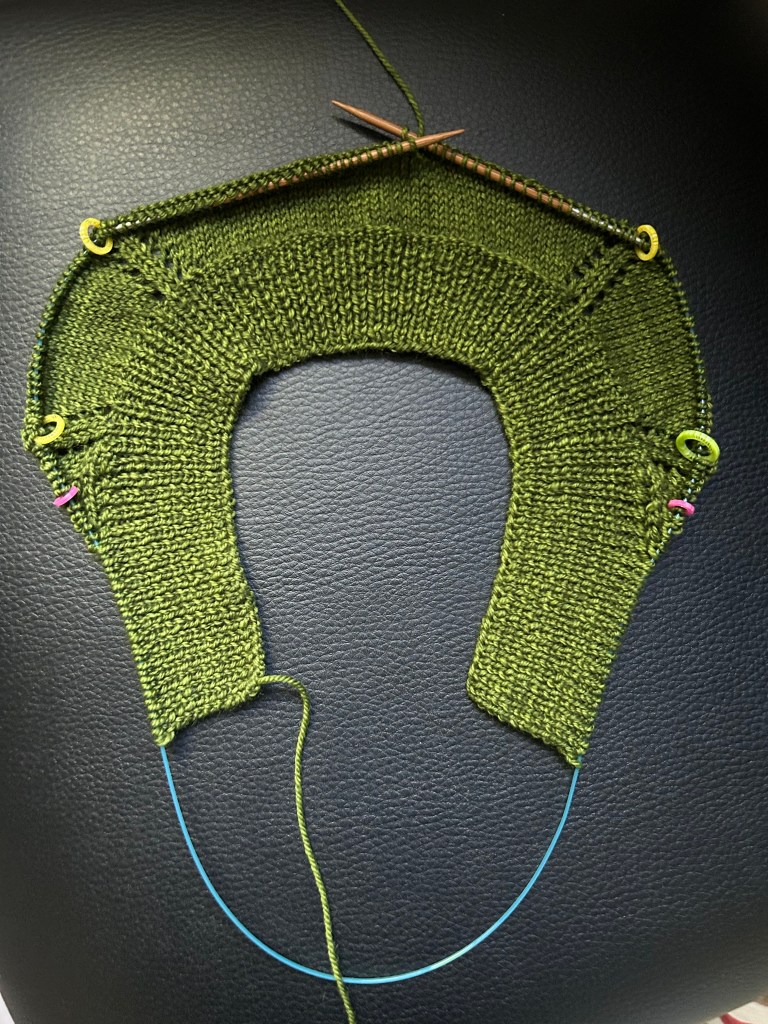
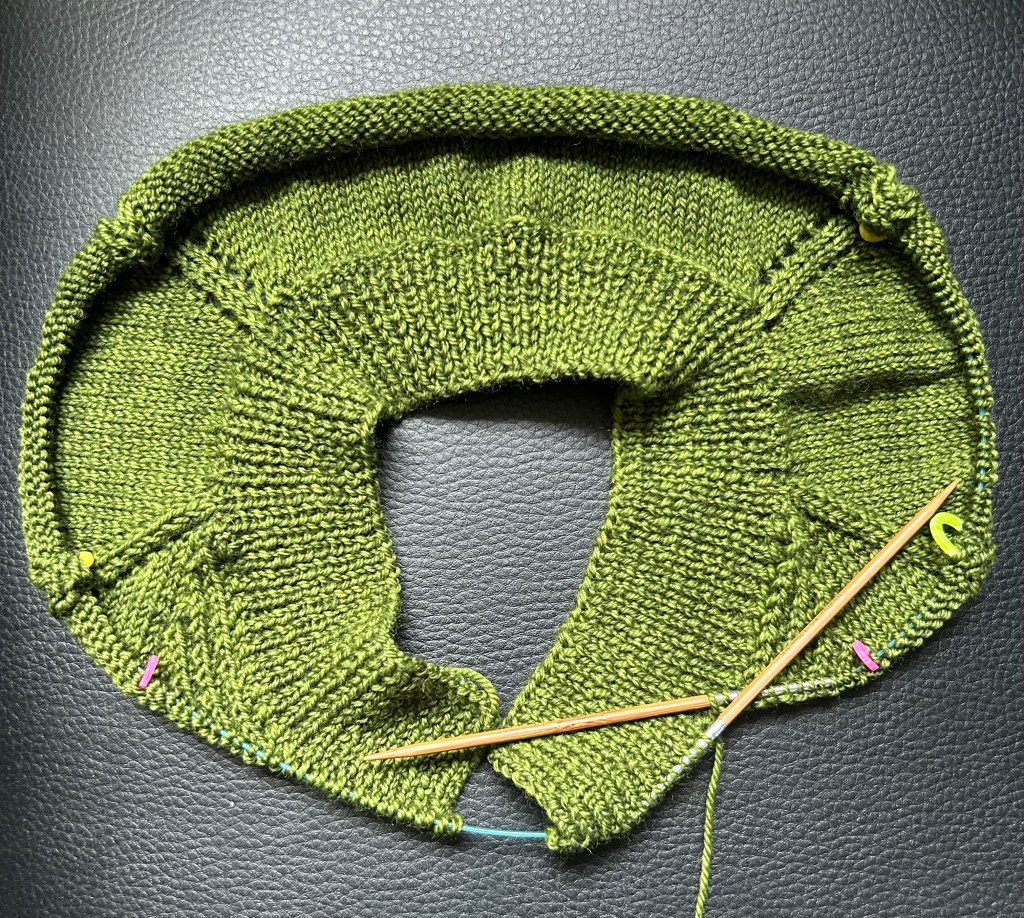
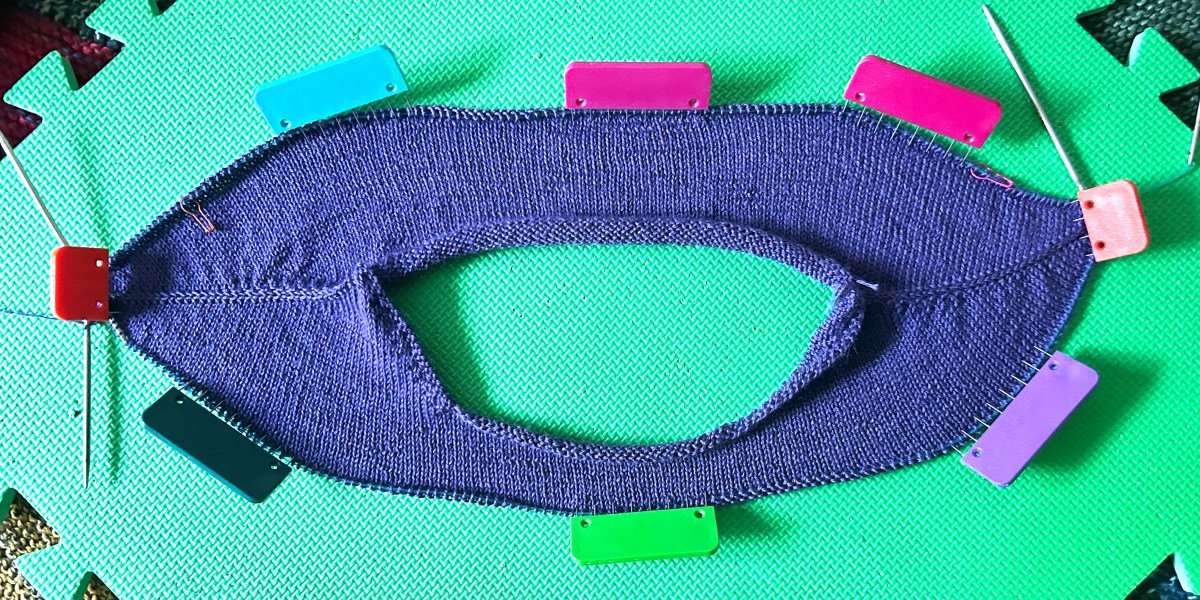
begins with the neckband but I’m working a colourwork pattern on this version and will use one of the colours for the neckband. I haven’t decided which colour yet so I just cast on the number of stitches, purled one round, and did the short rows against the cast on round.
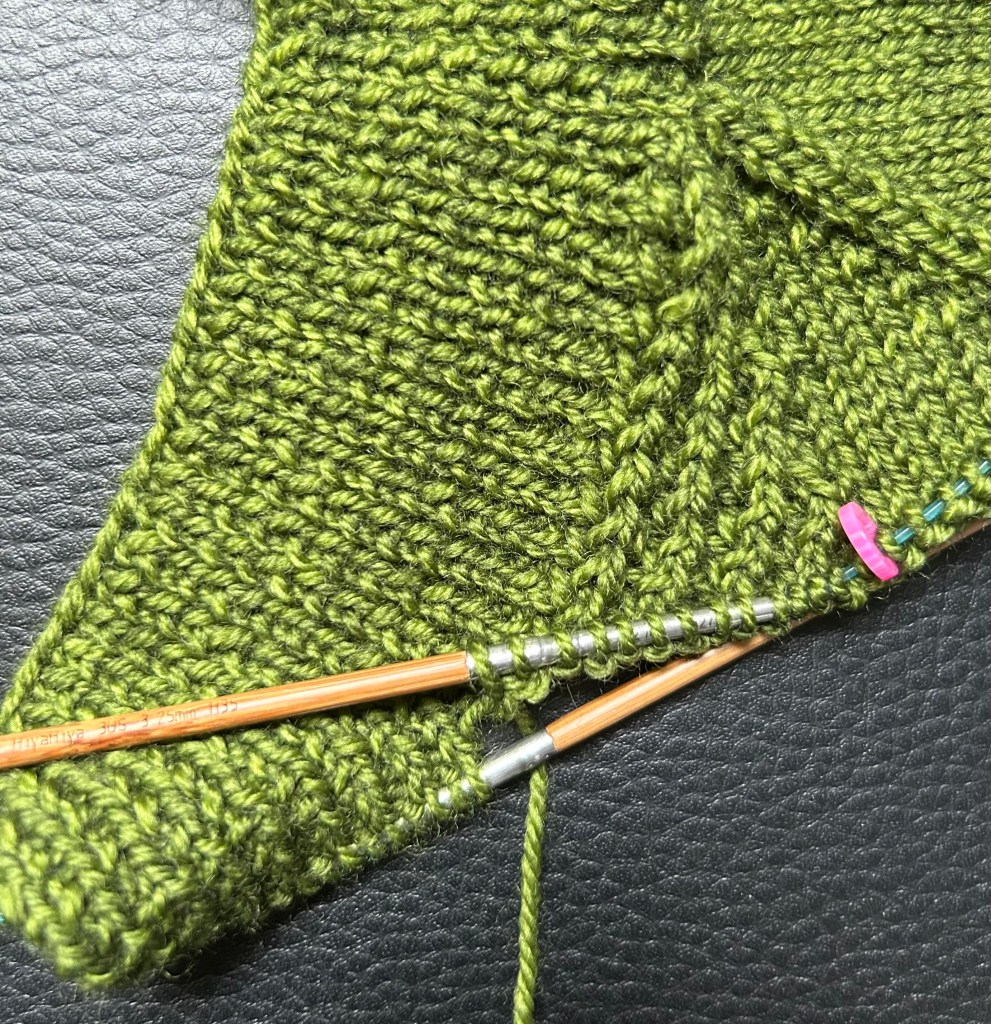
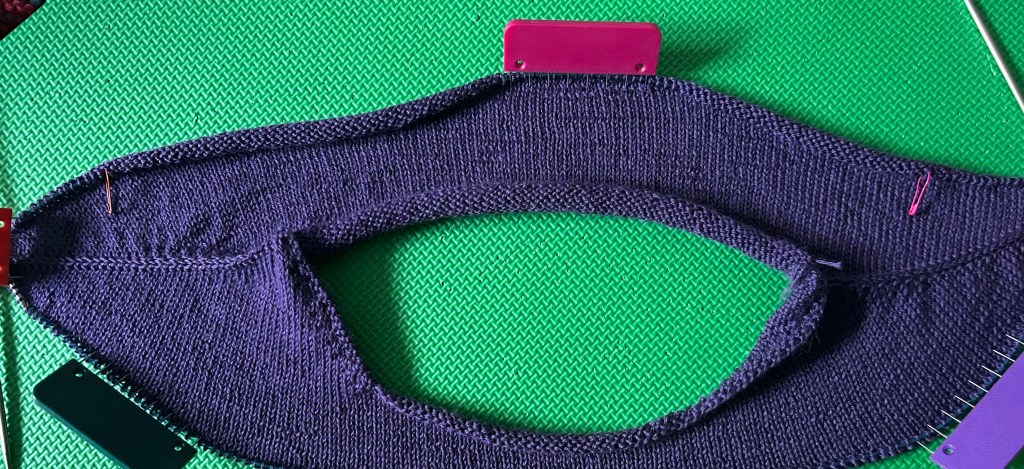
Have you tried a contiguous sweater? This is an amazing way to make a drop shoulder sweater. In the contiguous method 2 increases are worked at each shoulder, every round. It is really easy to work.
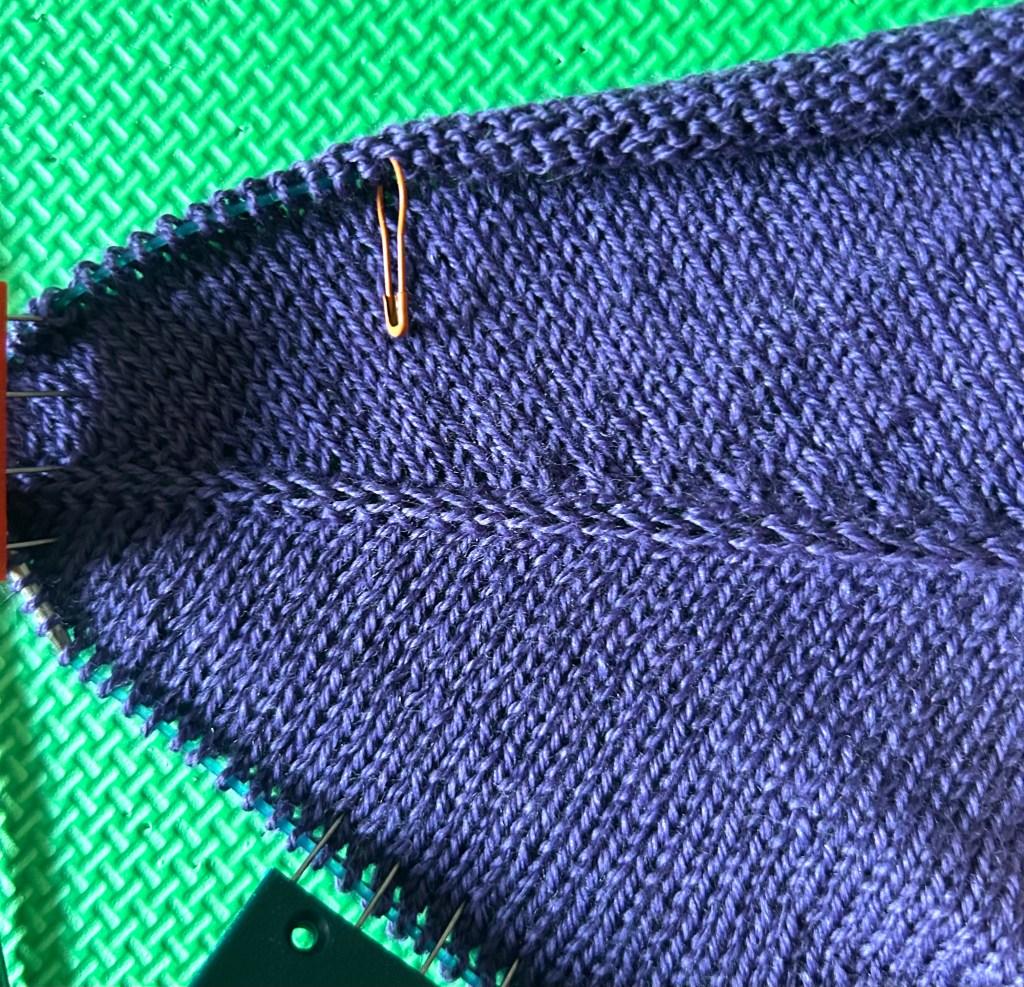
The short rows are worked right away to lower the front. They are worked back and forth, knit right side turn, work across the wrong side turn. This is a system of short rows that I unvented (as Elizabeth Zimmermann would say) many years ago and have used it over and over again. The short rows are simple and worked after working a neckband. They usually butt up against a ribbed neckband. In this case, they are butting up against my cast on and one round of purling.
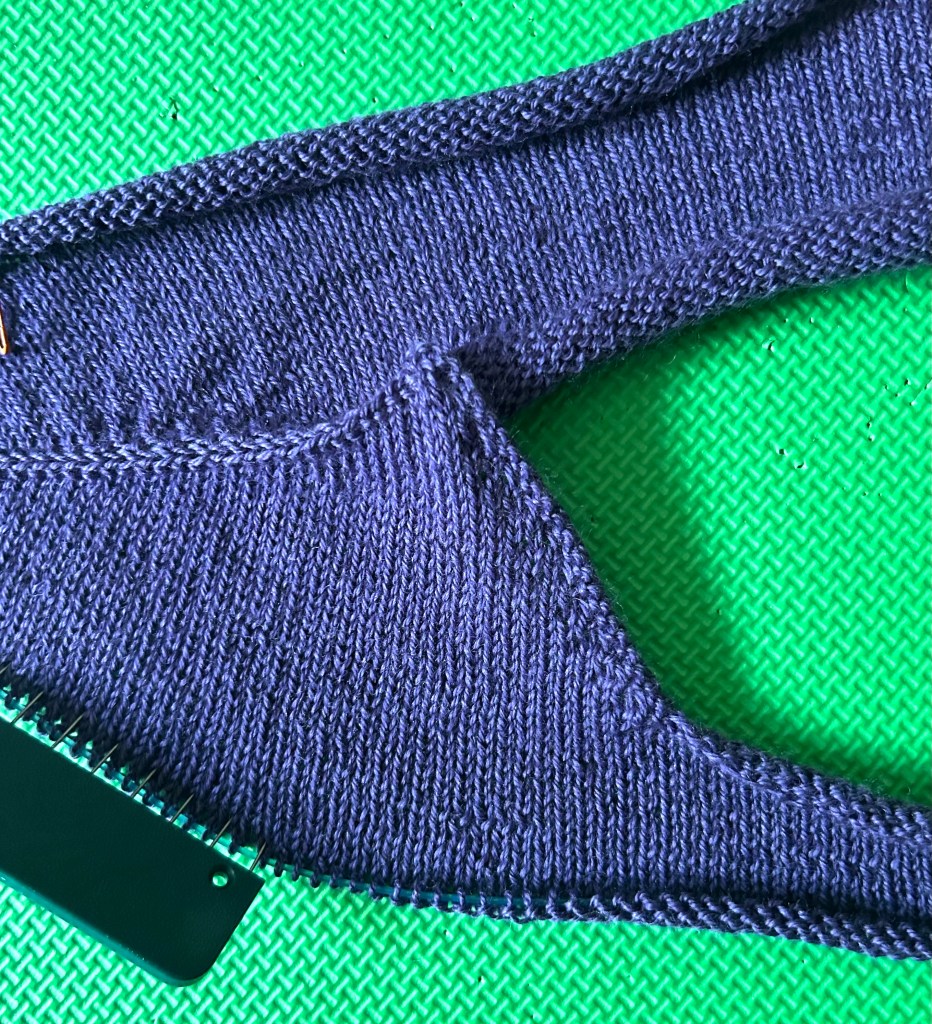
These short rows make a nice angle to drop the front of neck.
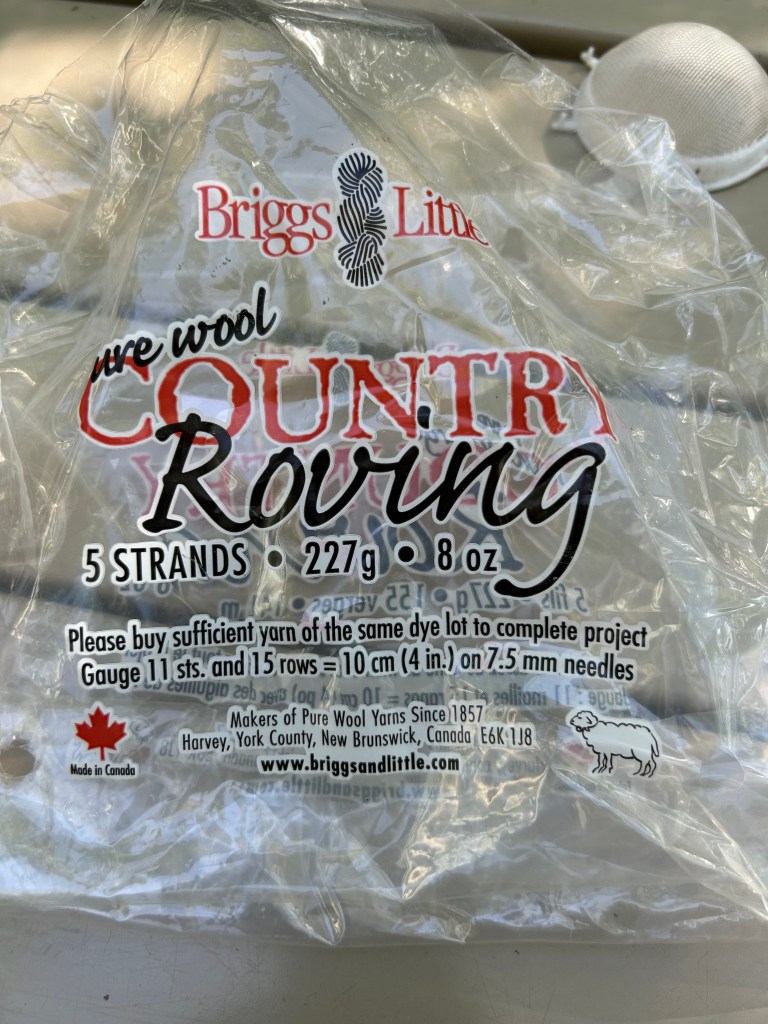
I am working in the purple (Shelridge yarn, 80/20 fingering – iris) until I have the width I want. I am going to have 8″ of ease, not as big as the sweater in the pattern photo which had 10″ of ease, but this is in much finer wool. That’s around 169 sts across the back, at my gauge, and considering my 12 st colourwork pattern repeat. I have put markers on either side of the centre 100 sts on the back so I don’t have to keep counting across them all every time.
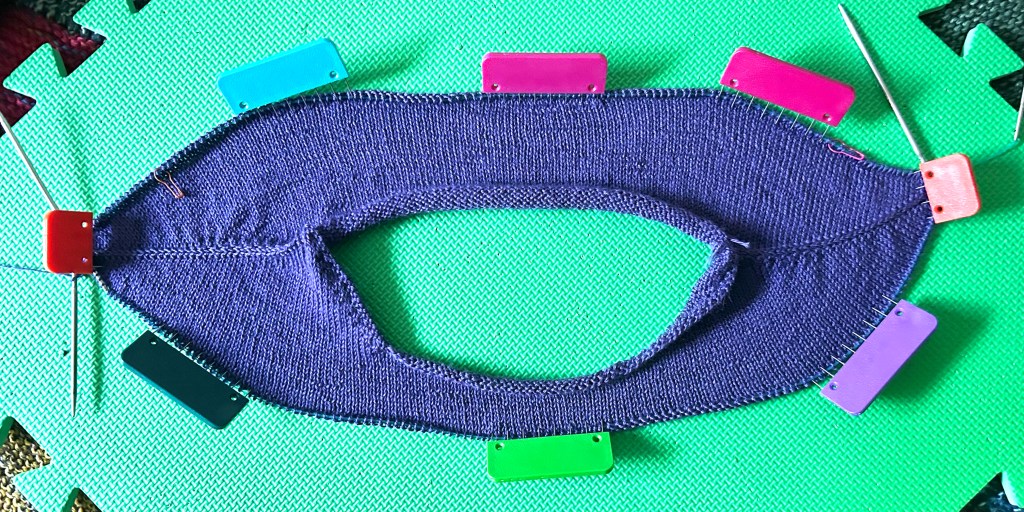
Not toooo much more to do.
Here is a video of how the short rows work.
Cheers and happy knitting, Deb
Gauge-Free and Any Gauge patterns by Deb
Cabin Fever patterns by Deb & Lyn and the cabinfever crew
Deb.gemmell on instagram
Debgemmell435 on youtube