Yes, I fell in the knitting-for-Christmas rabbit hole. So far I have knit 12 mittens, 1 pair of DK socks, almost finished 1 pair of fingering socks and am now onto a couple pairs of fingerless mitts.
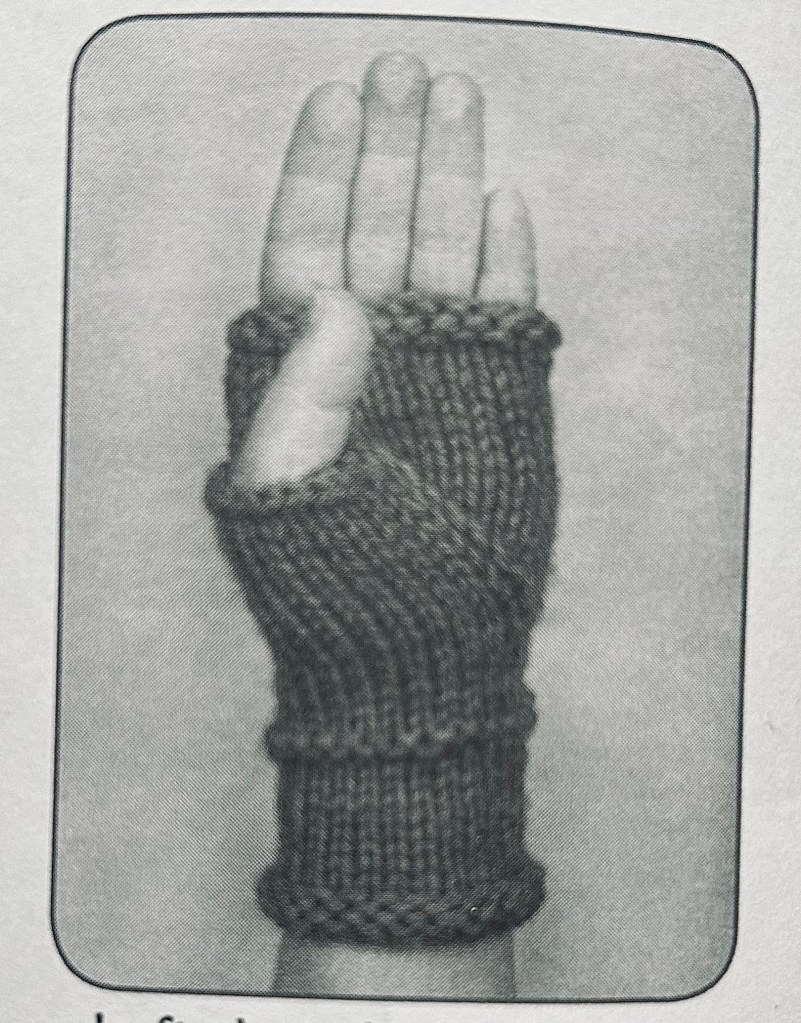
This mittlet …
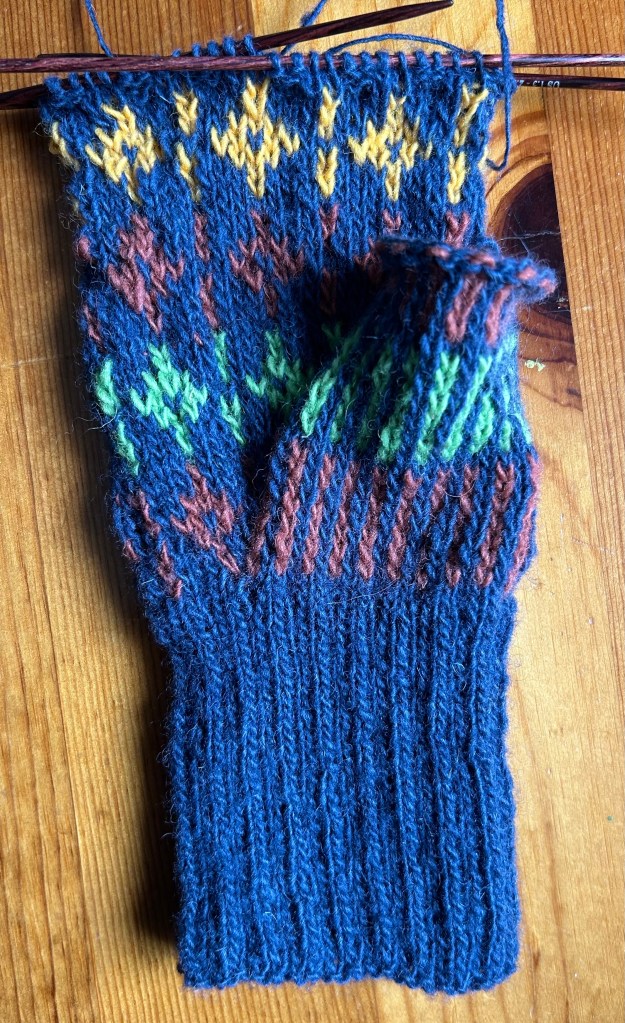
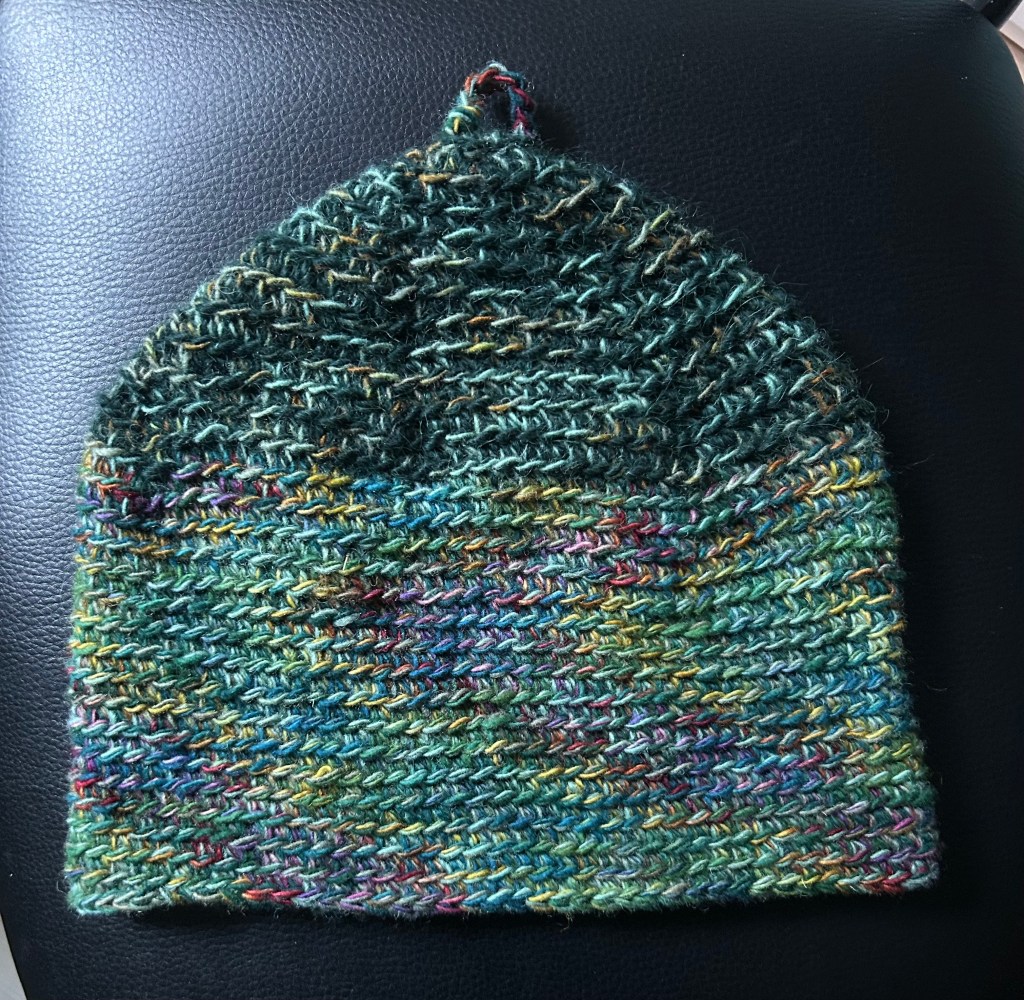
… is from the Need An Accessory Book by Cabin Fever. The team for this book was me (bottom right), Lyn (middle) and Alana (top). I added a stitch pattern because I had bits of left-over fingering wool by WaxwingYarn.

I do struggle with dpns (my fav for small circumference knitting) and colour work so I figure it’s good to have more practice.
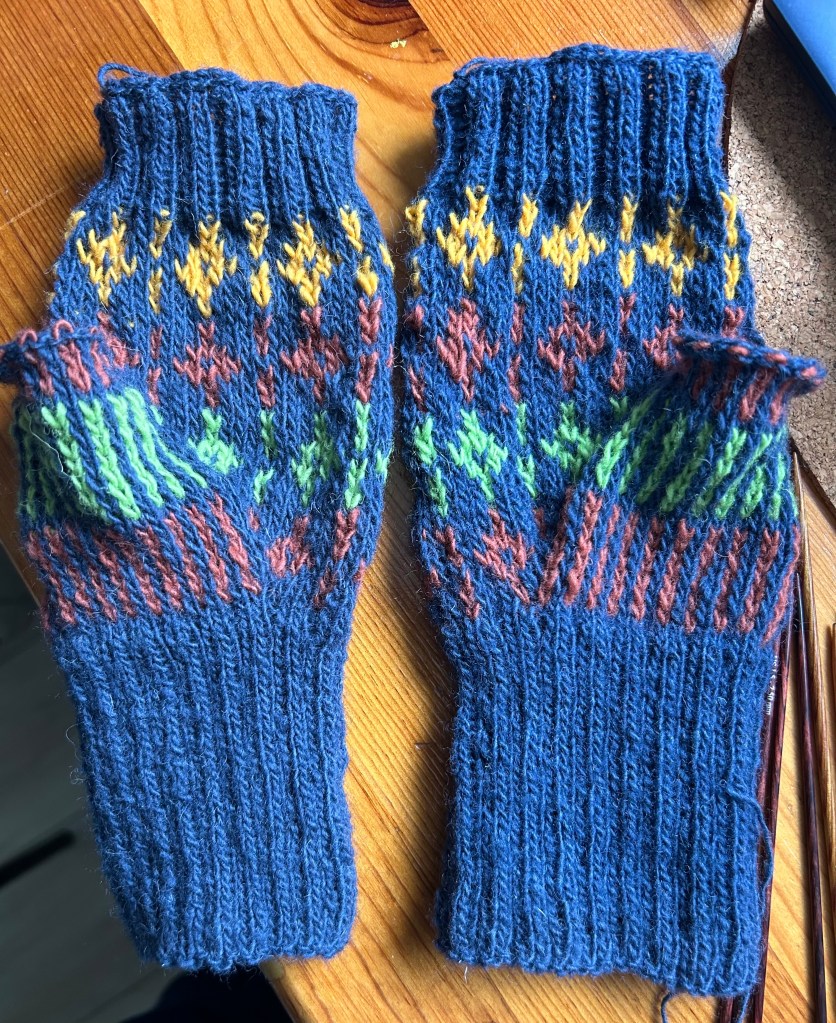
This morning I worked on these and ta, da, here they are ready to have the ends sewn in and go for a bath. Just in time, phew!
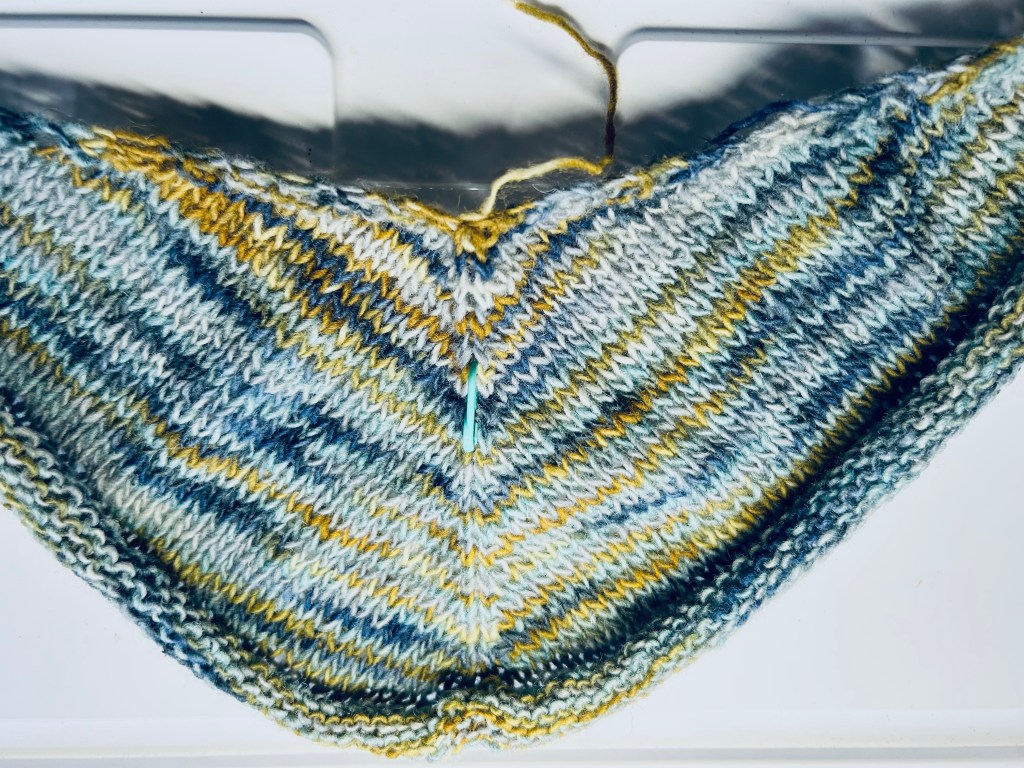
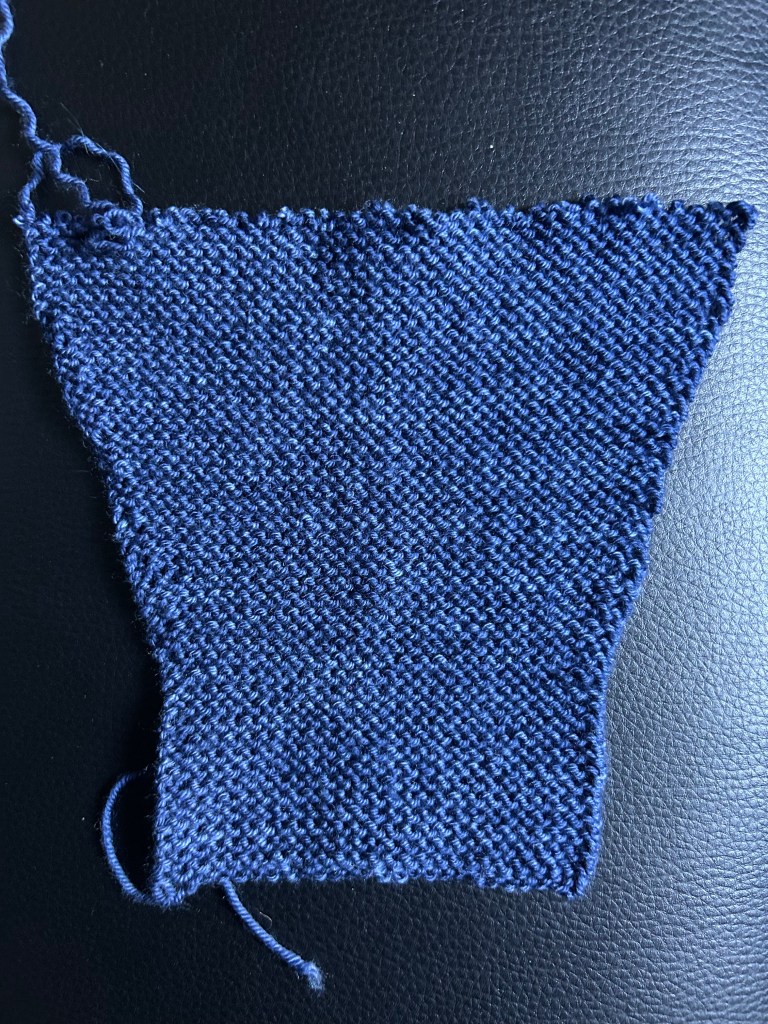
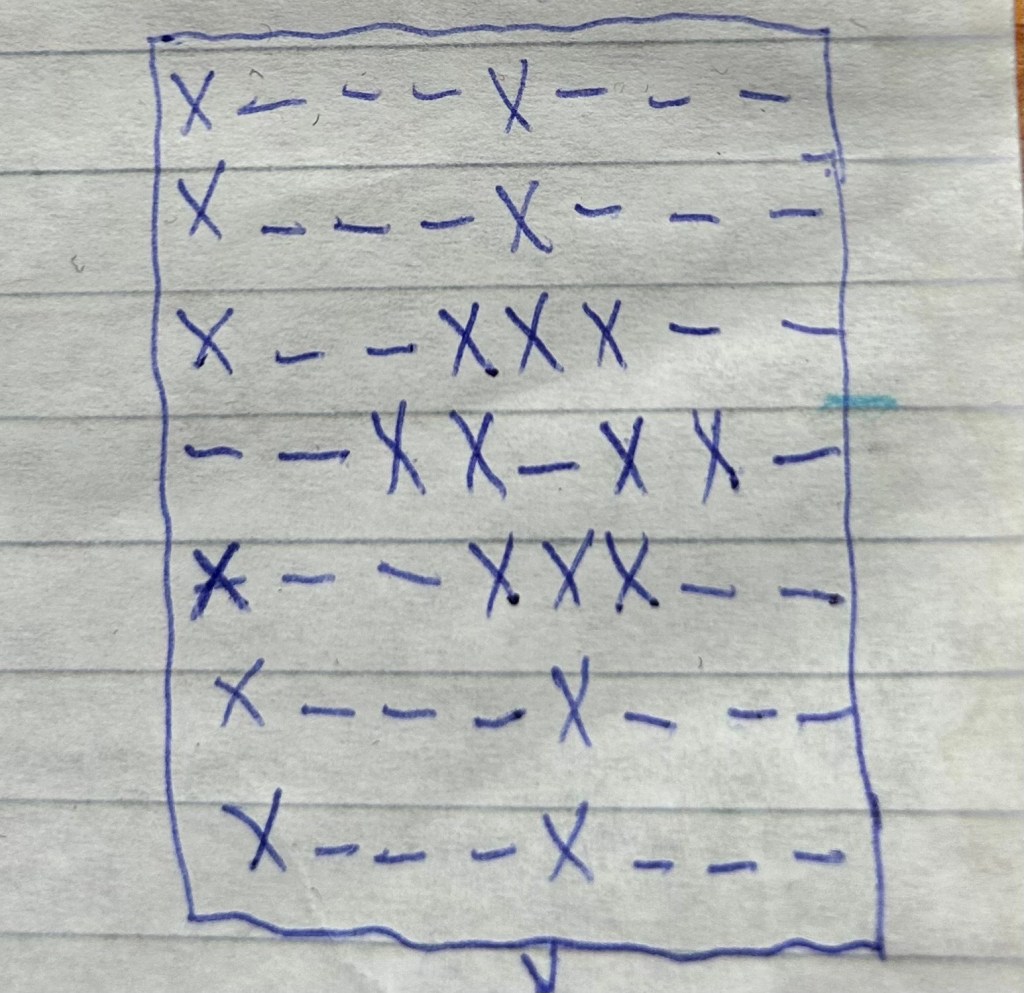
This is the pattern I made up. There is a plain navy round in between the repeats of the pattern where I weave out the colour I’m finished with and at the end of the round, weave in the new colour.
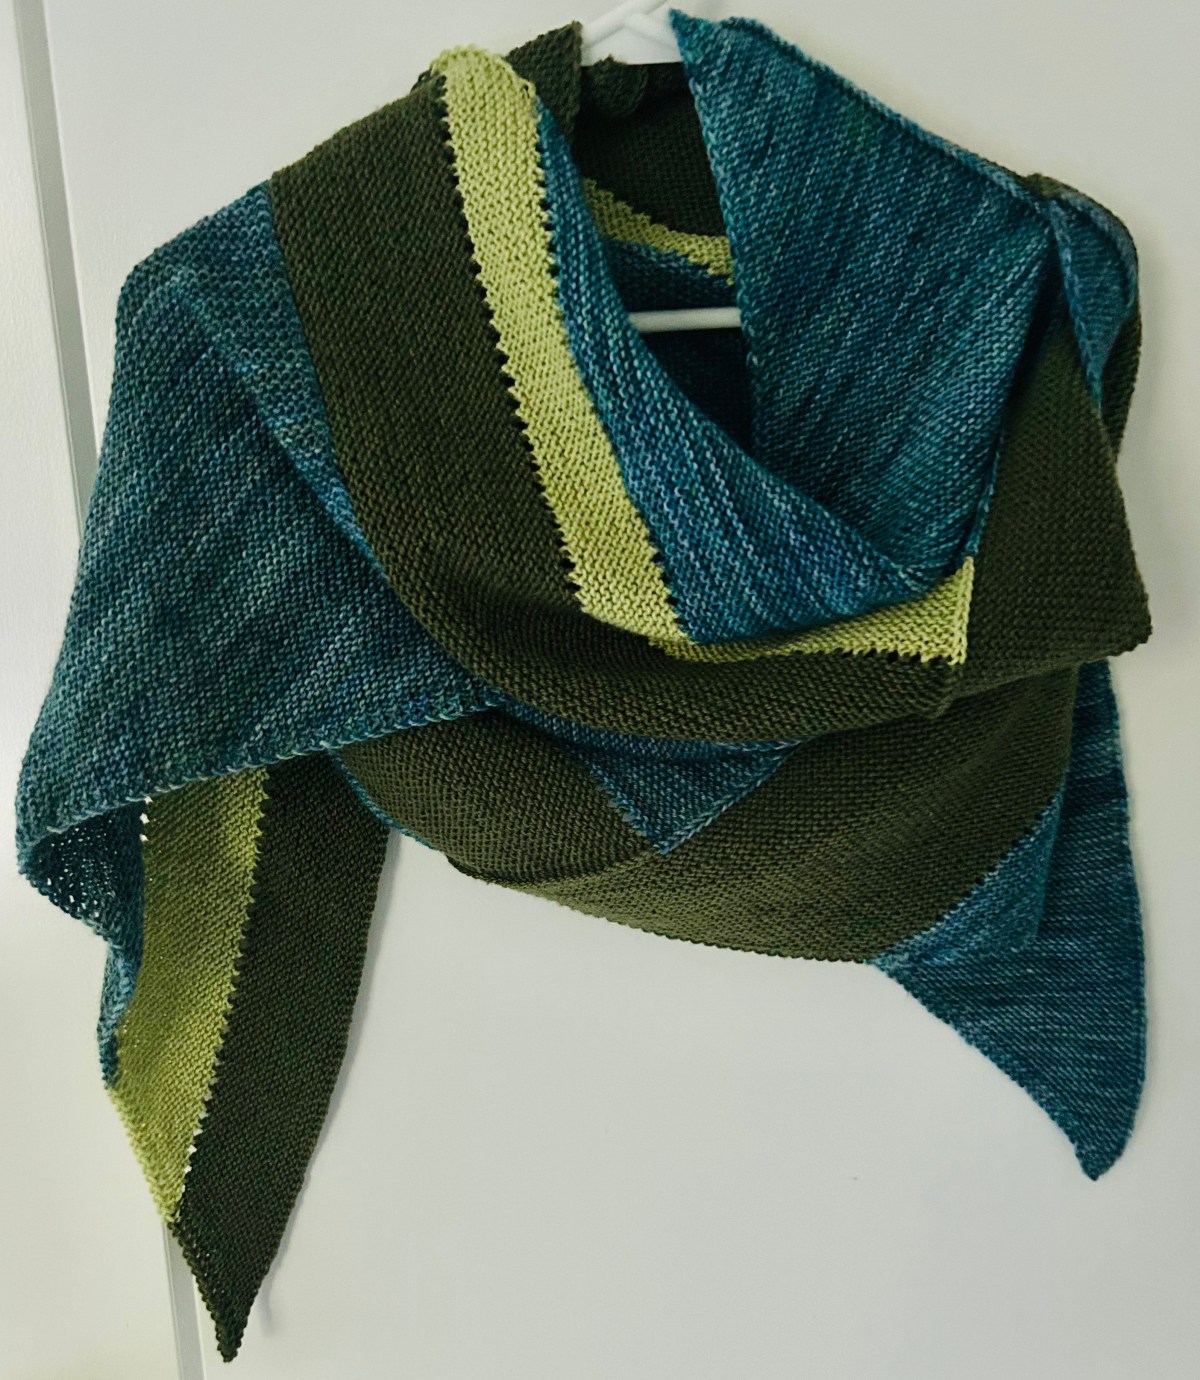
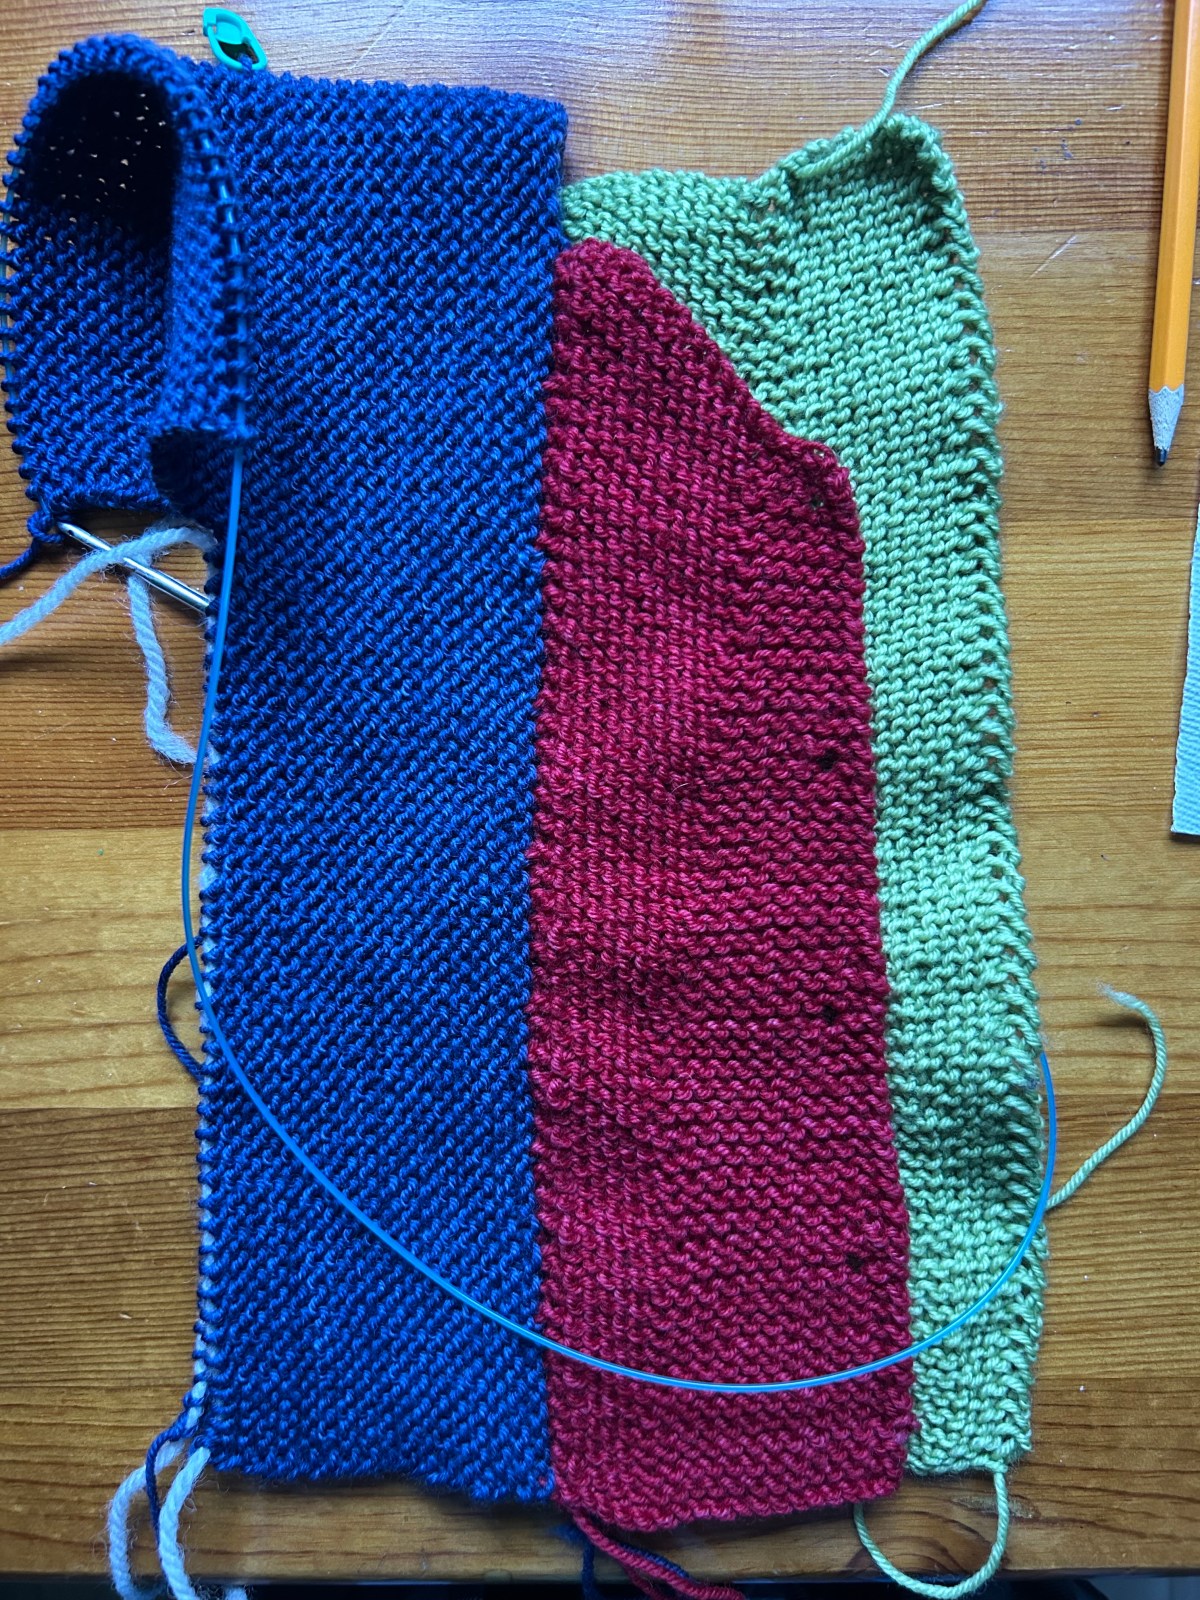
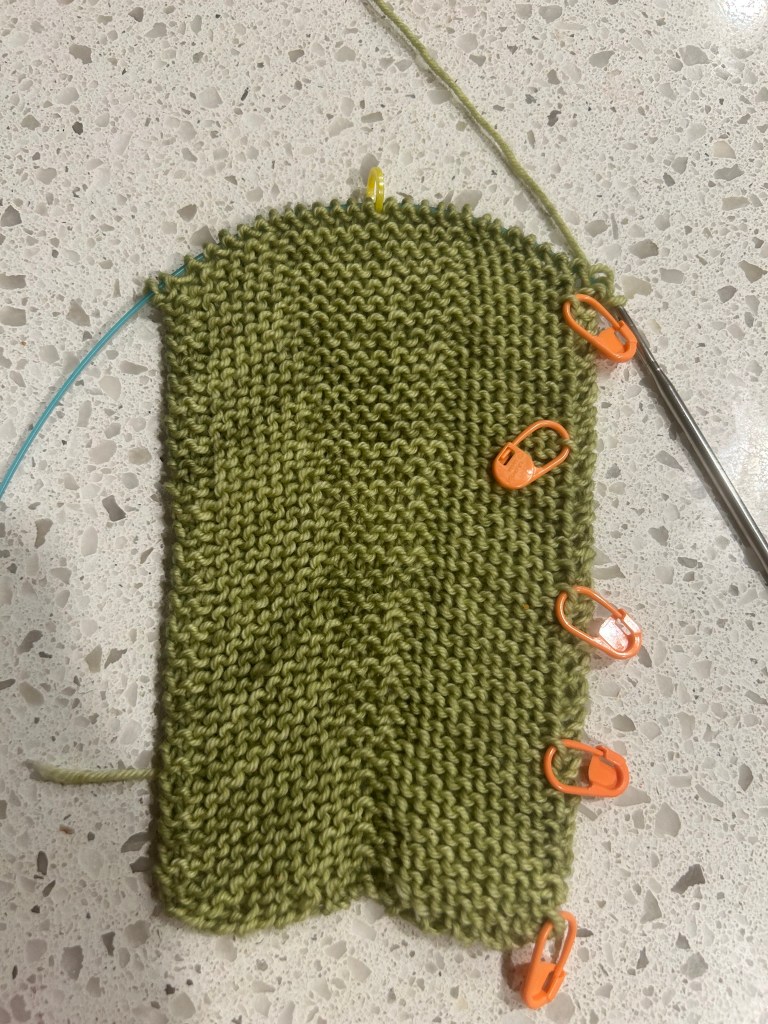
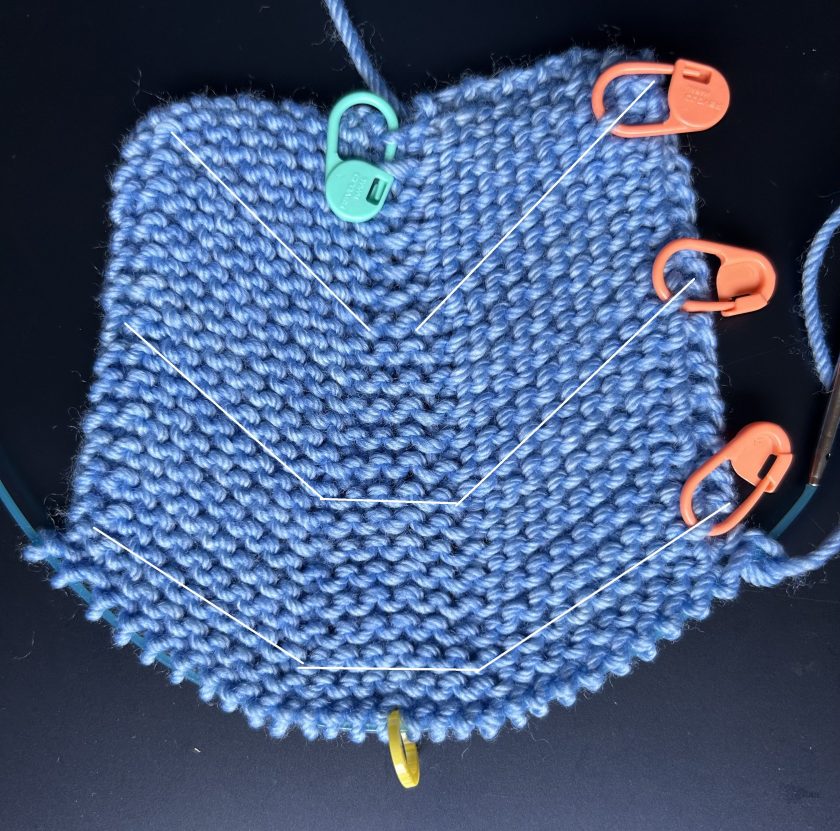
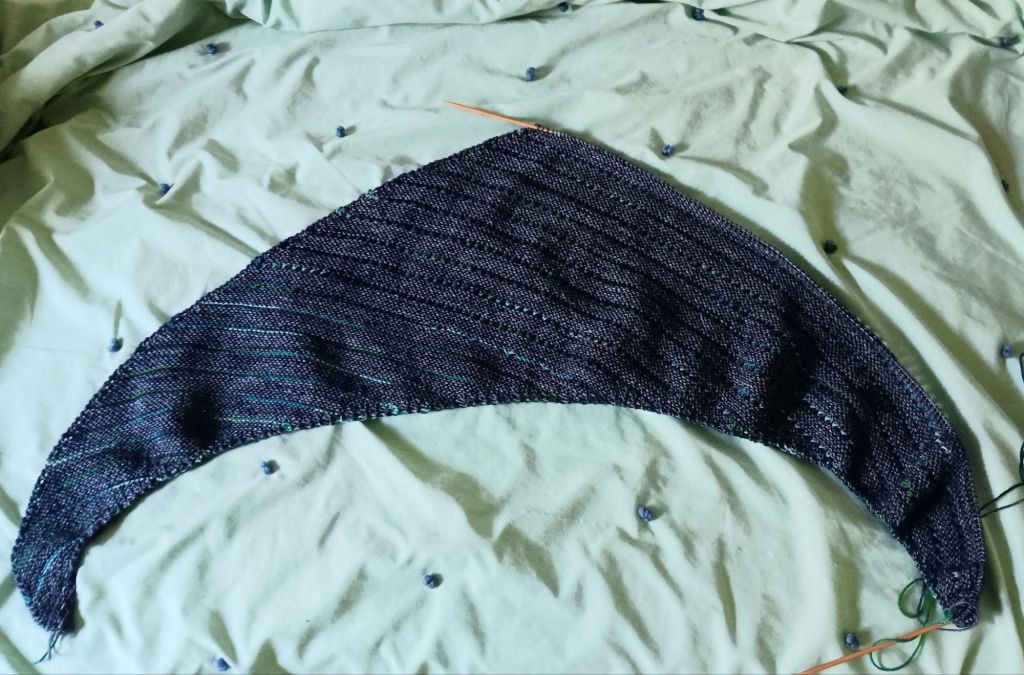
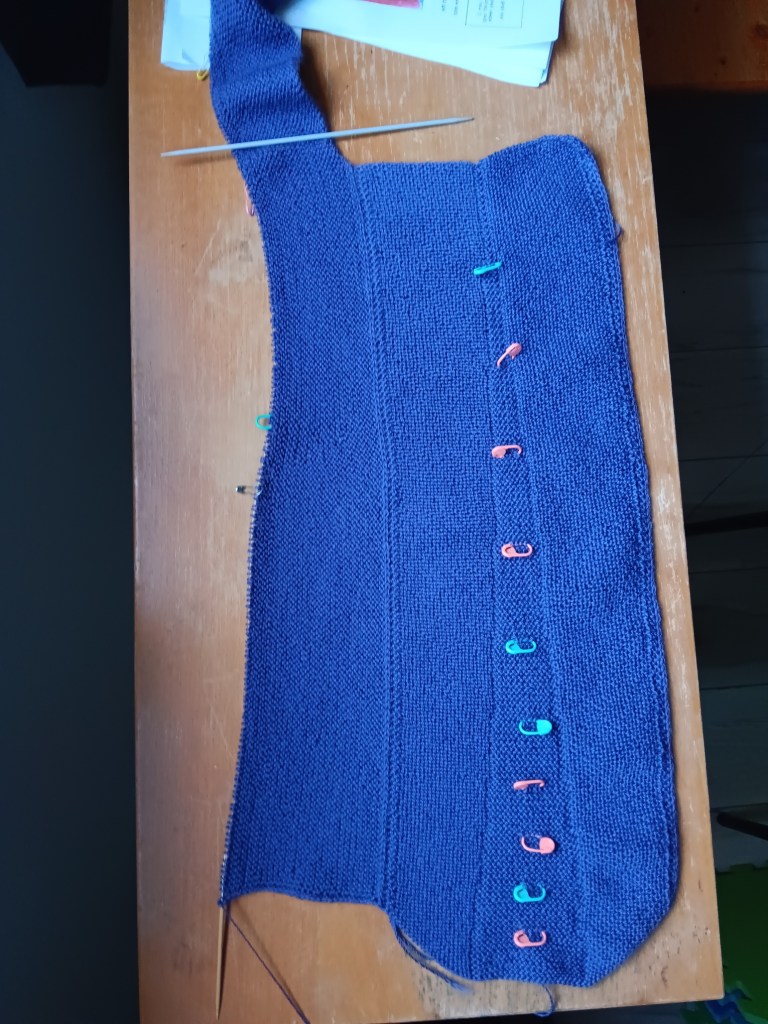
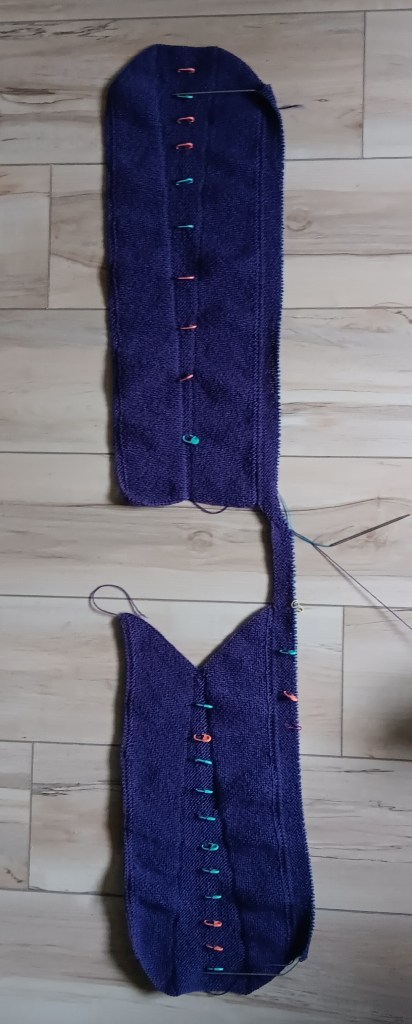
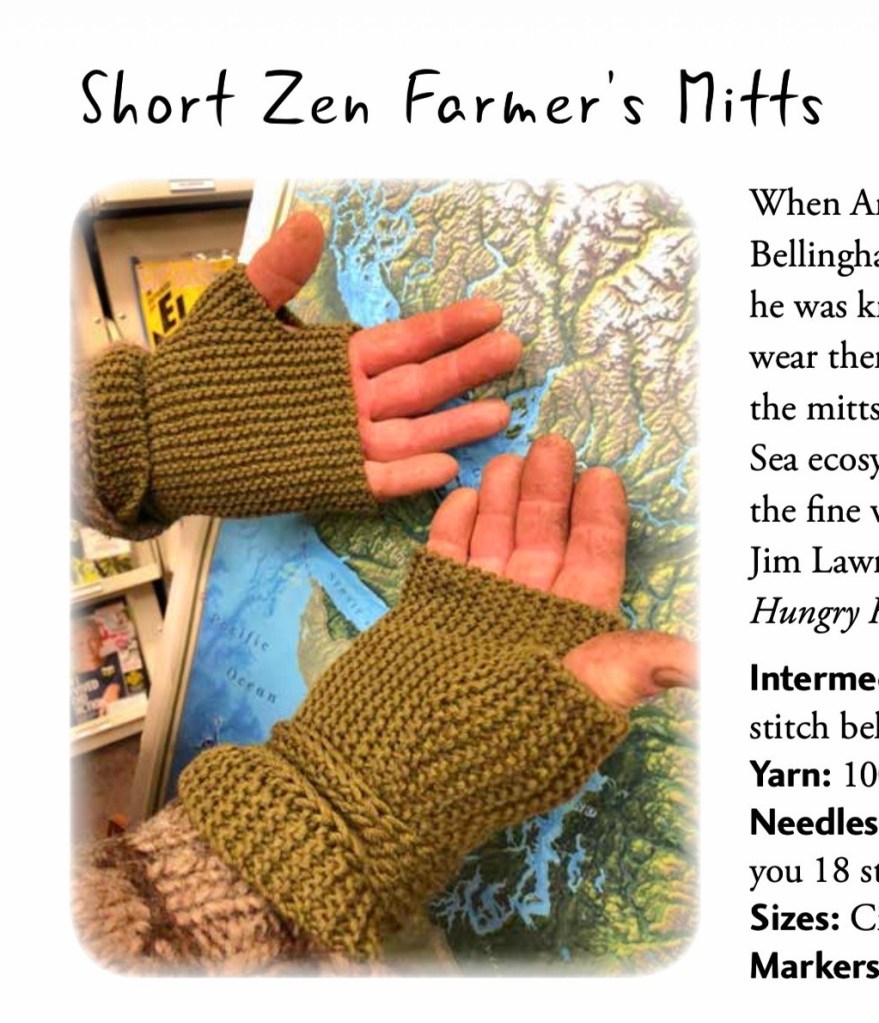
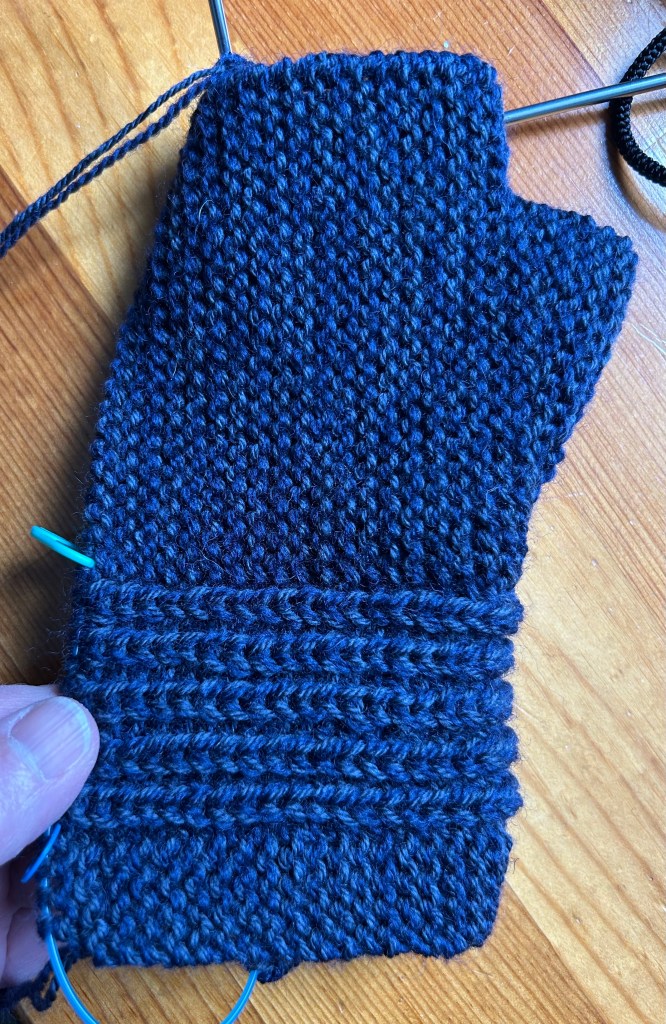
On to the last pair of mittlets. This one is a Cat Bourdhi pattern calledShort Zen Farmer’s Mitts, which I am knitting with 2 fingering weight yarns held together to make a worsted weight yarn. They are knit sideways in garter stitch. Just lovely. I have knit many pairs of these over the years and love, love, love it.

I hope your holiday season is joyful and relaxing. I especially look forward to the in between week, otherwise known as Cast-On Week!
Cheers, Deb
Cabin Fever patterns by Deb, Lyn and the cabinfever crew
Gauge-Free and Any Gauge patterns by Deb
Deb.gemmell on instagram
Debgemmell435 on youtube