A discouraging couple of weeks when everything didn’t quite turn out as I had hoped. But now I am finallly reconciled to ripping, here we go.
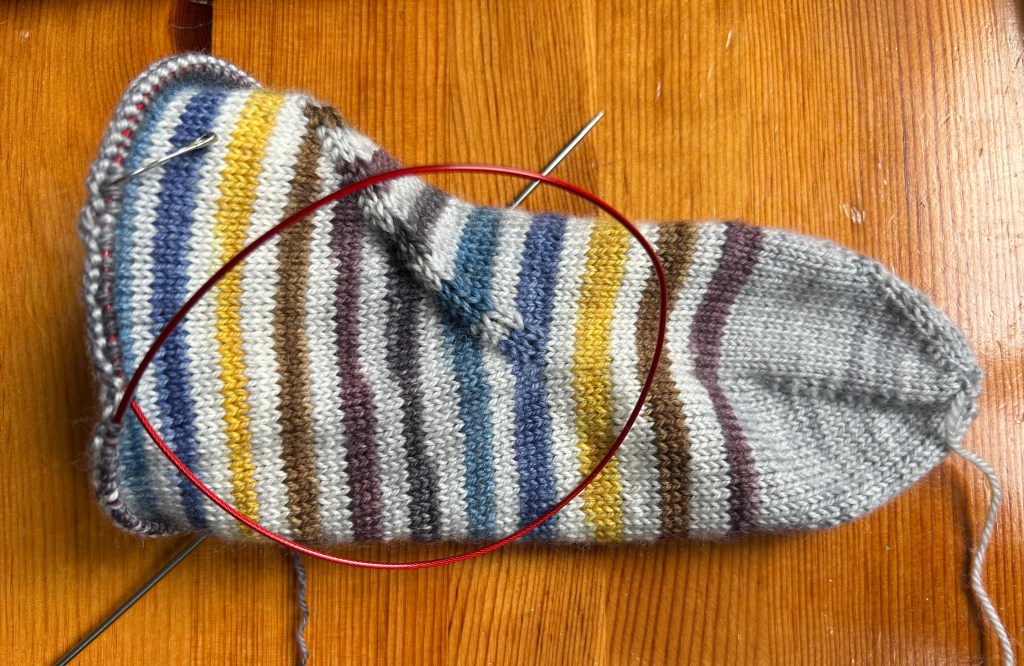
Now you see it.
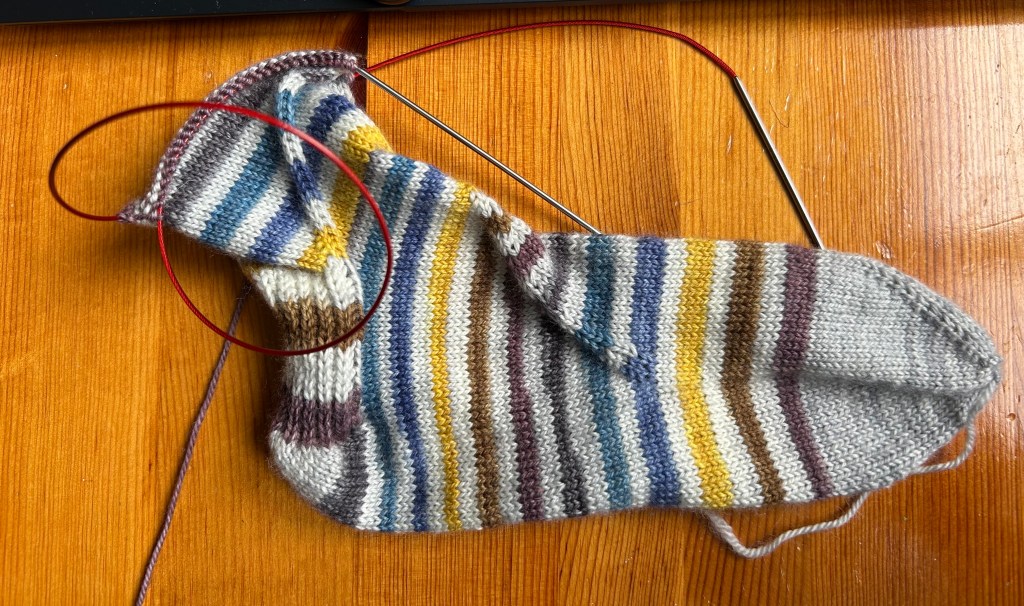
The Coriolis Sock from the New Pathways for Sock Knitters book by Cat Bordhi with what I thought was a slight modification – a second spiral, which didn’t work!
Now it’s gone and I’ll start the heel and leg again.
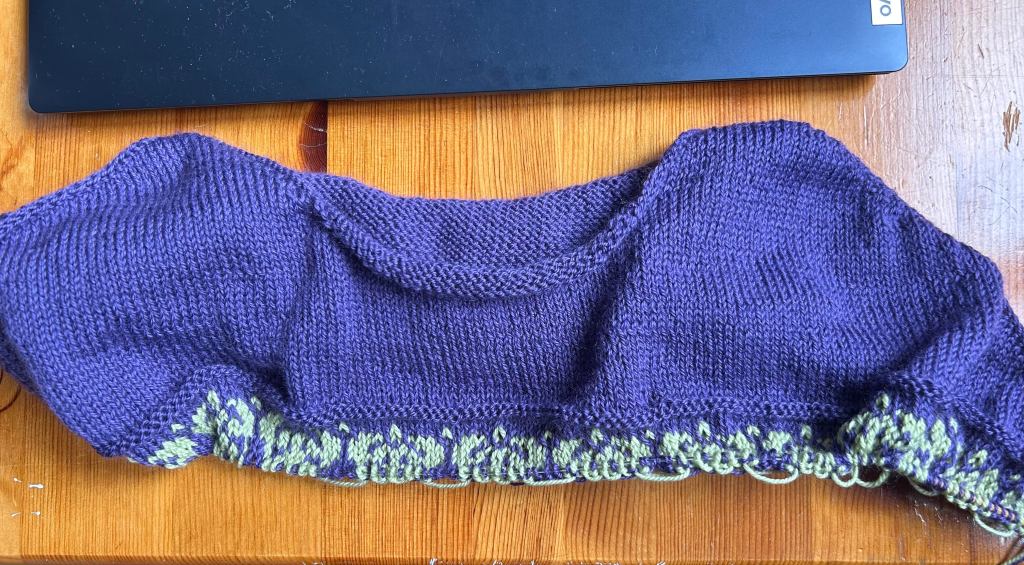
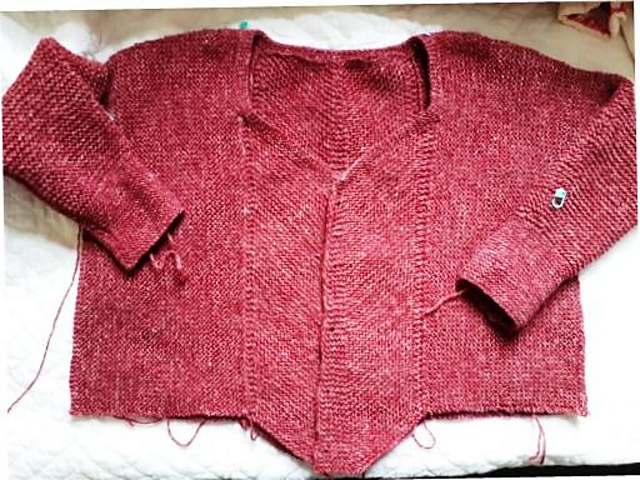
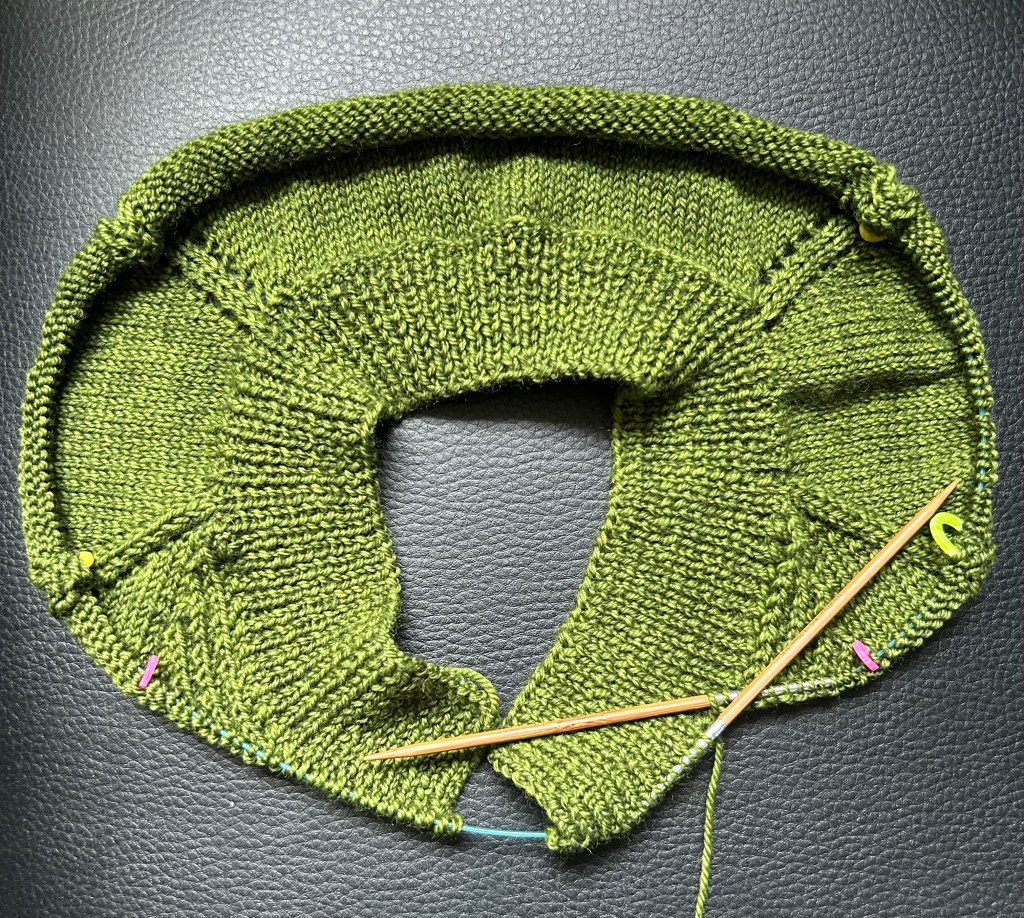
Another rip. My Contiguous Drop Shoulder with colourwork which I think would have more drape than I want
Colourwork gone. I’m going to repurpose this as a vest, maybe, possibly.
I finally got back on the video train so here is the full explanation and what I’m up to.
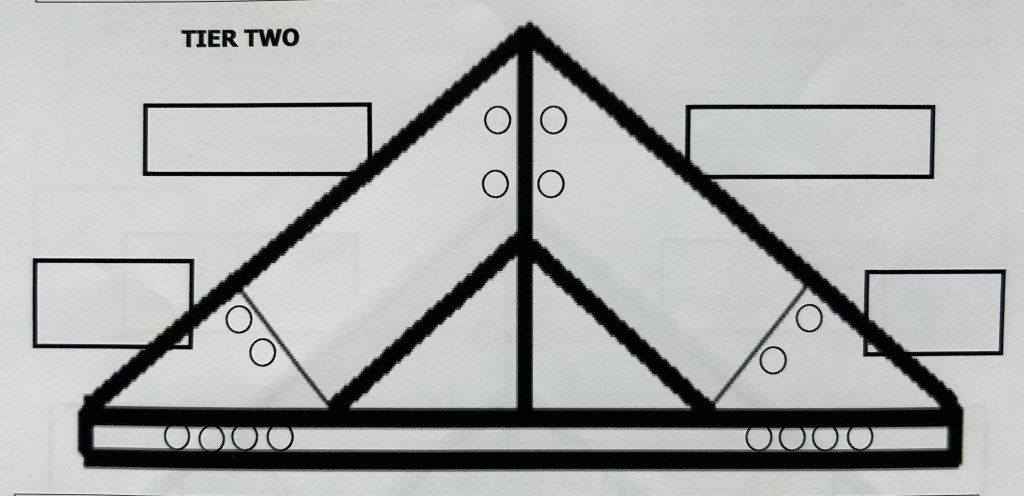
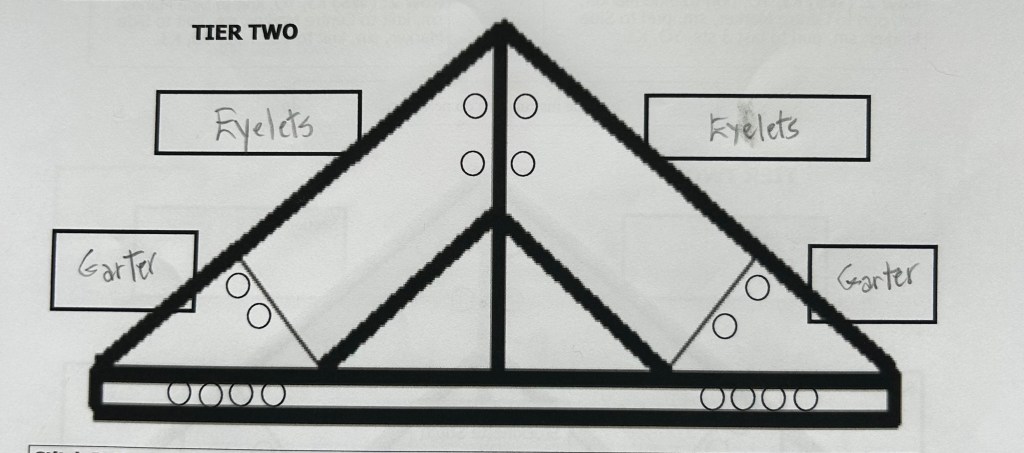
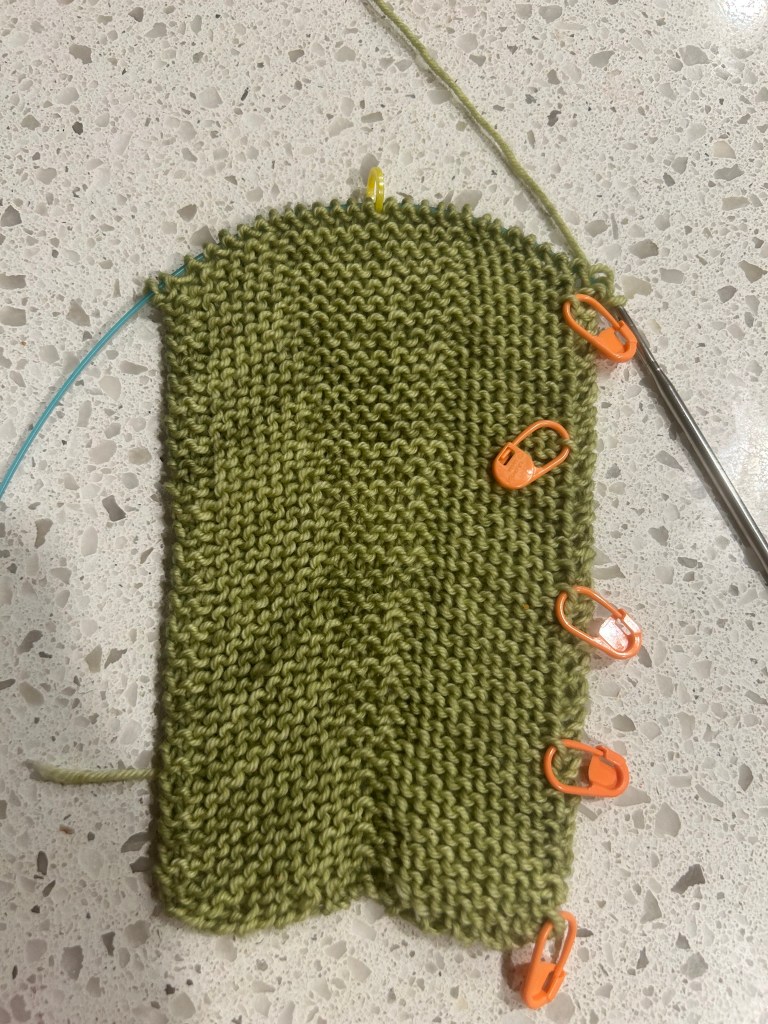
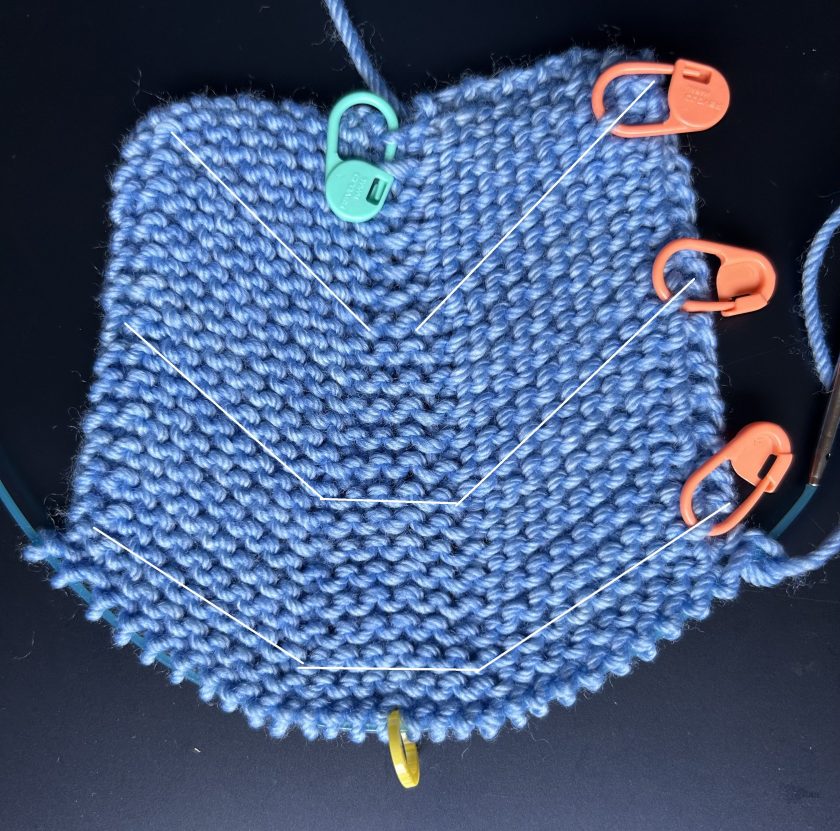
I’ve started my Tier Two section using the Eyelet pattern in garter stitch: one eyelet row and 3 knit rows.
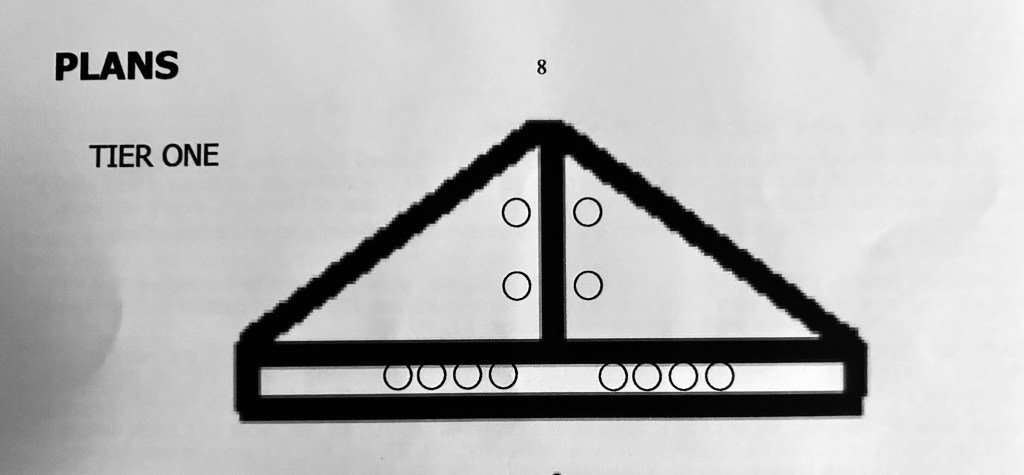
This is how the 3 Tier Shawl Workshop works. I started with the idea of making a shawl with a garter stitch base where the wrong side rows are knit. There are instructions for stockinette stitch base where the wrong side rows are purled. It’s entirely your choice and you can change it up at any time.
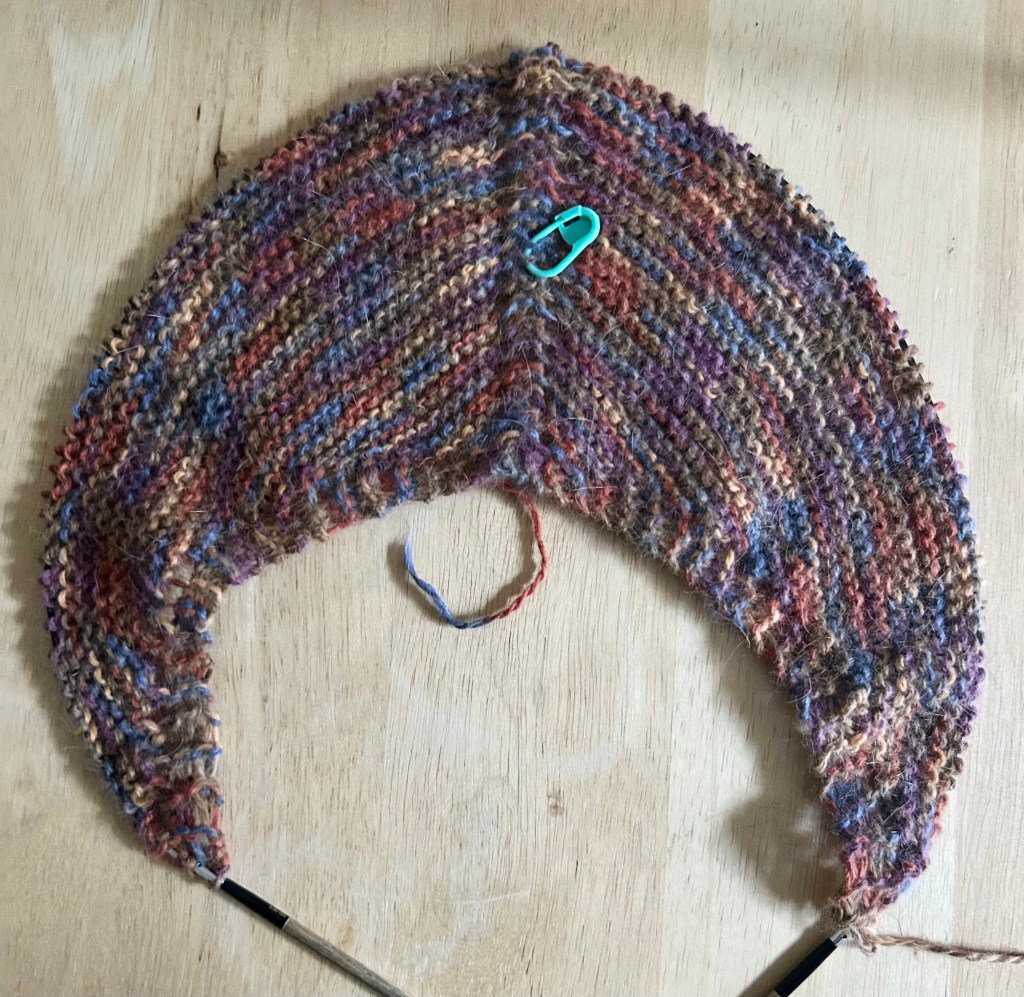
Here is Tier One in garter stitch. Increases at the centre marker are worked every Right Side Row (green marker in fabric to indicatine the right side). Increases at the edges are worked every row throughout the entire shawl.
OK, moving on to Tier Two.
This is where things get exciting. You add two more markers so that you now have 4 sections to your shawl. Because you have also added 2 more markers where you will be working increases, the increases at the two side markers and centre marker are worked every 4th row.
You get to choose which stitch patterns to work in each of the sections. I have chosen to work garter stitch in the first section, eyelet pattern in sections 2 & 3 and garter stitch in section 4.
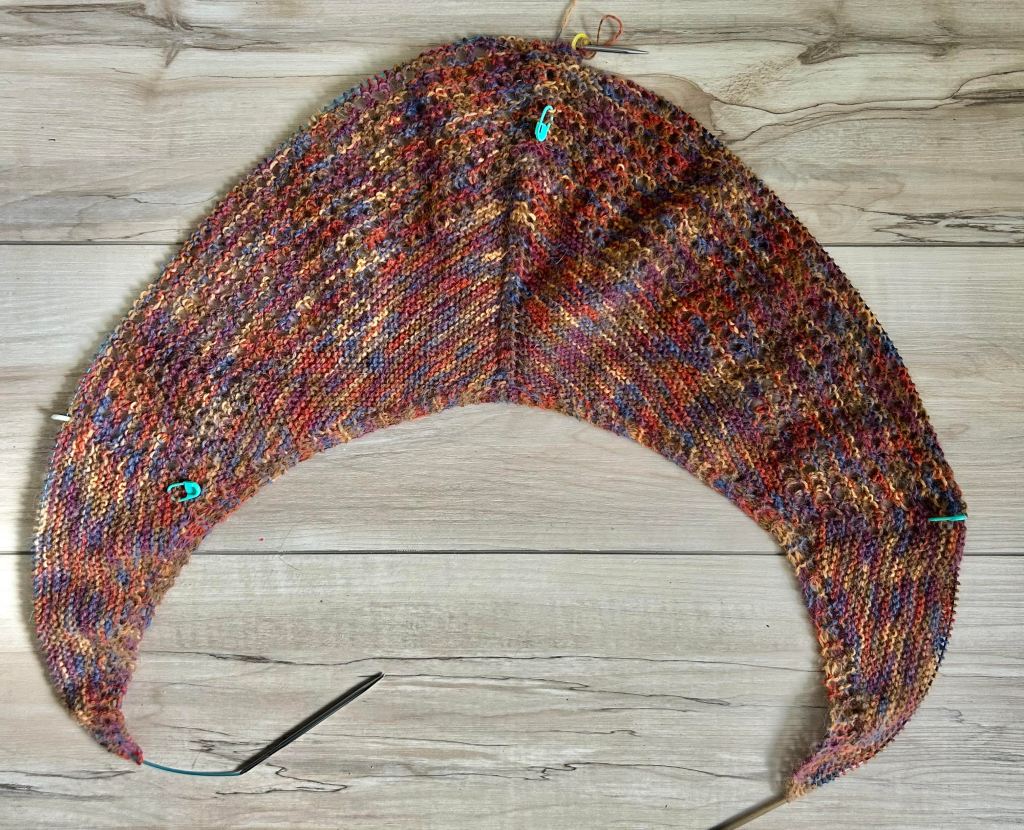
Hold on a minute while I load half the shawl on a second needle so you can see it all. Almost there… It’s getting bigger quickly. Done.
More green markers in the fabric to remind me which is the right side. Here is a closer photo of section 1 & 2.
I am only increasing on one side of this side marker, every 4th row. Working garter stitch in sections 1 & 4 makes it easy to get this Tier started.
I’m going to do a podcast about this shawl and the other 4 I’ve knit which are all different. Does this sound interesting to do?
It’s shawl time around here. Who knew! Not me apparently. That’s all I want to cast on so I’m going with it because what the fingers want, the fingers want.
Impressive, right?! OK, the beginnings are often not too exciting but one must start somewhere.
This is the beginning of the 3 Tier Shawl Workshop which is free at my debgemmellmods store on ravelry. You can knit this in Any Yarn at Any Gauge. You are the boss of this shawl.
Why a workshop? Cabin Fever, a company I had with my sister Lyn (Shelridge yarns), ran a retreat at the Fern Resort for a long time. Maybe 14 years, I’m not sure. For every retreat I wrote a new class. Then we joined up to organize the Yarn Over Sleep Over retreat for another 7 years. I also ran a small retreat by myself in Northern Ontario for a couple years too. All with new workshops for every retreat. That’s a lot of workshops.
This workshop is a class for you to make your own shawl. I give you general instructions and a structure for you to follow. I tried to put in whatever I would have told you if I had been with you in person. So here goes, the first workshop: 3 Tier Shawl Workshop.
It starts with the standard garter stitch tab and then you can work in garter stitch or stockinette stitch.
That’s Tier 1.
Fancy schematics are included. More shawl goodness next week.
I am knitting this wrap as a blanket with my Lichen and Lace Rustic Heather Sports wool. It’s meant to be worked in fingering so I figured that using sports weight wool and a nice big needle would make a good sized blanket. This is the Polaris Wrap by Veera Valimaki. It’s modular which I love and garter stitch, wild, eh?
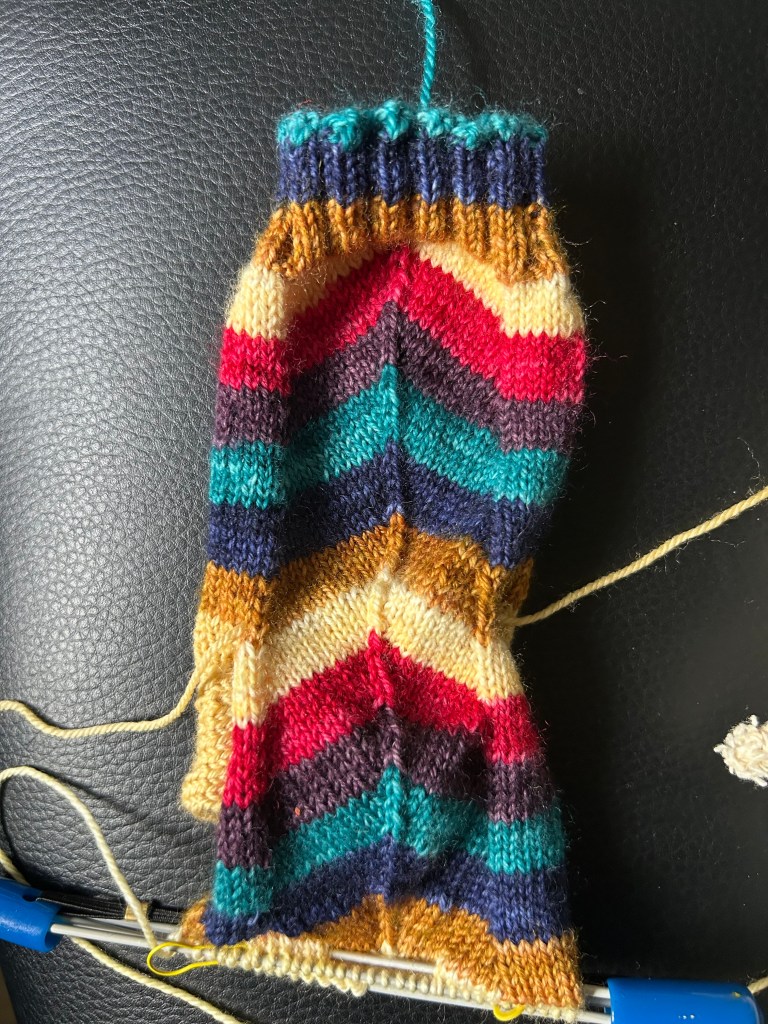
What else is on my needles? You know there’s more. I have socks on the go using Timberyarns and a mitten worked in Waxwing fingering.
Lots of colour around here. Hope it’s colourful where you are. Cheers, Deb
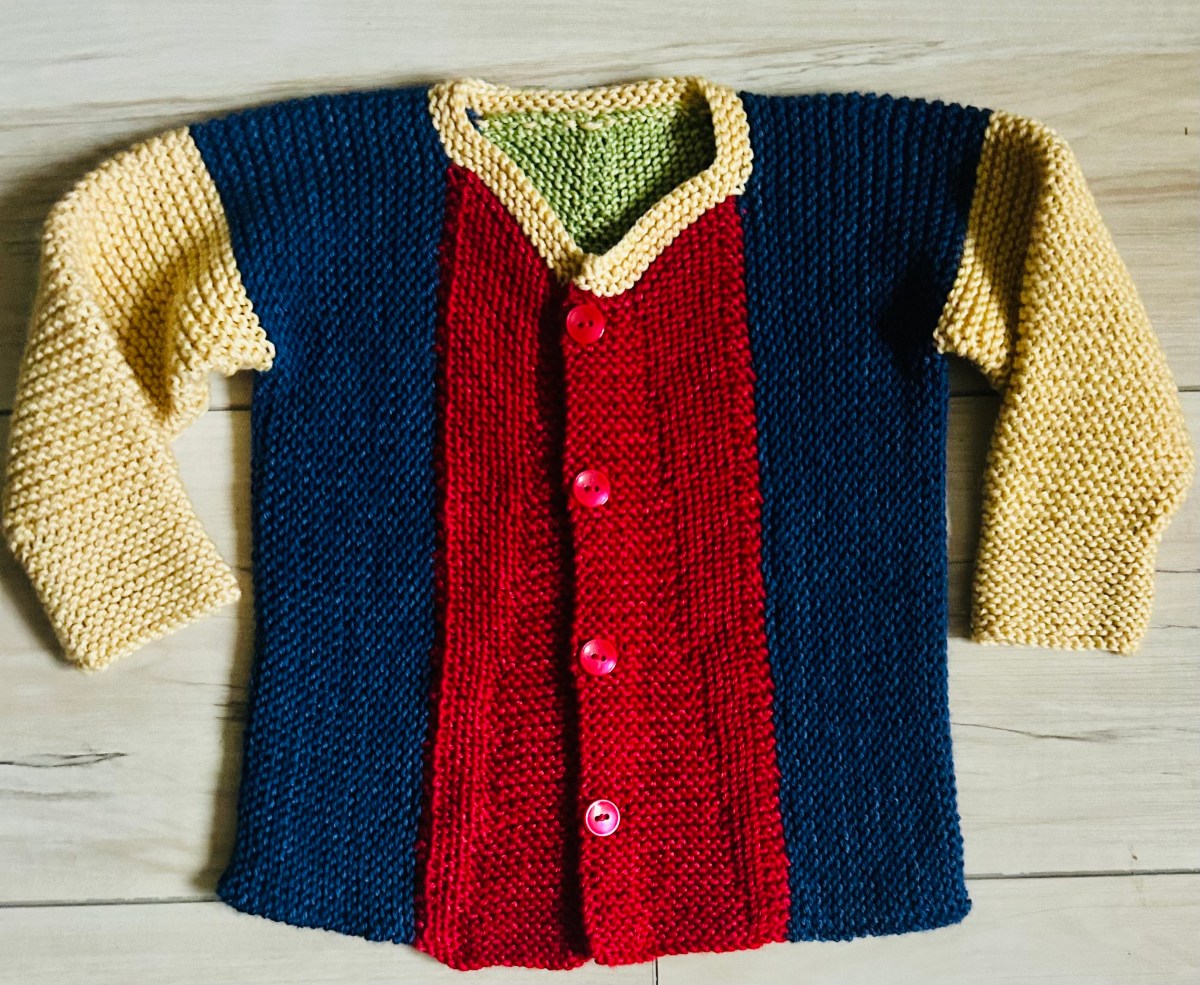
Here it is. The Build a Better V, a pattern re-do to make the bottom edges flat instead of pointy.
The first Build A … pattern was the Build a V. A baby and child sized garter stitch pattern for Any Gauge of yarn.
The second one was the Build a Bigger V for adults. I wanted a rounded bottom edge so worked the increases down the front and back further and further away from the centre markers (orange markers). That seemed to work.
So I took what I did for the adult version and applied it to the baby/child sized version and here it is: the Build a Better V.
Each of the different parts of the cardigan is in a different colour. This is totally unnecessary ( I had bits of DK weight yarn so that’s what I used). It would look great in one colour. But I am not knitting another version.
One big check mark on my to-do list. I hope you enjoy making this for a special little person.
Yup, that’s what’s been happening here. I didn’t realize how frustrated I was until …
I was knitting away on my Build a Better V and everything was going well until I ran out of navy yarn. Yes, arggh, right after knitting one sleeve I realized I didn’t have enough to do a second sleeve. OK, normally that doesn’t bother me that much. I can regroup. I found some yellow wool and made the second sleeve.
Great. I’m happy with that. Then … I tried to unravel the first sleeve and couldn’t do it very easily because of the cast off I used. So, I got the scissor out and I cut it off.
I never do this. I would normally have worked on that cast off edge and unraveled the entire sleeve. I’m not even that upset about this particular sweater. My general frustration is compounded by several projects that are not going well.
I am now working on the second sleeve. I’m astonished at myself. I obviously need to take a vigorous walk or something.
If you want to hear the whole sorry story, here is my youtube podcast.
Last weekend I went to a knitting retreat I have been going to since 2008 (I think that date is right?). Except for the missing covid years, I have only miss it two other times. One of the missing years was last year and I can’t tell you how happy I was to go this year and see all my friends. Even though I only see them once a year it is a joy to be back knitting, chatting, laughing and eating like there was no break at all.
That’s not much of a photo but you get the idea. Imagine all the seats taken with women telling funny stories and knitting or crocheting.
We were in a new location. If you’ve been following me over the last summer you know this sort of place makes me very happy. Knitting, water, trees and friends. Perfect.
Have you been to a knitting retreat? Did you love it? If you haven’t I would highly recommend them.
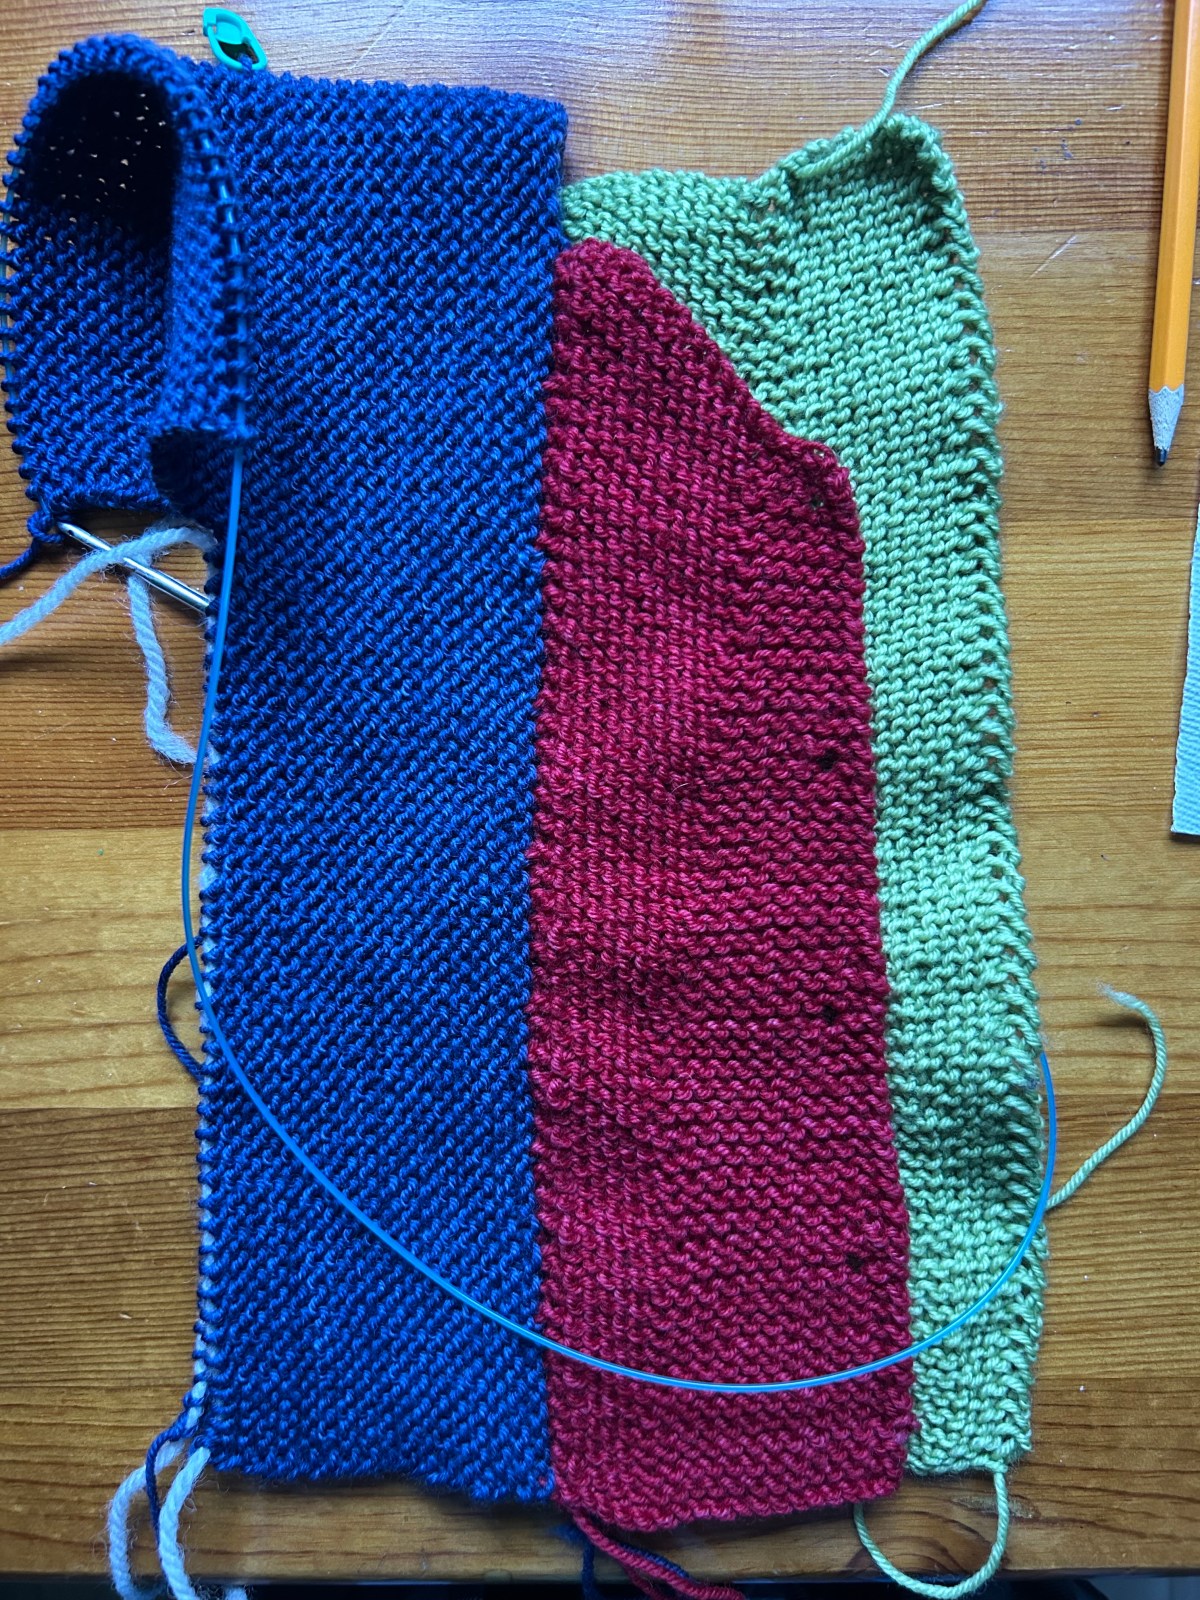
I got quite a bit of knitting done on my Build a Better V, the re-do of the Build A V baby/child pattern. You may notice that it’s a different colour than the last post. I knit the back panel and half the front panel in blue, thinking the whole time that it was a little stiff and thick. It didn’t occur to me for quite a long time that I was working with worsted weight yarn and I meant to be using DK. Ooops. Duh. There was some mix up of yarn weights in my stash I guess. I should know better than depend on my organizational skills.
So here is the new one. The back panel is green and you can see how working the centre increases further and further apart from each other is creating a flat centre section which will make the bottom edge fairly flat when finished.
The two front panels are red, obviously, with the same increase set up, and the sides are navy. These are all left over balls of yarn.
With the navy I picked up stiches along one of the fronts and down the back. Then I knit the side to the width I will need for the finished cardigan. I have started the sleeve too.
Once it’s folded at the shoulder it will look more like this.
The other side should be finished by next week. Oh my, the pleasure of knitting something tiny!!!
I’m taking another look at one of my older patterns. My daughter’s friend has had a baby and I thought I would knit a Build a V baby sweater. It’s a garter stitch Gauge-Free pattern so you can dive into your stash and start knitting.
But my daughter didn’t like the V at the bottom. I’m not sure I do either.
This is the back view.
If you just look at that back centre panel, you can see the V shape of the garter stitch. The V is formed by increasing 1 stitch on either side of a centre marker, every other row, and working a corresponding decrease at the beginning and end of the same row as you work down the back.
I changed how I did these centre panels when I wrote the adult version: Build a Bigger V.
You can see that it’s slightly rounded at the bottom. At least there is no very deep V at the centre bottom.
So I am going to smash these two patterns together and hopefully come up with a better baby/child version.
Here is the beginning. This is the back panel. It started with an increase on either side of the centre yellow marker. Then as I progress down the back I am working the increases worked before and after the centre marker further and further apart.
You can already see that it’s rounding at the bottom. I am knitting with my fingers crossed (difficult), hoping this is going to work out.
Taking bits and pieces from the adult version and adding it to the baby version is a bit of a trick but I think it will be make a better cardigan in the end.
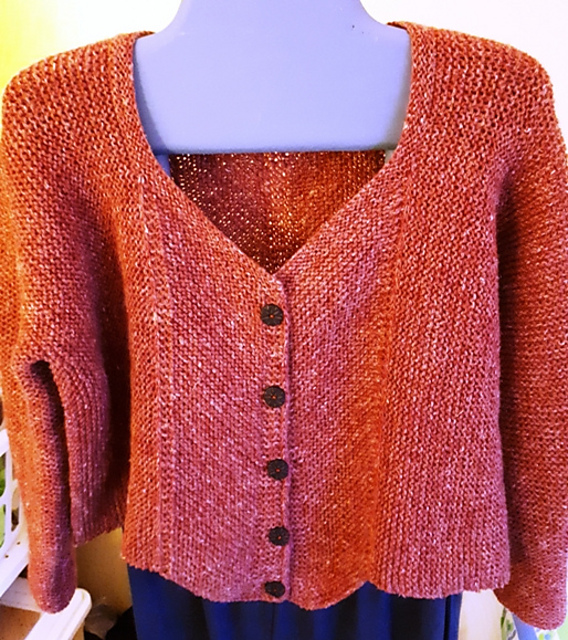
Meanwhile I am still on sleeve island on two adult sweaters and not enjoying it much. Maybe I will knit vests from now on!!!
Cheers, Deb
Cabin Fever patterns by Deb & Lyn If you are also looking for baby/children patterns, we did a lot of them. Check them out.
I’ve started a couple of new projects since I found that knitting one or two things is w-a-y to monogamous for me. I did a video. It’s at the end of the post.
Did I show you my third Twelve-Point Circular Yoke yet? I had some Hempton yarn left over. I have enough to knit my daughter a striped version. This is so much easier than the helical version. The simple stripes are 6 rounds deep. How easy is that?
I used the RL1 and LL1 lifted increases for the points. I think they look really nice. One more stripe to go before I can take the sleeves off.
The new project I wanted to tell you about is the Any Gauge V-Neck Pullover. I’ve started knitting two of them, of course. This is a top down worked in any gauge of yarn. You start with the ribbed neckband, then you work short rows up again the neckband. As you work, the V shape is made.
One is using left over wool from the mitts I knit. This is fingering weight rustic wool by Waxwing.
Big stripes of bright colours. I’m loving this. Don’t stripes make everything go faster?!
Next stripes are navy, light blue, medium green and then lime green. Bold!
I’ve made some progress on the short rows. I’ve added a panel of twisted stitches to this one. They follow the slant of the V and get wider and wider as you work down the V. This is an experiment!
I’ve never charted the short row section for this type of neck before. You may see this as a modification to the pattern or maybe not. I’d have to hand write the chart because it is weird. We’ll see if this works out or not.
All of these are in the pile of projects to take with me. I also have another Lunenburg to finish for my son-in-law. He chose green, red and grey Sport by Briggs and Little for his colours. I added in some black too. I didn’t follow the colour changes on the chart exactly, ok, hardly at all, so it looks really different from the one I made myself.
I printed the chart in black and white and then just change colours when I wanted. It’s freeing and, well, sort of worked out.
I’d like to try it again with some variegated wool that would do all the colour work for me. No ends to sew in. I know lazy, lazy but it could work really well and I already bought some Lichen and Lace wool to do it! LOL.
So here I am still planning on knitting several sweaters over the summer. Am I setting us up for a really hot, humid one?
Walk away from knitting for a bit? No, no, no, of course not. You cast on something else.
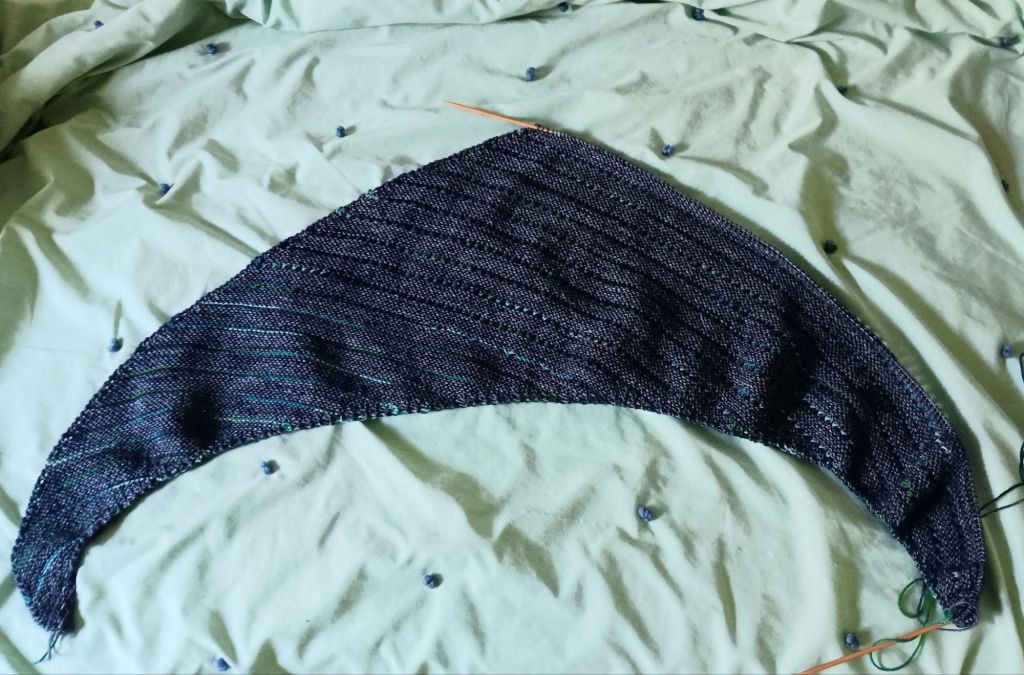
I was thinking about a small project, but what jumped onto my needle was a shawl. Not a small project, sigh.
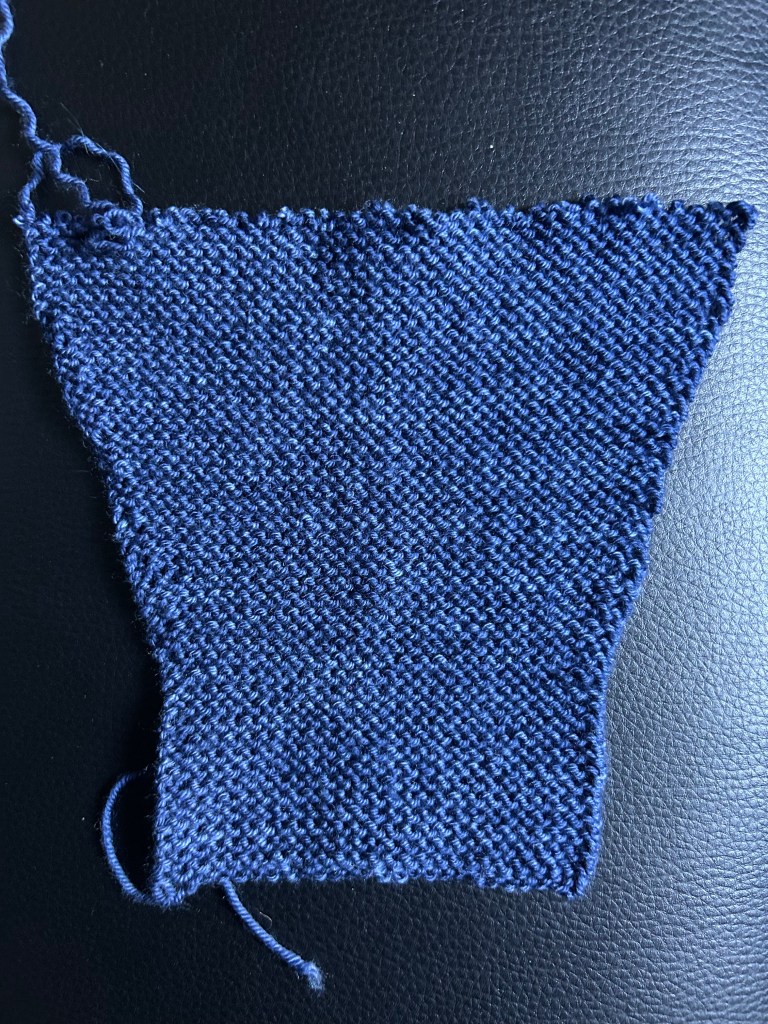
It wasn’t actually as straightforward as that. I had some navy, hand-dyed sock wool and cast on for socks. A small project, at least small in size, to carry around.
The yarn had cashmere in it, and after I knit the cuff, I thought maybe cashmere is sort of wasted on socks, so I ripped it out and here I am.
This is the Magic Symmetry Shawl, knit starting at the side with 3 stitches with increases worked on the leading edge.
This usually makes an asymmetric shape, but this is going to be symmetrical when it’s done, wider than it is tall. To my mind this makes it so much easier to wear.
I figured out a new stitch to add to the pattern. Doesn’t this show off the contrast colour?
I thought I would knit eyelets in the contrast colour rows. I worked [Yo, K2tog] and found I liked the wrong side better. So now I knit the right side row and on the wrong side row work [Yo, P2tog]. So happy with how this looks.
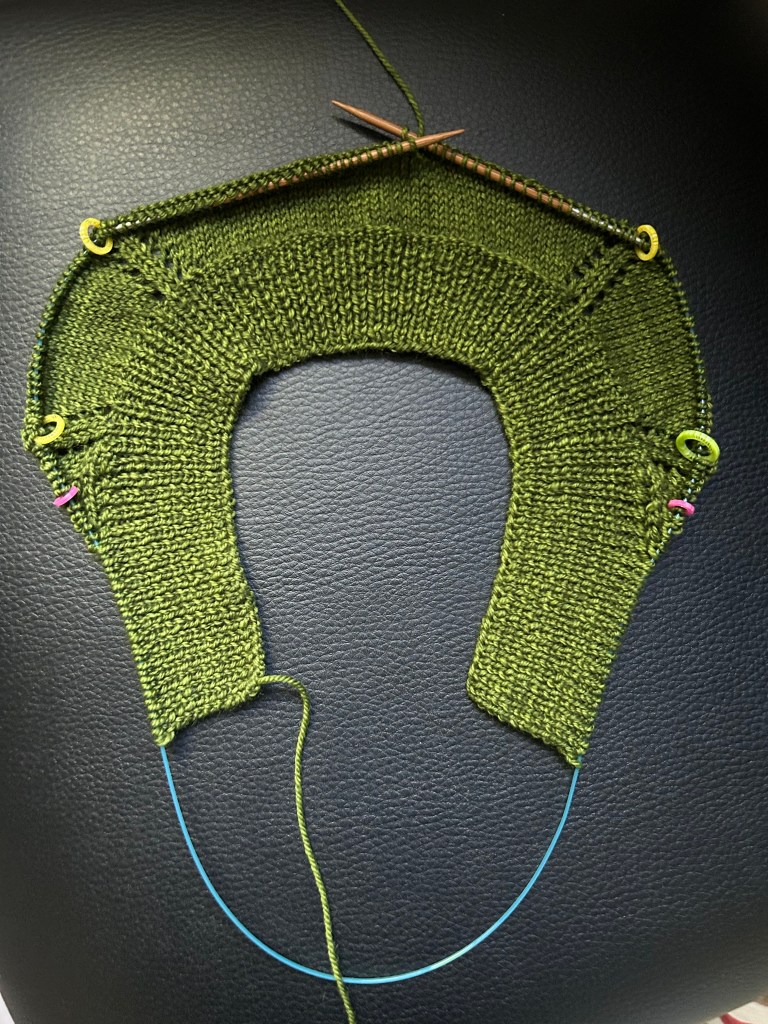
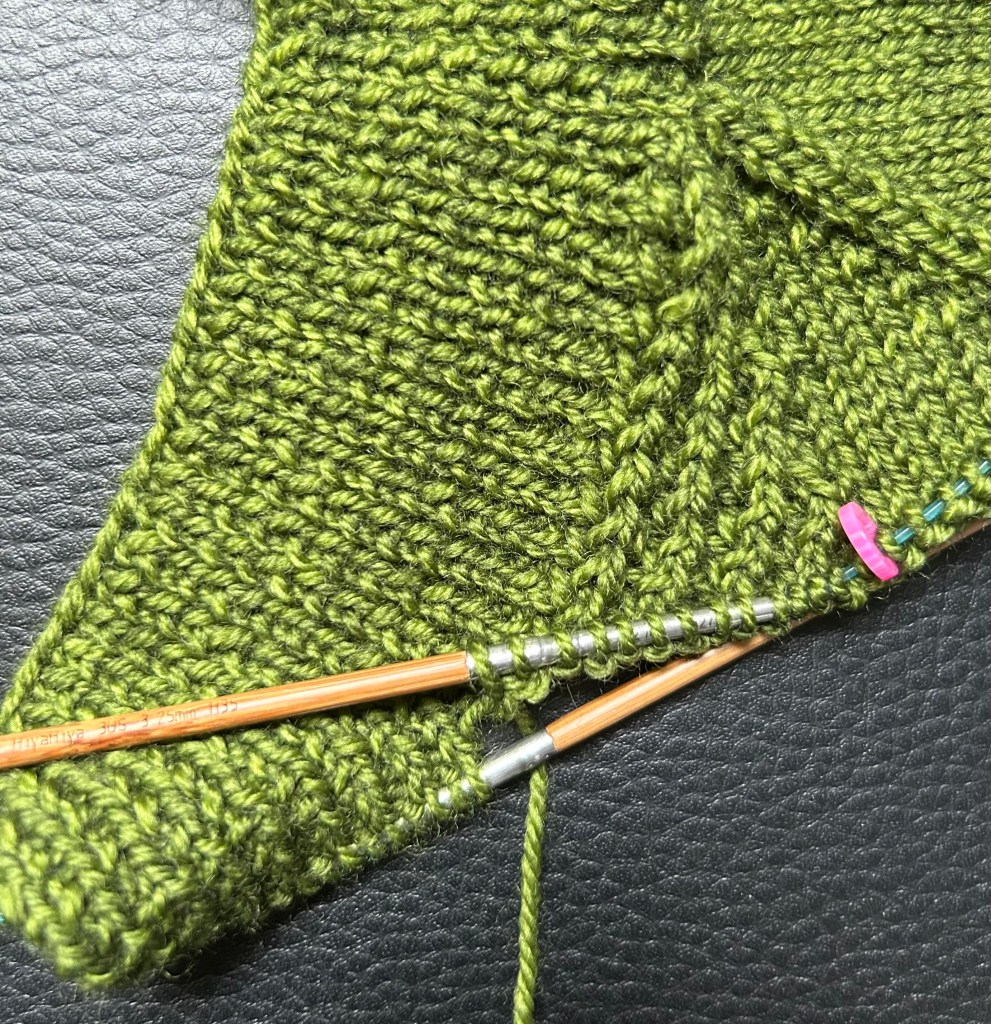
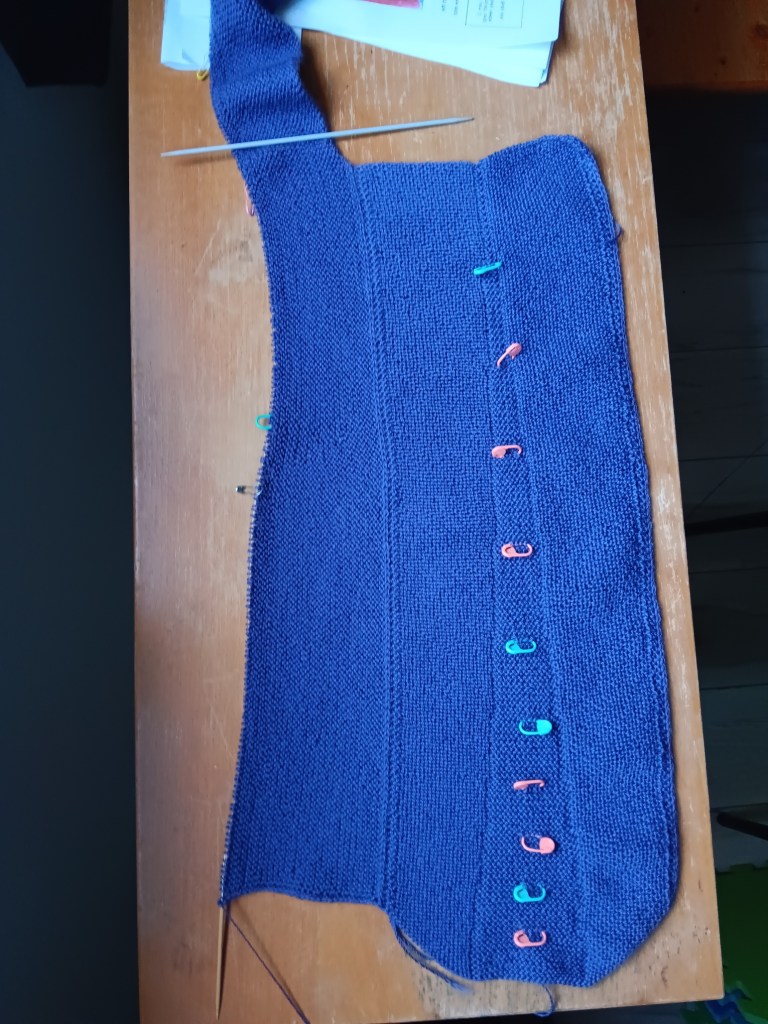
As I have been knitting away on my vest version of the Build A Bigger V cardigan I have been thinking about the armhole. They are rather a big deal when knitting a sleeveless garment, right?
My other concern was getting some extra bust width on the front. Short rows to the rescue. The mods pages for the cardigan has instructions for short rows to make an A-line cardigan. I used the same idea except for where I began my short rows.
I want the extra width to begin high up so I get an outward slant to the line from the shoulder. High on the front (the top pine) and lower on the back (lower pin).
I worked the short rows with 2 ridges in between. I think it worked.