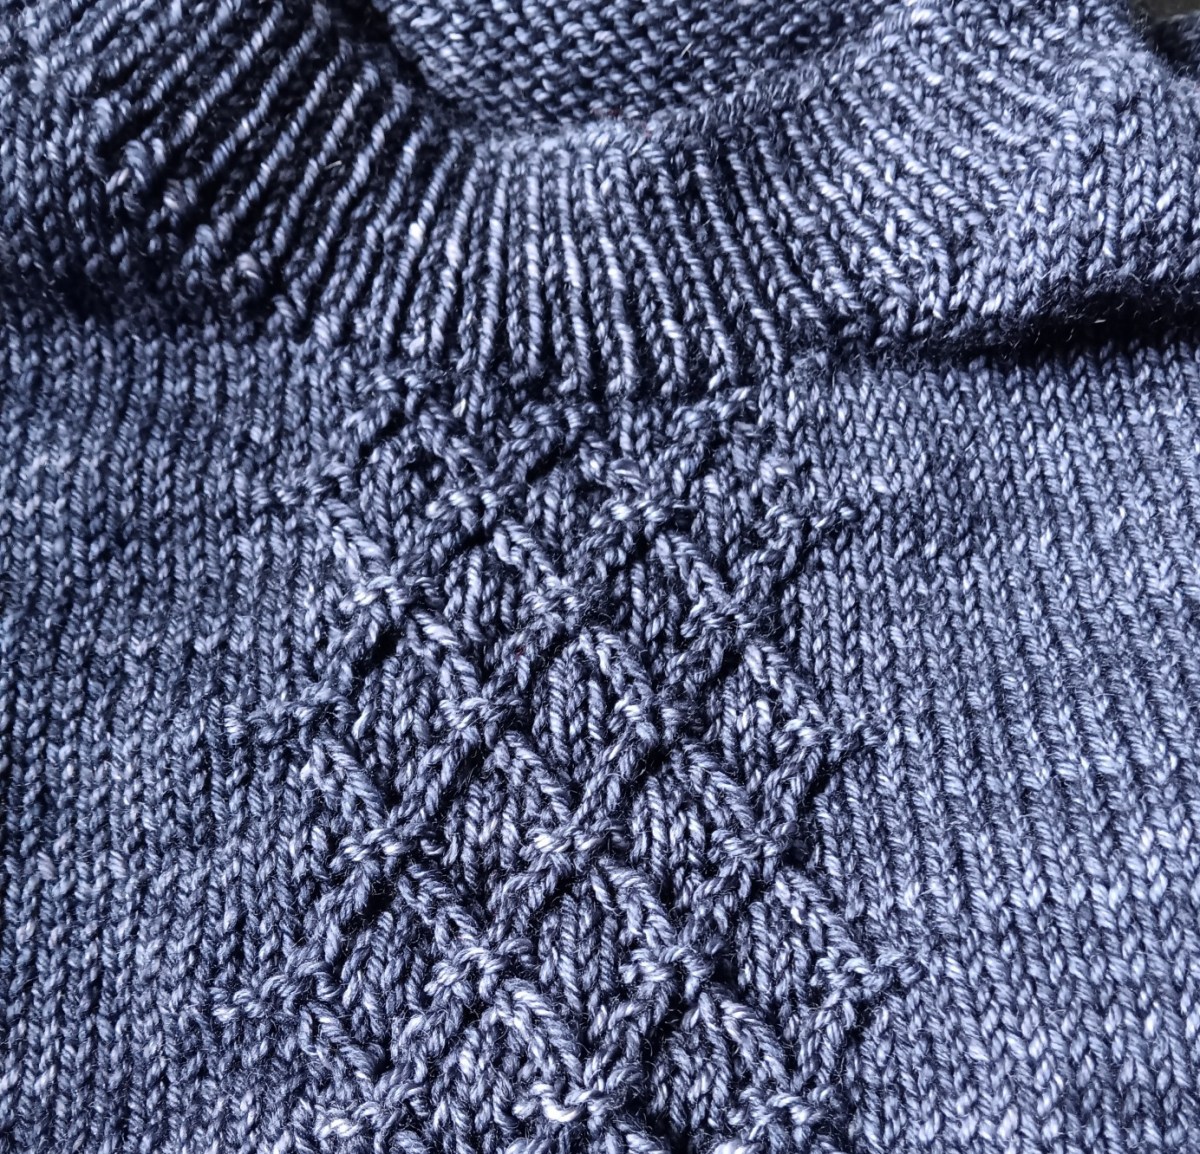
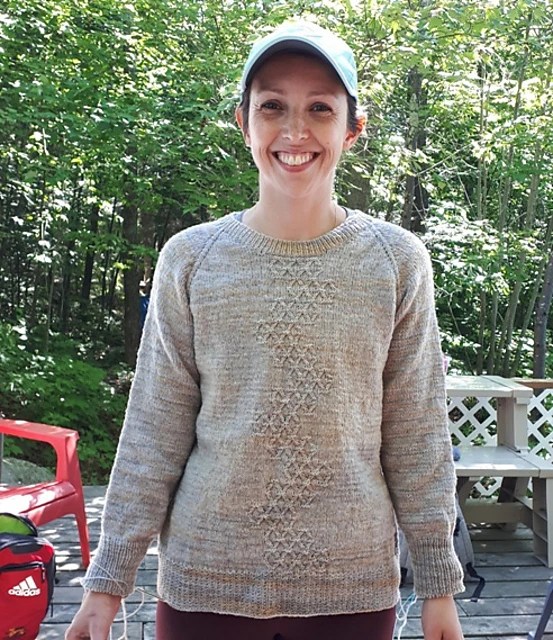
Twist stitch patterns are perfect for adding into a sweater. They don’t affect your stitch count so you can just plug them anywhere you want. I put this pattern down the middle of the front of this top down pullover. I will also add this pattern to each side of the body. I might even add them into my cuffs. Why not? I just can’t get enough of them.
Twisted stitches are a two stitch cable without the cable needle. Don’t you love that!
There are parts of sweater knitting that I enjoy over others. Settling in to knit a raglan yoke is one of the most enjoyable parts of the sweater for me. I love keeping track of the increases, seeing it get bigger and bigger, wider and wider, knowing it’s going to be so great.
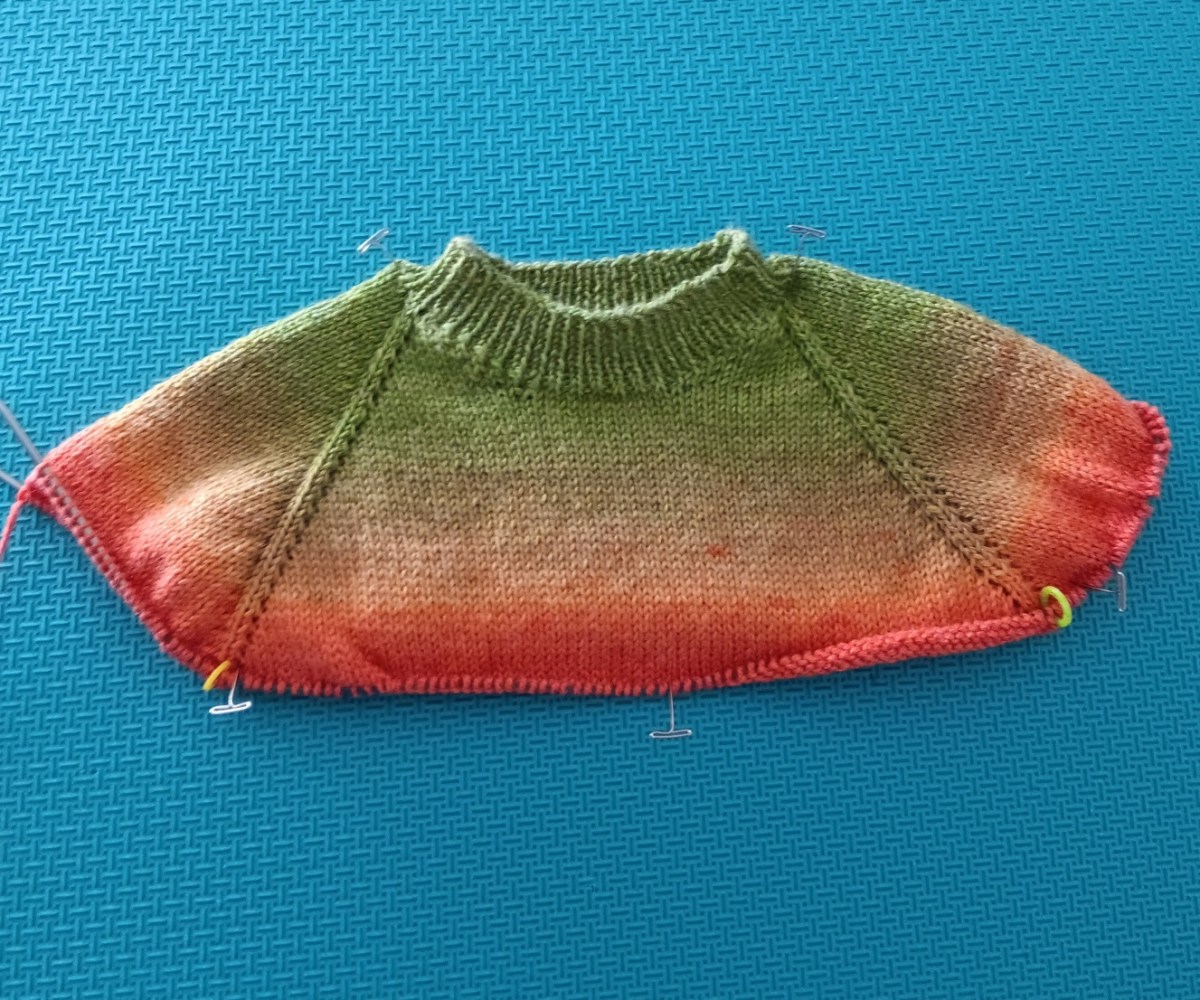
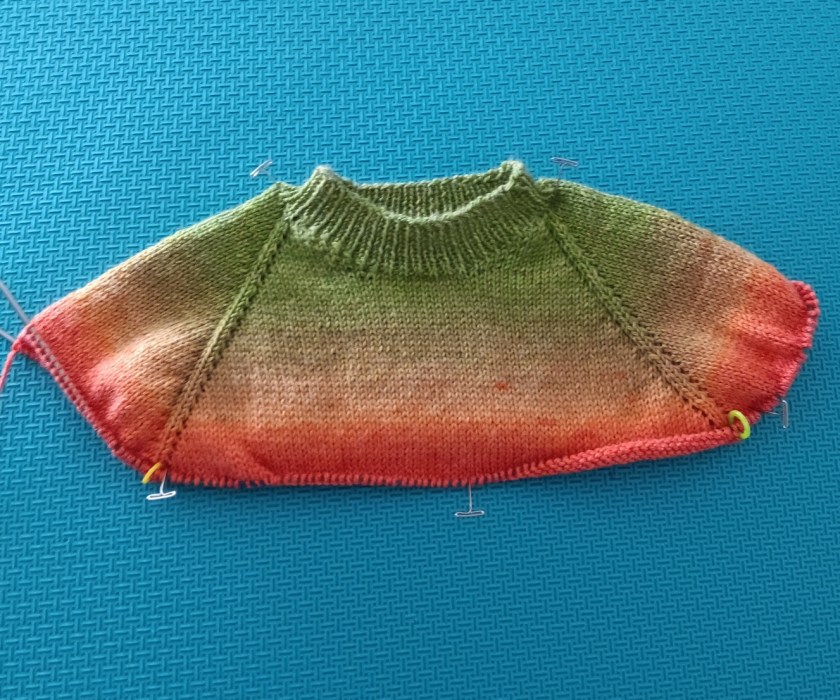
Both of my Family Crew Neck sweaters are progressing well. The child size 4 is way ahead.
The colouring of the yarn is a great incentive to keep going. This is Maravilla by Katia, a wool & acrylic blend.
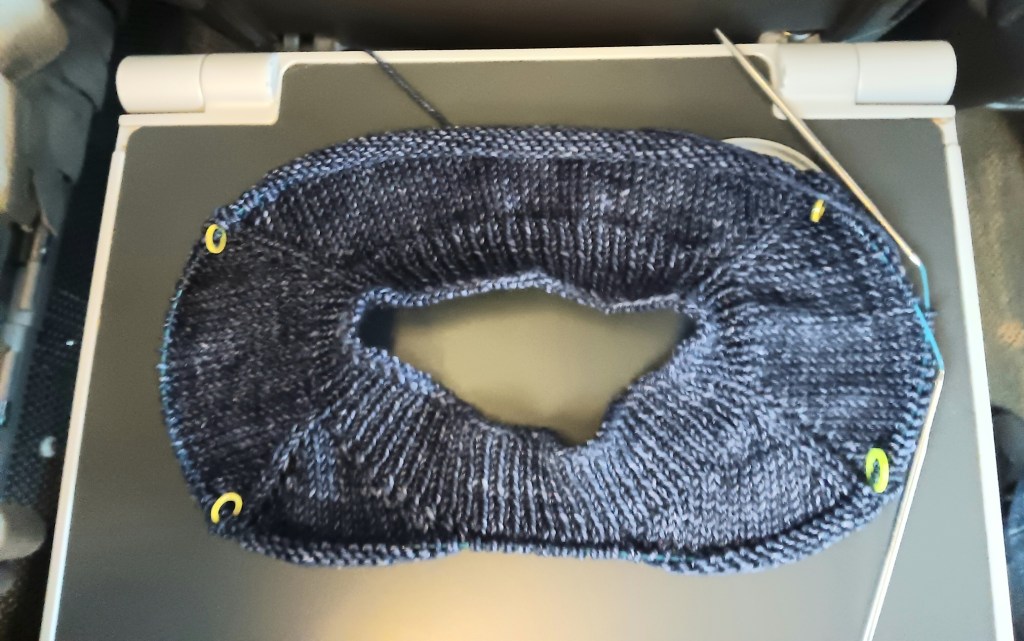
My navy version (Shelridge Yarns, W4 worsted, navy) is coming along. The short rows are done here. I was knitting on a train trip to Ottawa. Perfect knitting conditions: travel mug of tea, audio book and ear buds, hours of quiet knitting time.
Now I’m ready to really go for it. I will be introducing a pattern into the front 20 stitches between the ends of the short rows. Fun, fun, fun. Isn’t knitting just the greatest!
This will be my first sweater of 2024 and I am so excited to get started. If you want to knit along with me, the Family Crew Neck is on ravely. I am going to make videos for most of the sections of the sweater so you can see how this pattern works. It’s an Any Gauge pattern so I don’t know what yarn or what size you are knitting, that was the challenge of writing this pattern.
I am going to knit a 4 year old size for my grandson and an adult size for myself. I had knit one for my son-in-law, my grandson (both in the photo), one for my daughter-in-law (also in photo), and one for my daughter. I didn’t knit one for myself!!! It’s obviously time.
This is a longish post. Getting started always takes a bit of time. Hang on, there are videos and photos of the Cast On for both sizes.
Here we go. Because this pattern is for Any Gauge of yarn, you do have to do some math. Sorry, but there is no avoiding it. You need your gauge (# of sts in 1″) and a couple more numbers. Nothing your calculator can’t handle.
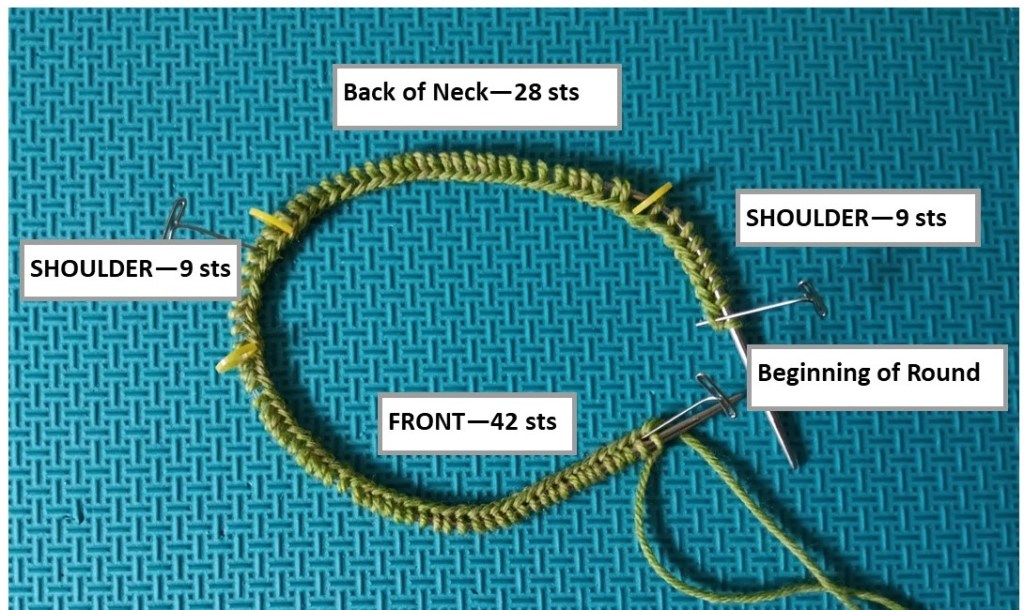
Here is my cast on. Gauge is DK weight yarn (5.5 sts = 1″), 4 year old size with 5″ Back of Neck (BofN).
Yes, there are a lot of Front sts, that’s totally correct. The extra Front sts will form a dropped front to the crewneck.
Here is my cast on for an adult size in worsted weight yarn (gauge is 5 sts = 1″) with an 8″ Back of Neck.
And now, how can you cast on when you will be beginning with the neck band and it needs to go over your head easily? I learned this from Cat Bourdhi and now use it all the time.
It’s that time of year. I hope you are enjoying some holiday cheer. Best wishes to you and yours.
I have knitting plans, of course, for the holiday. Plans to finish a few things.
This hat, a Two Triangle Hat made out of chunky weight left-overs.
Today I am going to block this sweater. There, it’s in writing, now I have to do it. Wait, I’ll just go run water into the sink … there that’s done, now it’s going to happen. It’s one of those double stranded mohair + wool sweaters and I’m a little nervous about washing and blocking. Have you done this? Did it work out ok?
Another sweater that I started waaay back has sleeves to finish. I am knitting them 2 at a time, my new favourite way. Of course you wouldn’t know that since it’s been sitting for a while but I am looking forward to doing the sleeves.
Then there is the Christmas sock gift that I have to finish pretty smartly. These I’m knitting in the helical way with 3 colours. I am enjoying watching the colours come together.
Phew, after all of that, I might, just might, start a pullover for my grandson. I have the yarn on my desk and it is calling to me.
In January I am going to knit another vest. I have an idea, which may or may not work, but that’s the fun of it.
See you on the other side. Happy New Year, 2024, yikes!
I’m working on the back panel of the Build a Vest with all those markers in place. What are they doing down the centre? I thought you’d never ask.
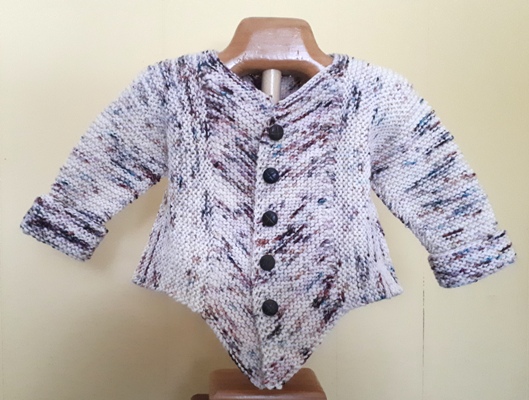
The first Build a V that I worked on was the baby version.
As you can see it also starts with a front and back panel, then is worked sideways for the sleeves.
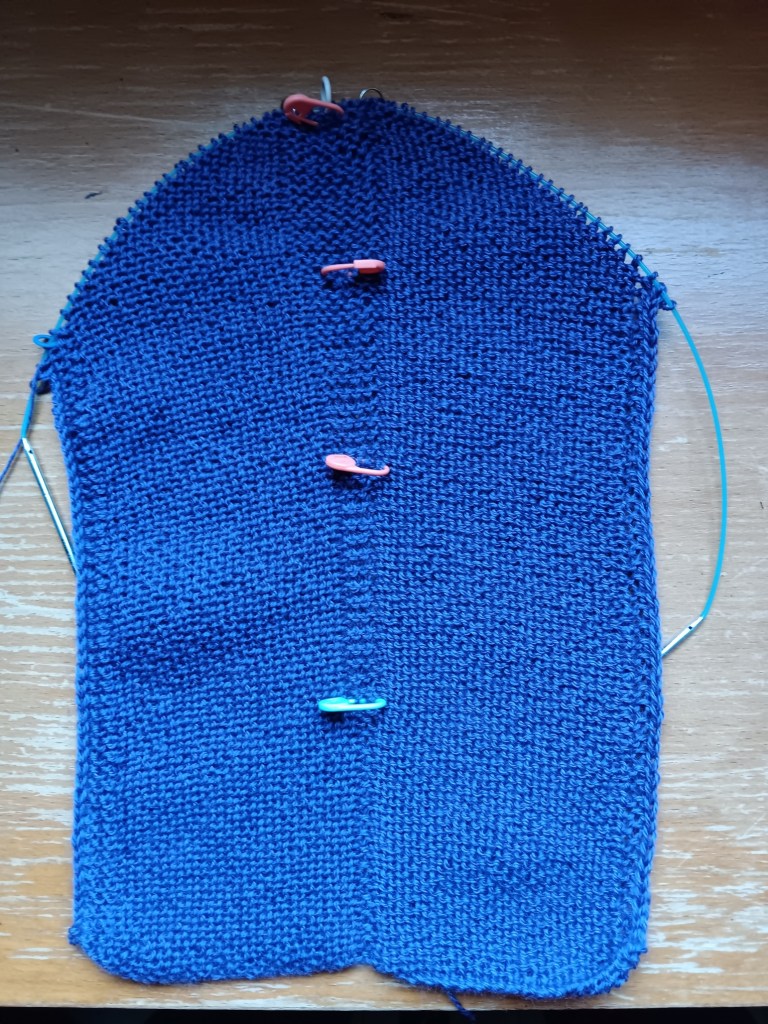
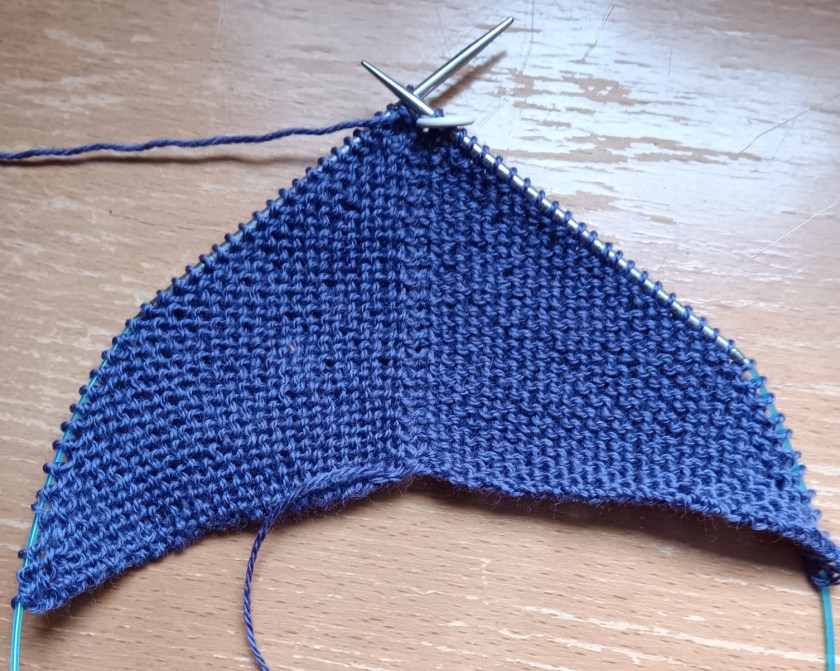
The back panel looks like this.
See that nice little pointy V at the bottom? I didn’t want that pointing at my derriere on my vest. Would you?
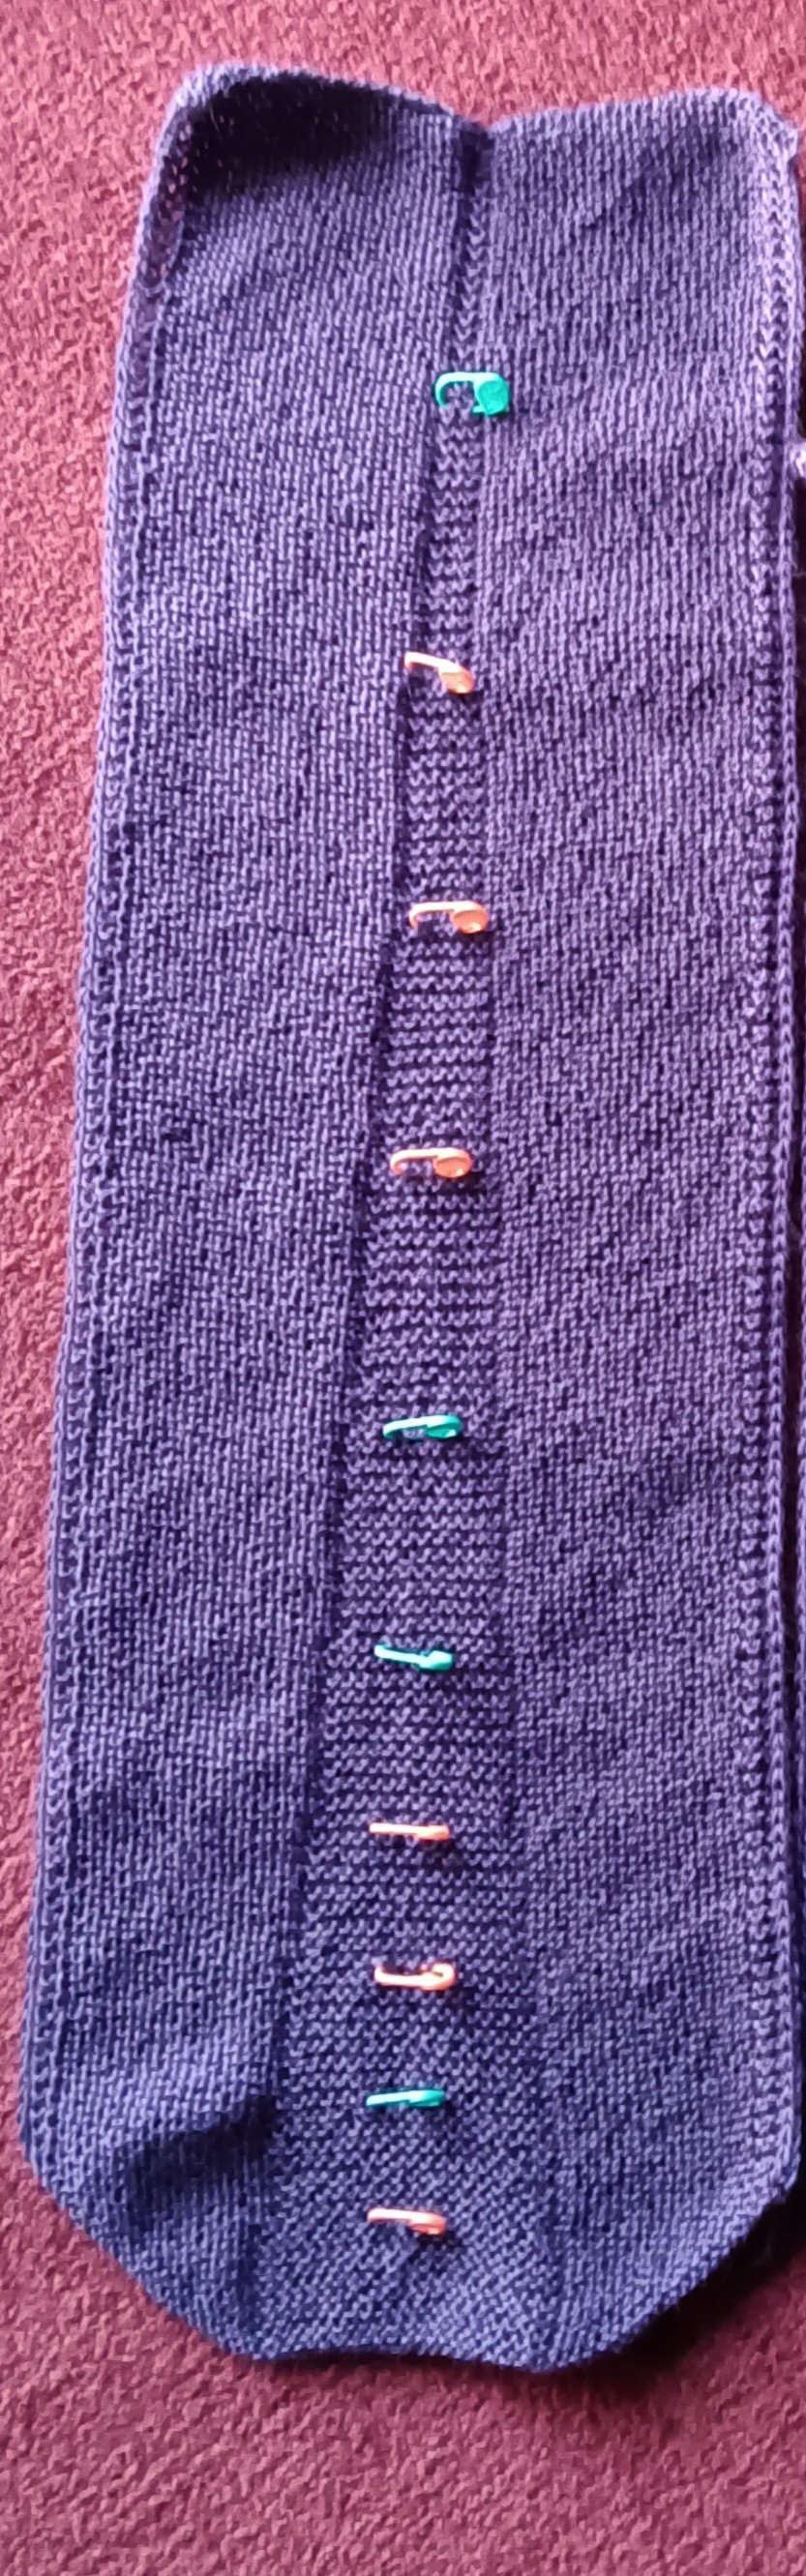
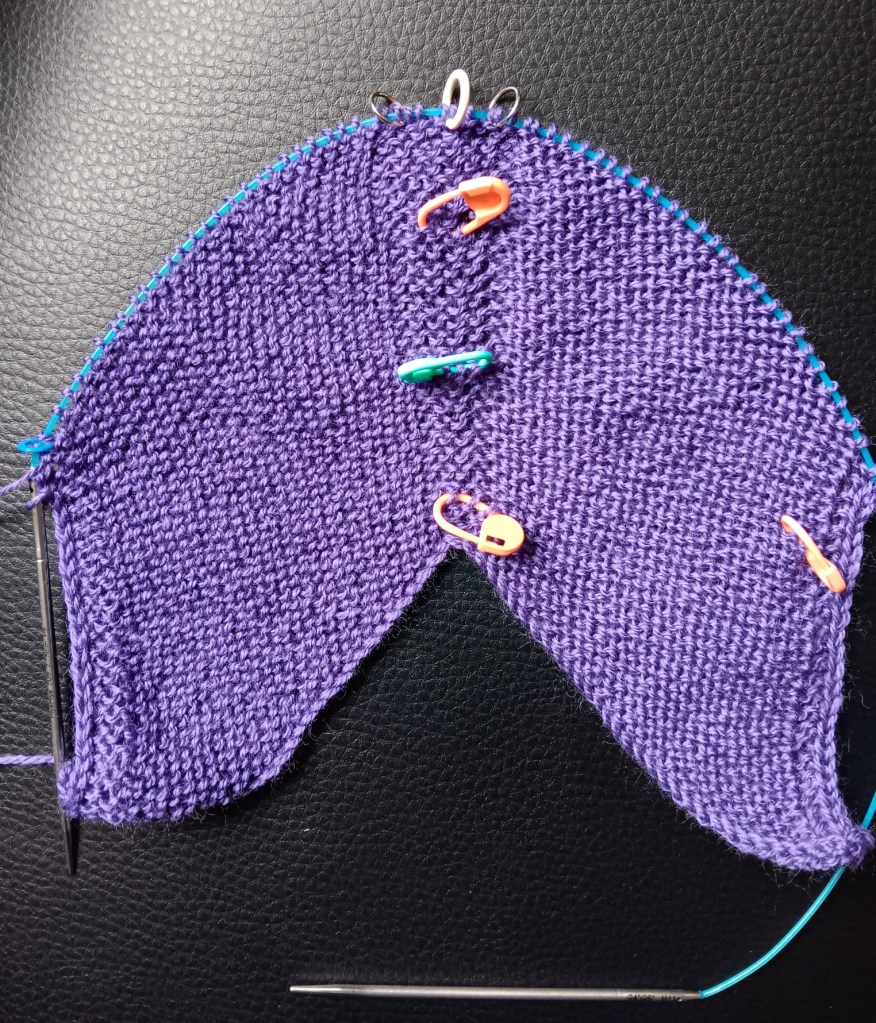
So … all those markers. They indicate x number of ridges as I worked down the back.
This is my Build A Bigger V cardigan, and you can see that the point has been taken away, creating a rounded bottom to the back panel. At every marker I moved the increases further away from the centre marker.
This is my finished back panel of my vest.
The centre section gets wider and wider. As I approached the bottom I started widening the centre section a little more often.
I think this would work for a triangular shawl too, if you didn’t want that sharp triangle point. What do you think?
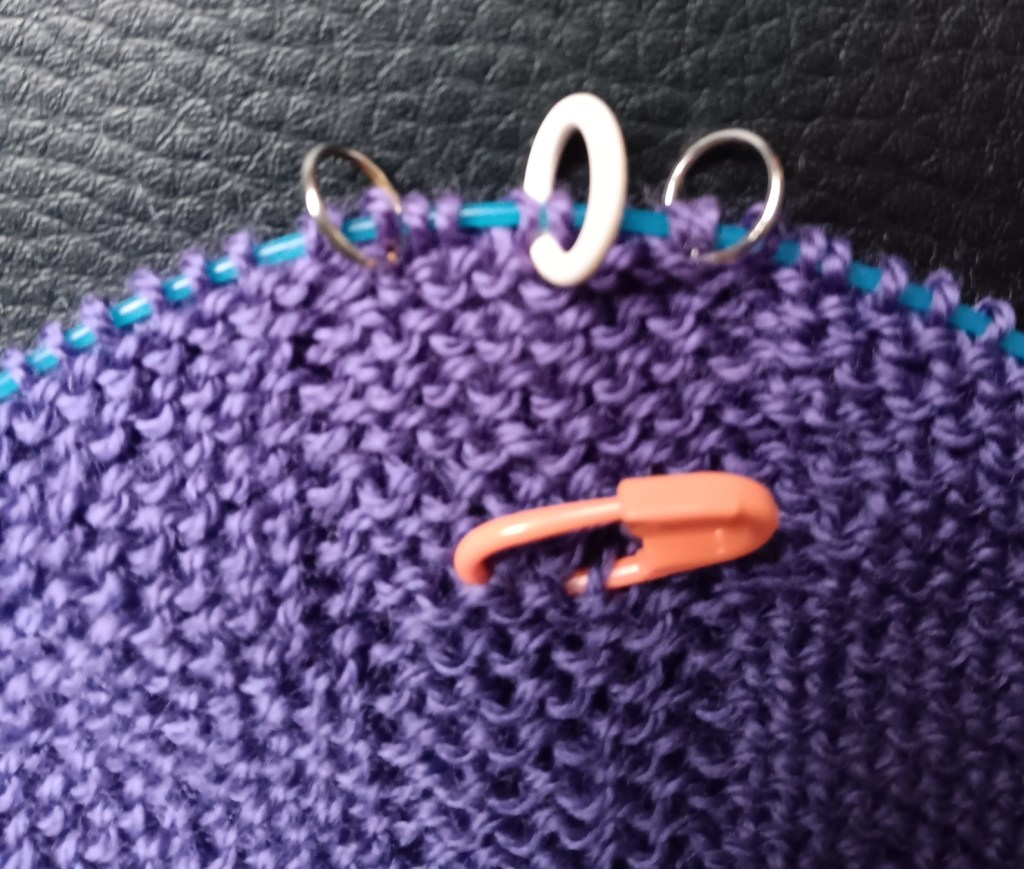
I am using several markers for this project. Only one is required by the Build a Bigger V pattern. That’s the white marker in the centre. The rest help me keep track of the shaping and remind me when and where to do things.
There are 7 more markers here which are all for me. Yes, there are quite a few. Yes, they are different colours and types of markers on purpose.
Marker for Right Side of fabric: That orange marker on the right is pinned through the fabric to tell me this is the beginning of the right side row. It is especially helpful at the start of the project when there aren’t as many other things to tell me I’m on the right side. It’s a removable marker so I can move it up as I knit.
Markers for length: The orange, green, orange sequence up the middle are for counting ridges so I don’t have to keep counting from the cast on. I am placing the first orange marker after the first 2 ridges, then every 8 ridges as I continue down this front panel because something happens every 8 ridges in this particular pattern.
Markers delineate: The two metal markers on either side of the centre marker (white) show me where the middle section is. You can place markers on either side of a stitch pattern or some section you need to keep track of.
Markers – do something here: The metal markers on either side of the centre marker also help me find where I need to work increases. The instructions say to work an increase x number of stitches before the centre marker (white). I don’t have to keep looking ahead for those x number of stitches if I put a marker in. I work one increase before the metal marker, knit across the middle section to the other metal marker and work an increase after it.
Markers – pay attention: I have a lot of trouble remembering to do things at the ends of the rows. So the blue marker on the left edge is telling me to pay attention and work a decrease, duh. I know it’s supposed to be there but I have merrily knit right past it so many times, I needed a marker to remind me. It’s a rescue marker.
I have collected several different types of markers for this very purpose. They help me reduce the stress of paying attention, cut down on the amount of ripping back I have to do, and therefore, make my knitting so much more enjoyable.
This vest, and the cardigan I’m modifying it from (Build a Bigger V), will be Gauge-Free. No swatch needed. No talk about gauge at all, none, throughout the entire pattern. How freeing is that?
How can it possibly work?
Start with a couple of stitches and build a triangle with increases worked on either side of the centre marker. Work until the solid edge of the triangle is the width of the Back of Neck. Mine is 8″ wide.
Width of Back of Neck is 8″.
That sets the number of stitches for the Back Panel. You need to count the number of stitches you set up with at this point but we don’t care how many stitches per inch you are getting here. Any number of stitches will work.
Now, I will keep the same stitch count as I knit the back panel.
The shaded part here is the Back Panel. The triangle begins at the Back of Neck and the Back Panel is knit down to the desired length.
The decision will be how long I want this vest to be. Lots of knitting for the next week.
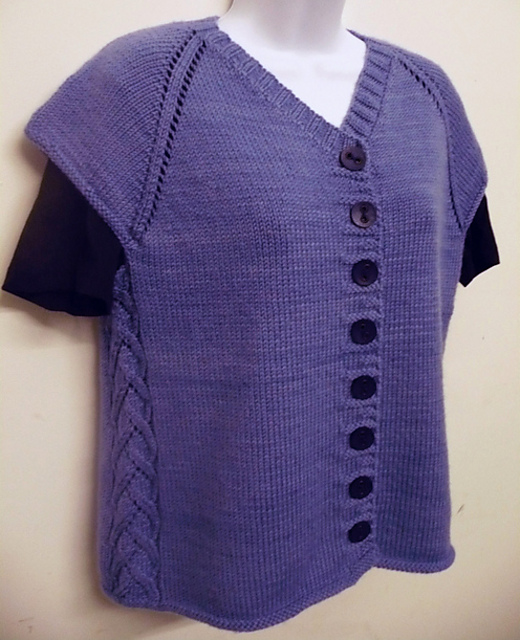
This is a photo of the Build A Bigger V cardigan before I knit the sleeves. This could be a vest as it is in this photo. It has 9″ of ease so if it was a little more fitted … it could work.
But I sort of like the idea of cutting in the armhole, for a sleeveless look (white line).
Better?
At any rate, I’ve started. This is the beginning of the Back Panel. I’m knitting in fingering weight yarn (80/20 fingering by Shelridge Yarns – colour Iris). Yes, this will be a lot of knitting but here I go.
The idea of Building a Vest using the Build a Bigger V cardigan intrigued several knitters. Thanks for voting. Cheers, Deb
I want to knit a vest. That’s not so weird, right? They are handy to have. Winter is coming and I want to be prepared.
I could make it in the normal vest way: start with the shoulders and knit the front to the underarm, knit the back, join in the round at the underarm, and well, you get the picture. But no, not doing that because of … the idea.
… where the shoulder is narrower. How can I shorten the shoulder section so that when I cast off the sleeve stitches I have what looks like a sleeveless armhole?
Yes, this is my big question. I know, I know, why bother? Sometimes a question like this grabs my attention and won’t let go so … here we go.
I’ve moved after living in the same house for 32 years. Once my two kids left home, my knitting took over. Walking into my knitting room, knowing I wouldn’t have another one in an apartment, was sad and problematic. What should I move, and what to do with the rest?
Moving some of my yarn forward was fairly easy. I had my knitting guild friends come over and take it away. My yarn now has new homes where it will be treasured.
The hard part was facing all those WIPs. OMG, there were so many. I must admit that I brought many with me. I’m going to go through them and tackle them one at a time, but not right now because I can’t face them.
First on my list is this Bonne Annee by Vera Sanon.
I even chose the same colour.
Why was it in the knitting time-out corner for years? Why was I knitting the extra small size when I need a large? Questions, questions, right?
Once I took out my ruler it was quite obvious. The gauge for the pattern was 24 sts = 10cm/4″ and I was getting 20 sts = 10 cm/4″. Wow, that throws things off just a tiny bit, ha, ha. I’m using fingering yarn but still can’t get gauge, my usual frustration, pardon me, my usual challenge (trying to change my attitude here).
Problem solving commenced and I think I have a reasonably successful body, not perfect, but finished.
My tip of the day is to work your body on two circular needles,one for the front stitches and one for the back. Each time you switch needles you knit the stitches back onto the other end of the same needle.














 Deb Gemmell: Top Down, Gauge Free and more