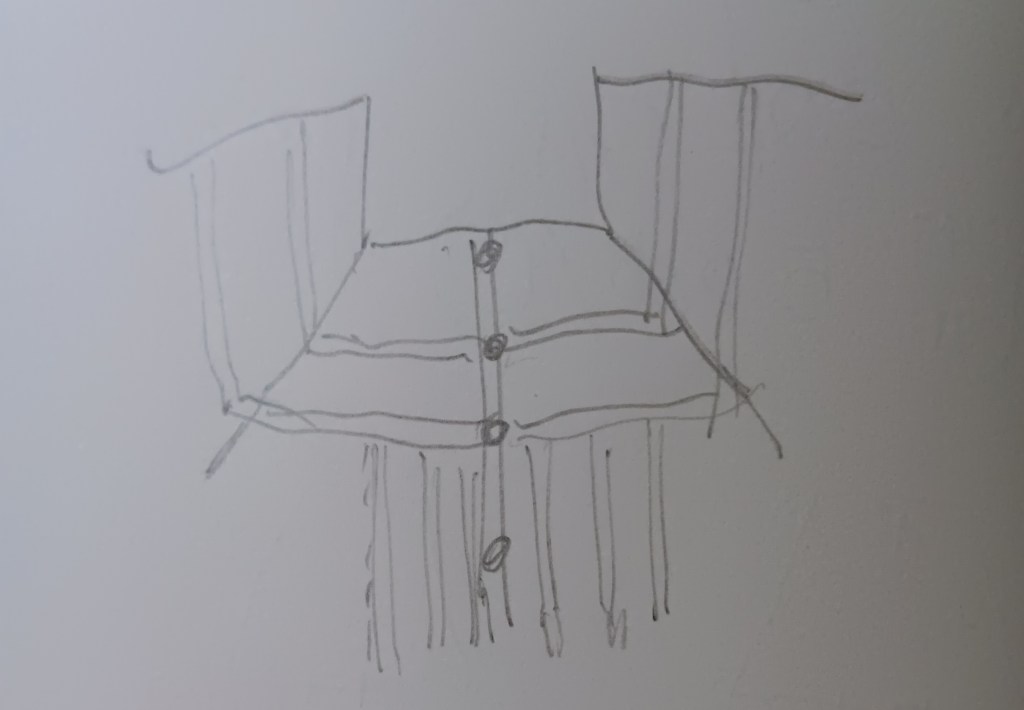
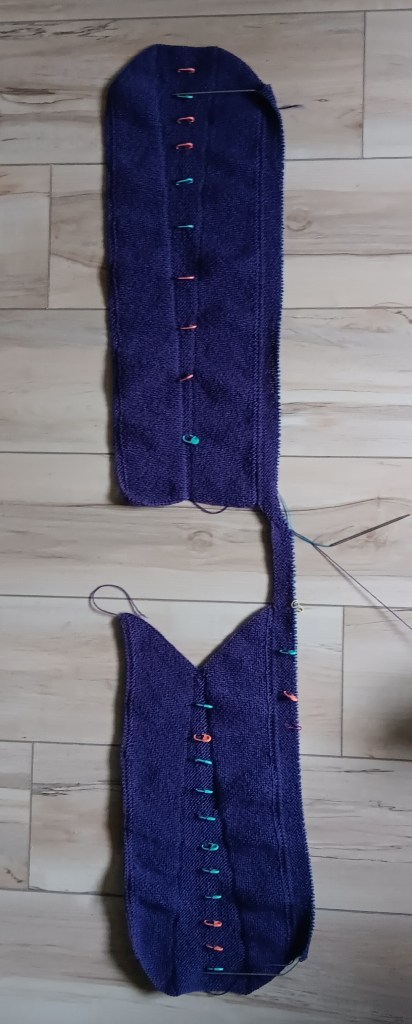
Short Rows are the best. To drop the front of your neckline you basically work back and forth, working more rows across and Back of Neck and never working across all the Front stitches. Every time you turn from the right side to the wrong side at the end of a short row, you create a gap.

Different kinds of short row systems are all about how to close these gaps.

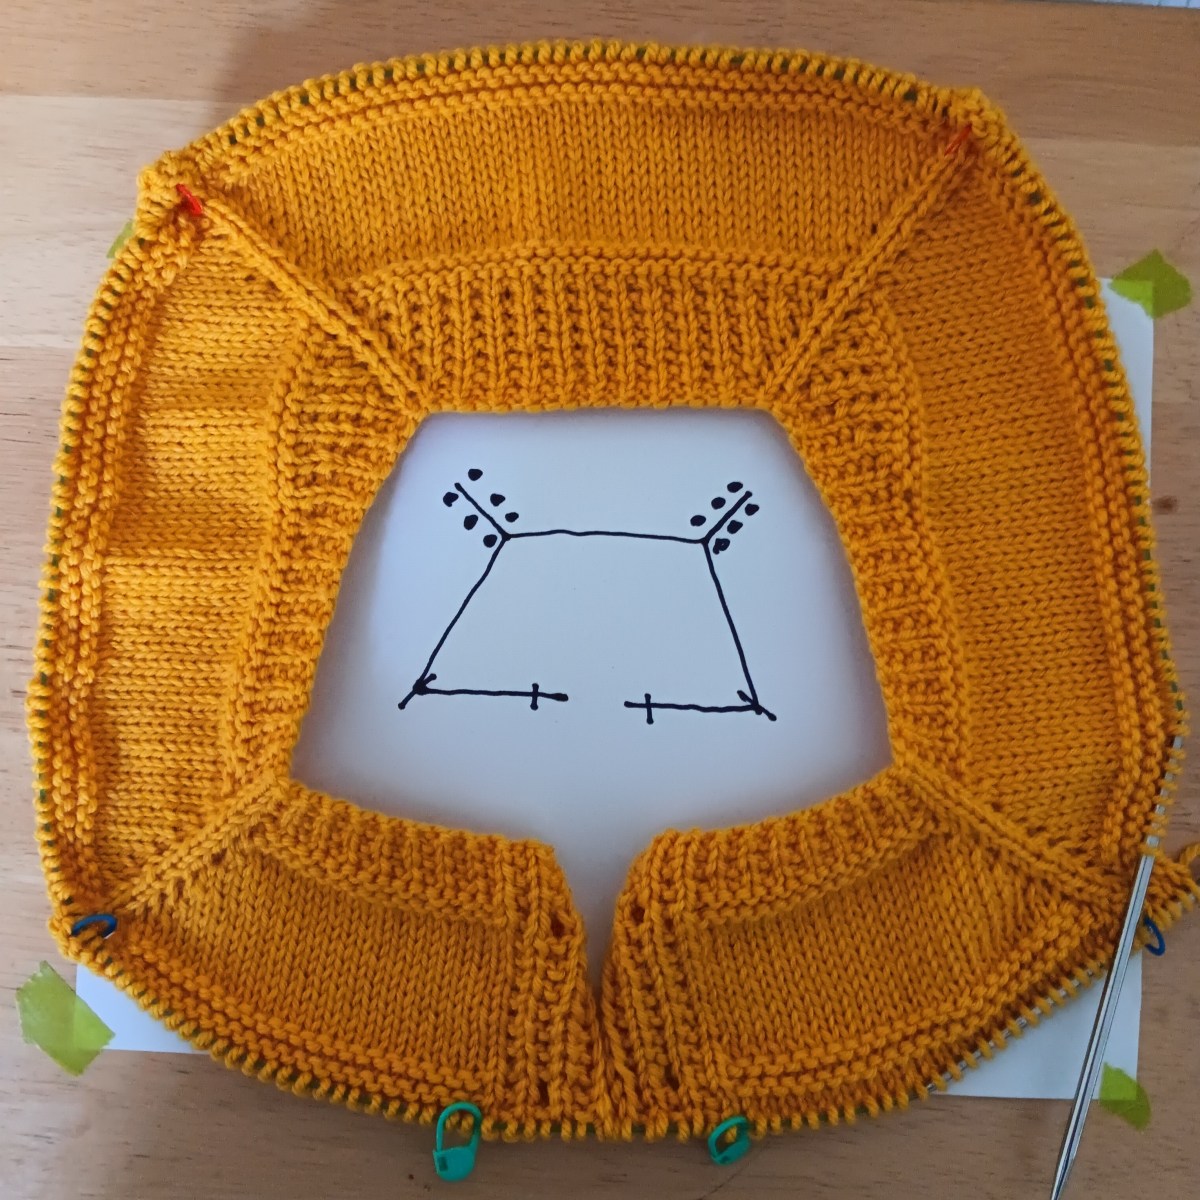
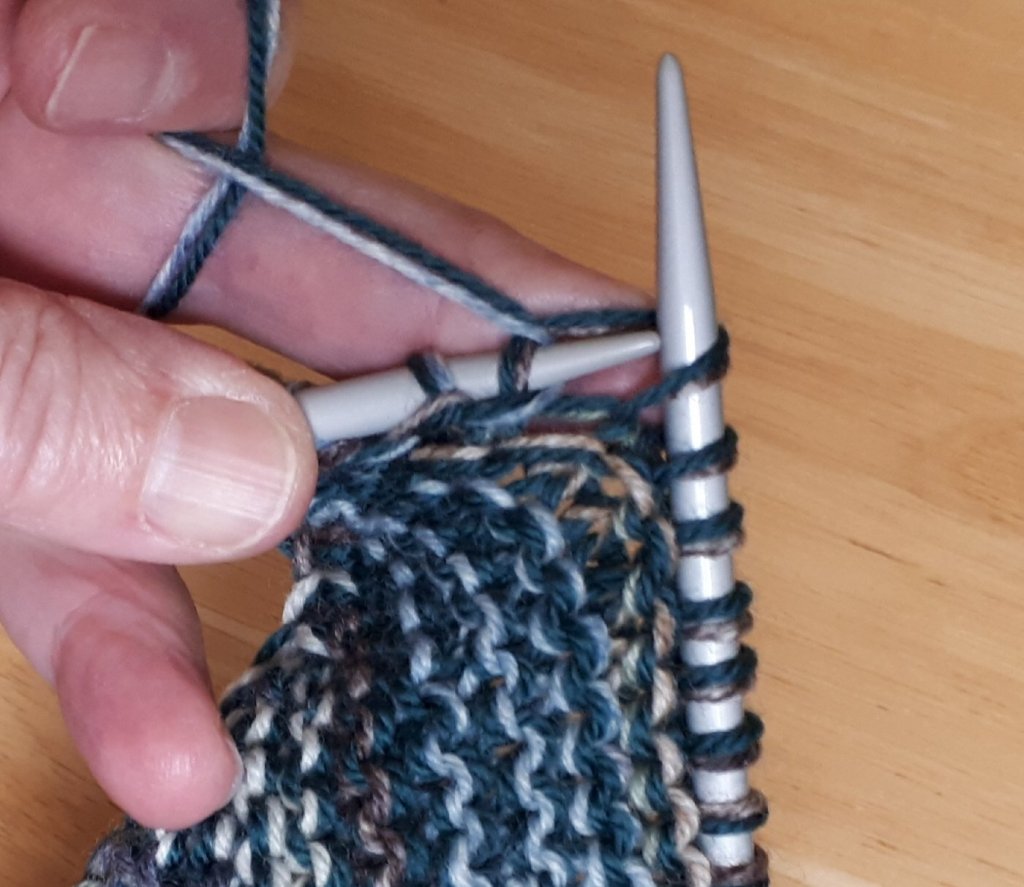
When you cast on for this neckband you cast on many more stitches on the front. The short rows I use end with a decrease: SSK, K1, Turn OR P2tog, P1, Turn (if you knit cuff down heel flap socks you will recognize this short row system). The decreases take care of all those extra Front stitches.
Now the fun part begins, not that knitting short rows isn’t fun, because it totally is.
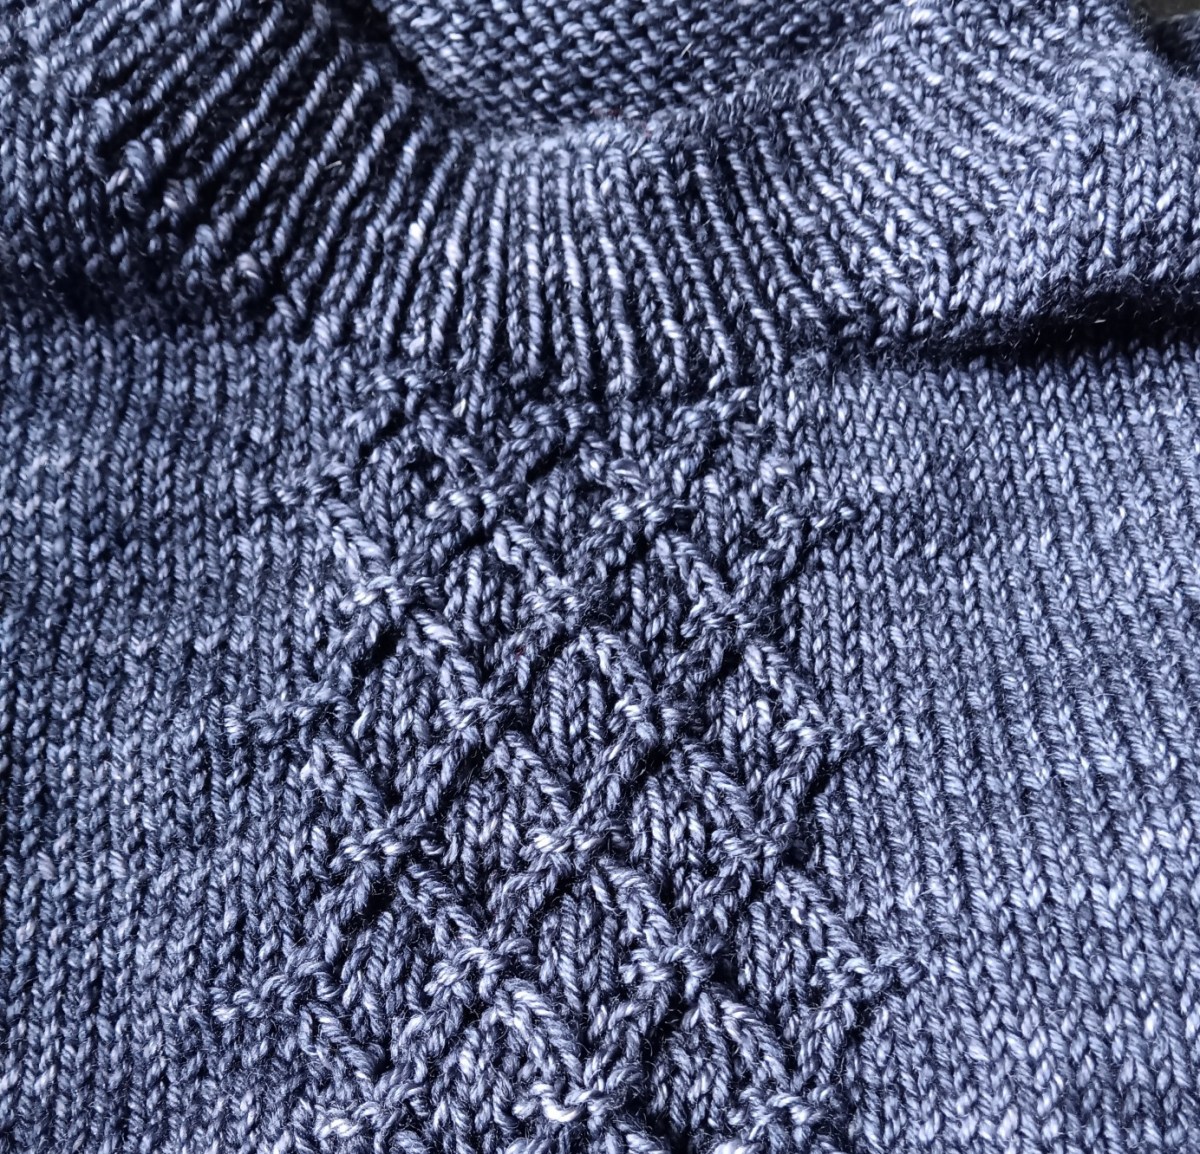
To knit the shoulders, simply knit round and round, working an increase before and after each of the shoulder markers. That’s an increase of 4 stitches every round until you reach the desired width. That’s the contiguous way.

Almost to my desired width on this chunky weight one. The Short Rows on the worsted weight version are complete so round and round I go. I’m so excited to see it grow. Cheers, Deb
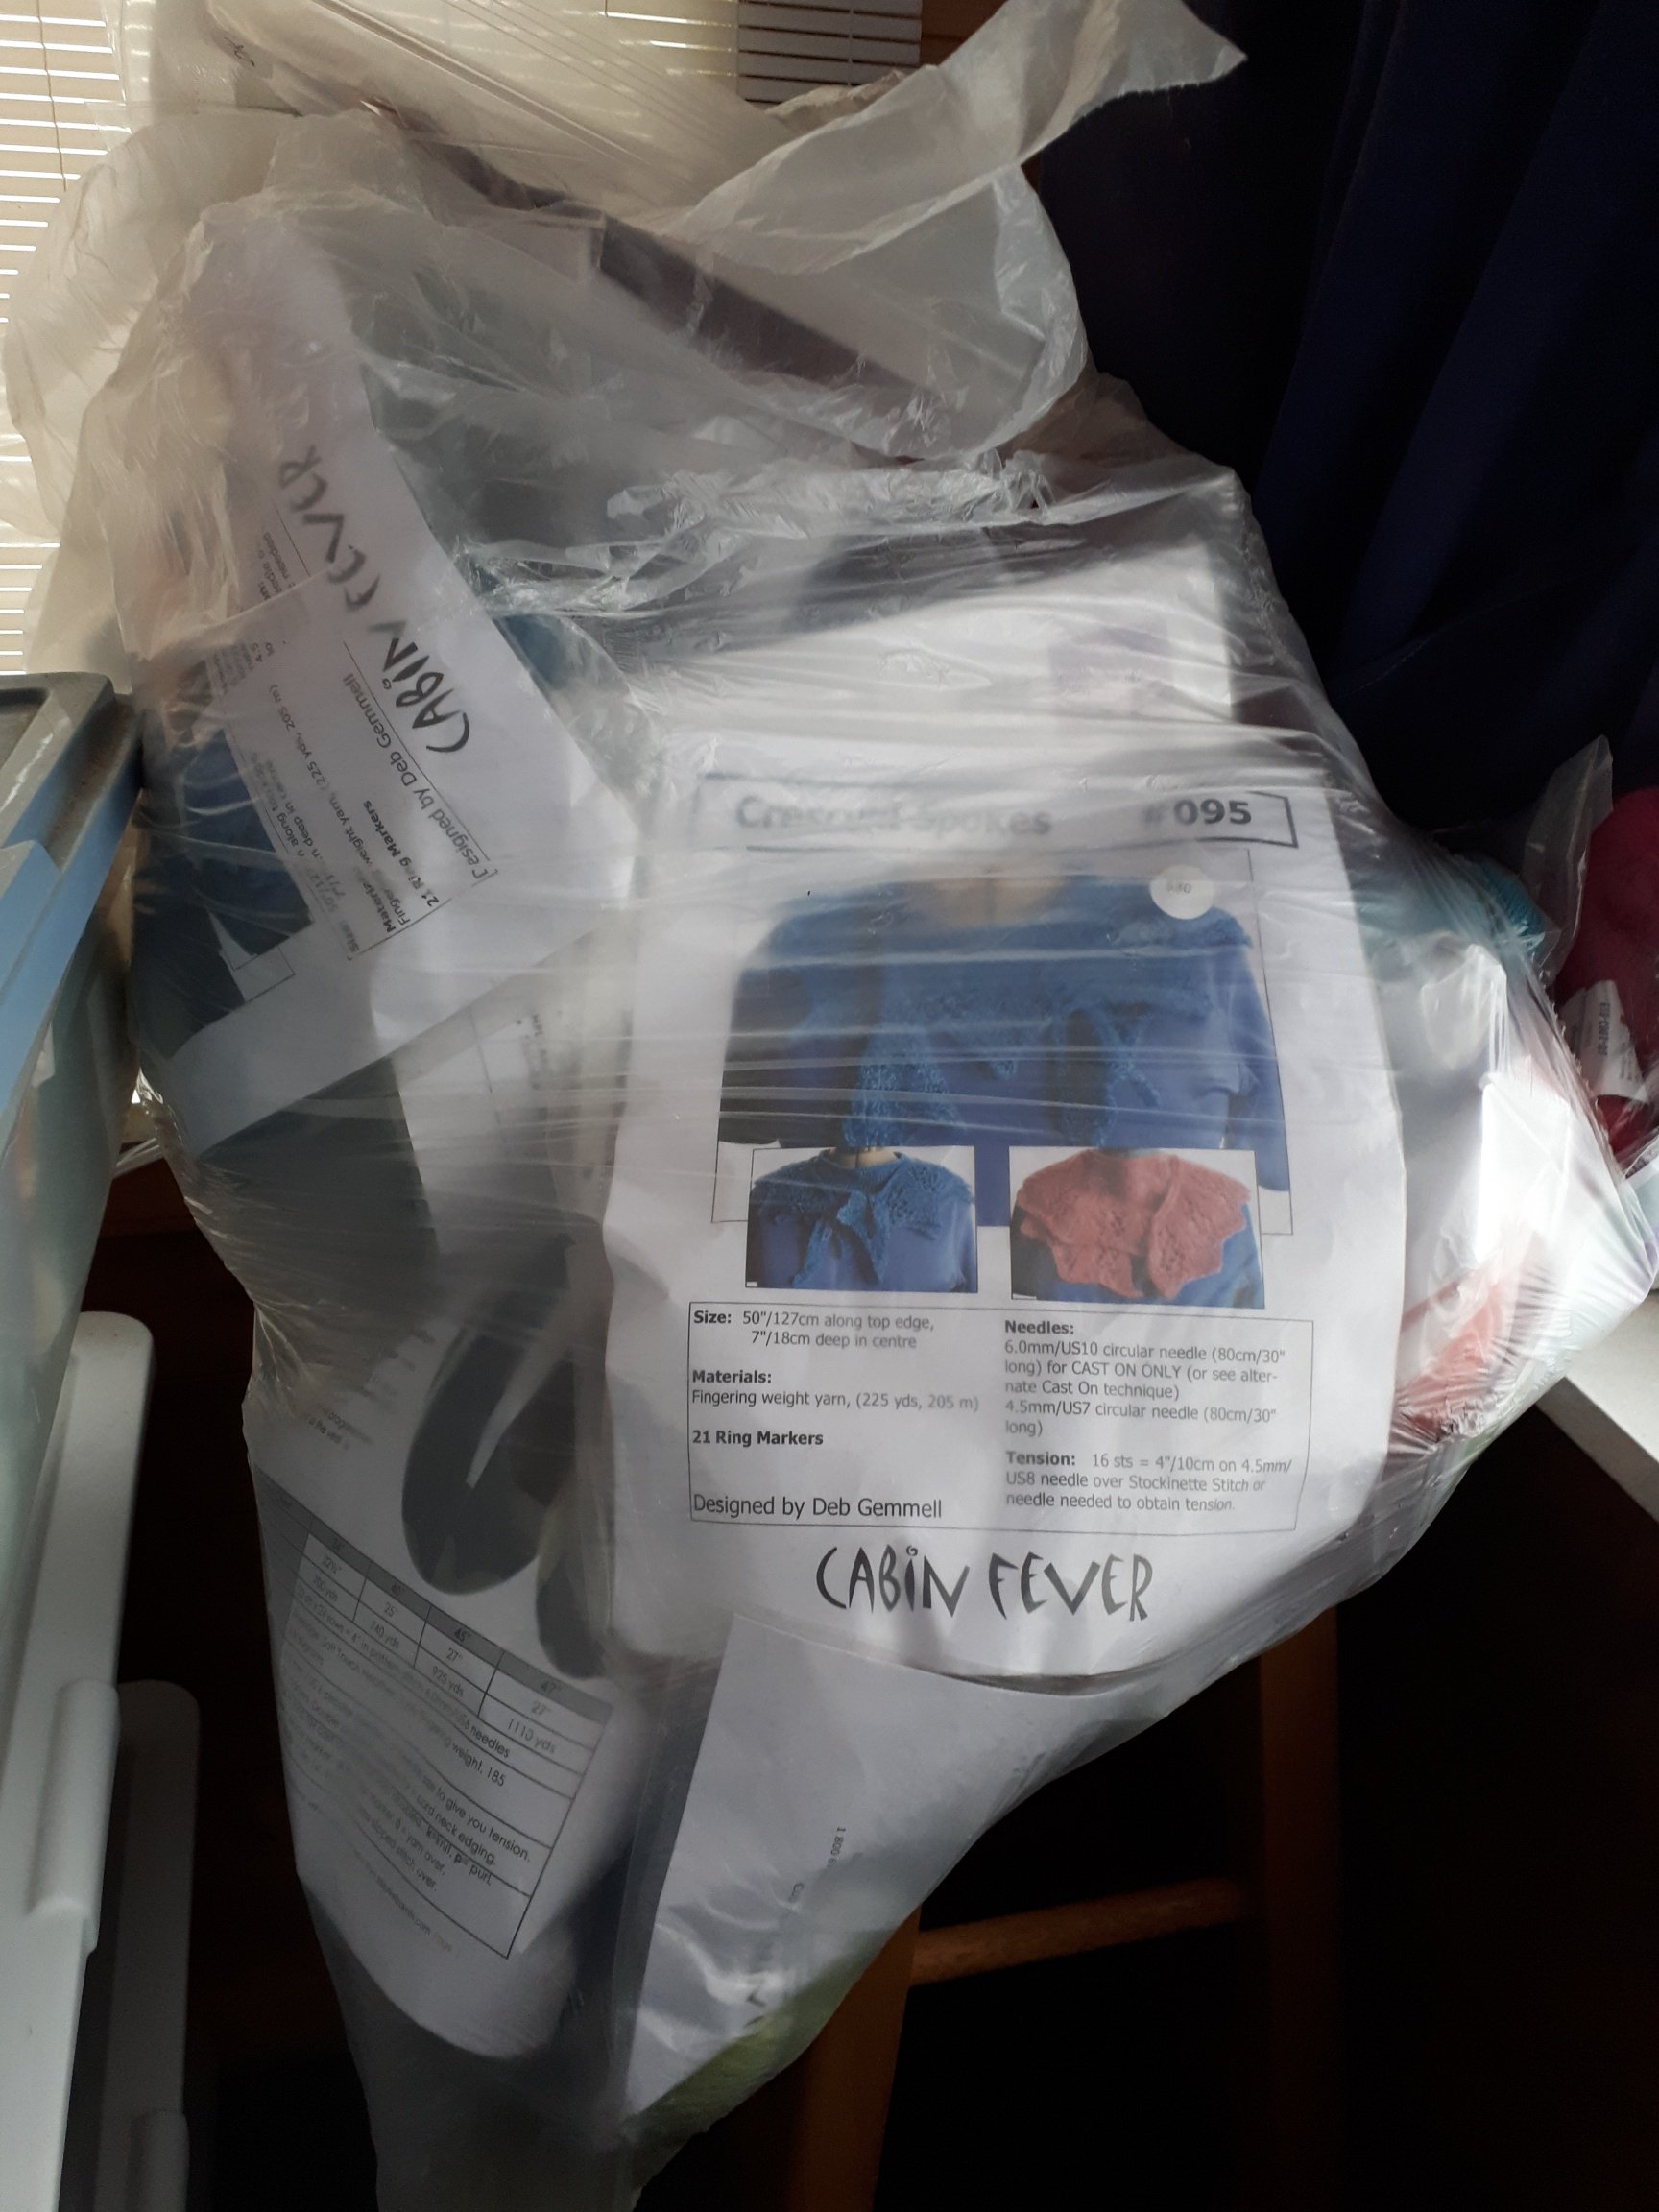
Any Gauge and Gauge-Free patterns by Deb
deb.gemmell on instagram