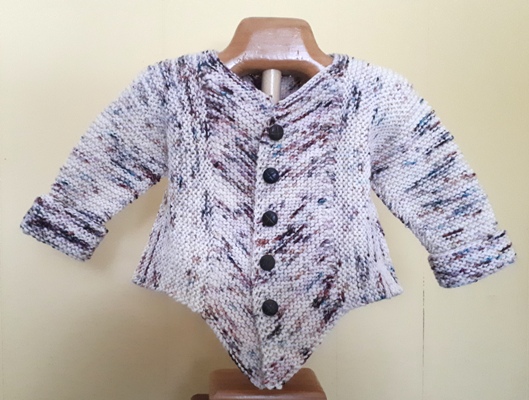
This will be my first sweater of 2024 and I am so excited to get started. If you want to knit along with me, the Family Crew Neck is on ravely. I am going to make videos for most of the sections of the sweater so you can see how this pattern works. It’s an Any Gauge pattern so I don’t know what yarn or what size you are knitting, that was the challenge of writing this pattern.

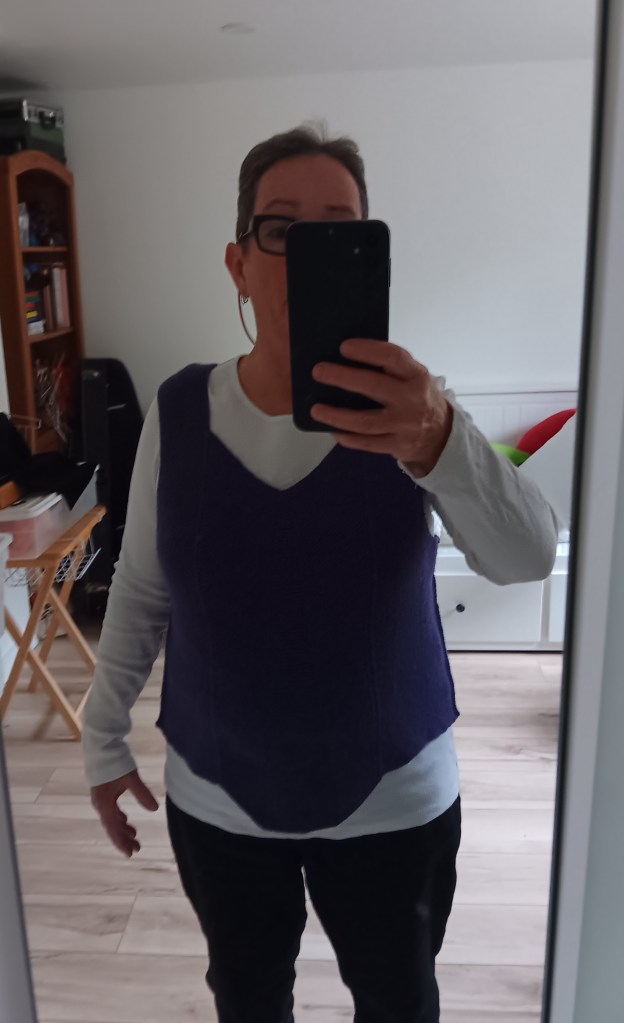
I am going to knit a 4 year old size for my grandson and an adult size for myself. I had knit one for my son-in-law, my grandson (both in the photo), one for my daughter-in-law (also in photo), and one for my daughter. I didn’t knit one for myself!!! It’s obviously time.
This is a longish post. Getting started always takes a bit of time. Hang on, there are videos and photos of the Cast On for both sizes.
Here we go. Because this pattern is for Any Gauge of yarn, you do have to do some math. Sorry, but there is no avoiding it. You need your gauge (# of sts in 1″) and a couple more numbers. Nothing your calculator can’t handle.
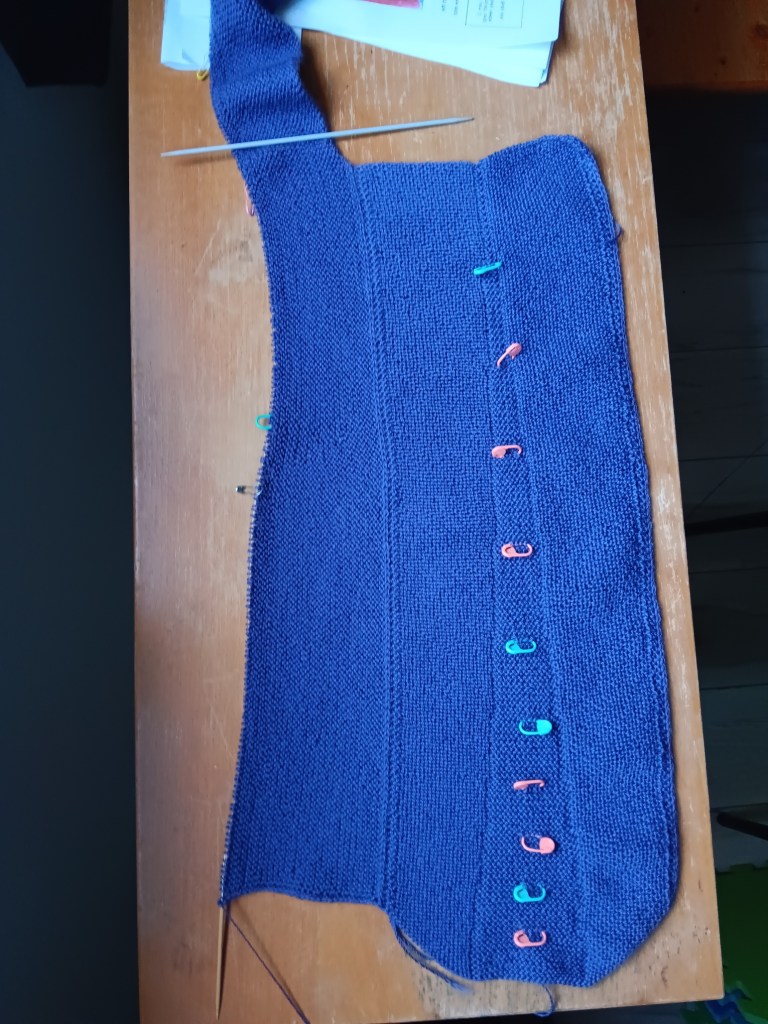
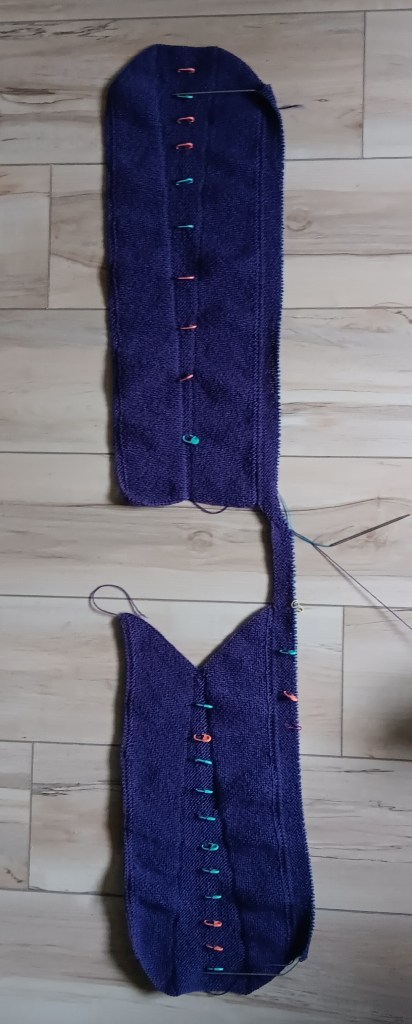
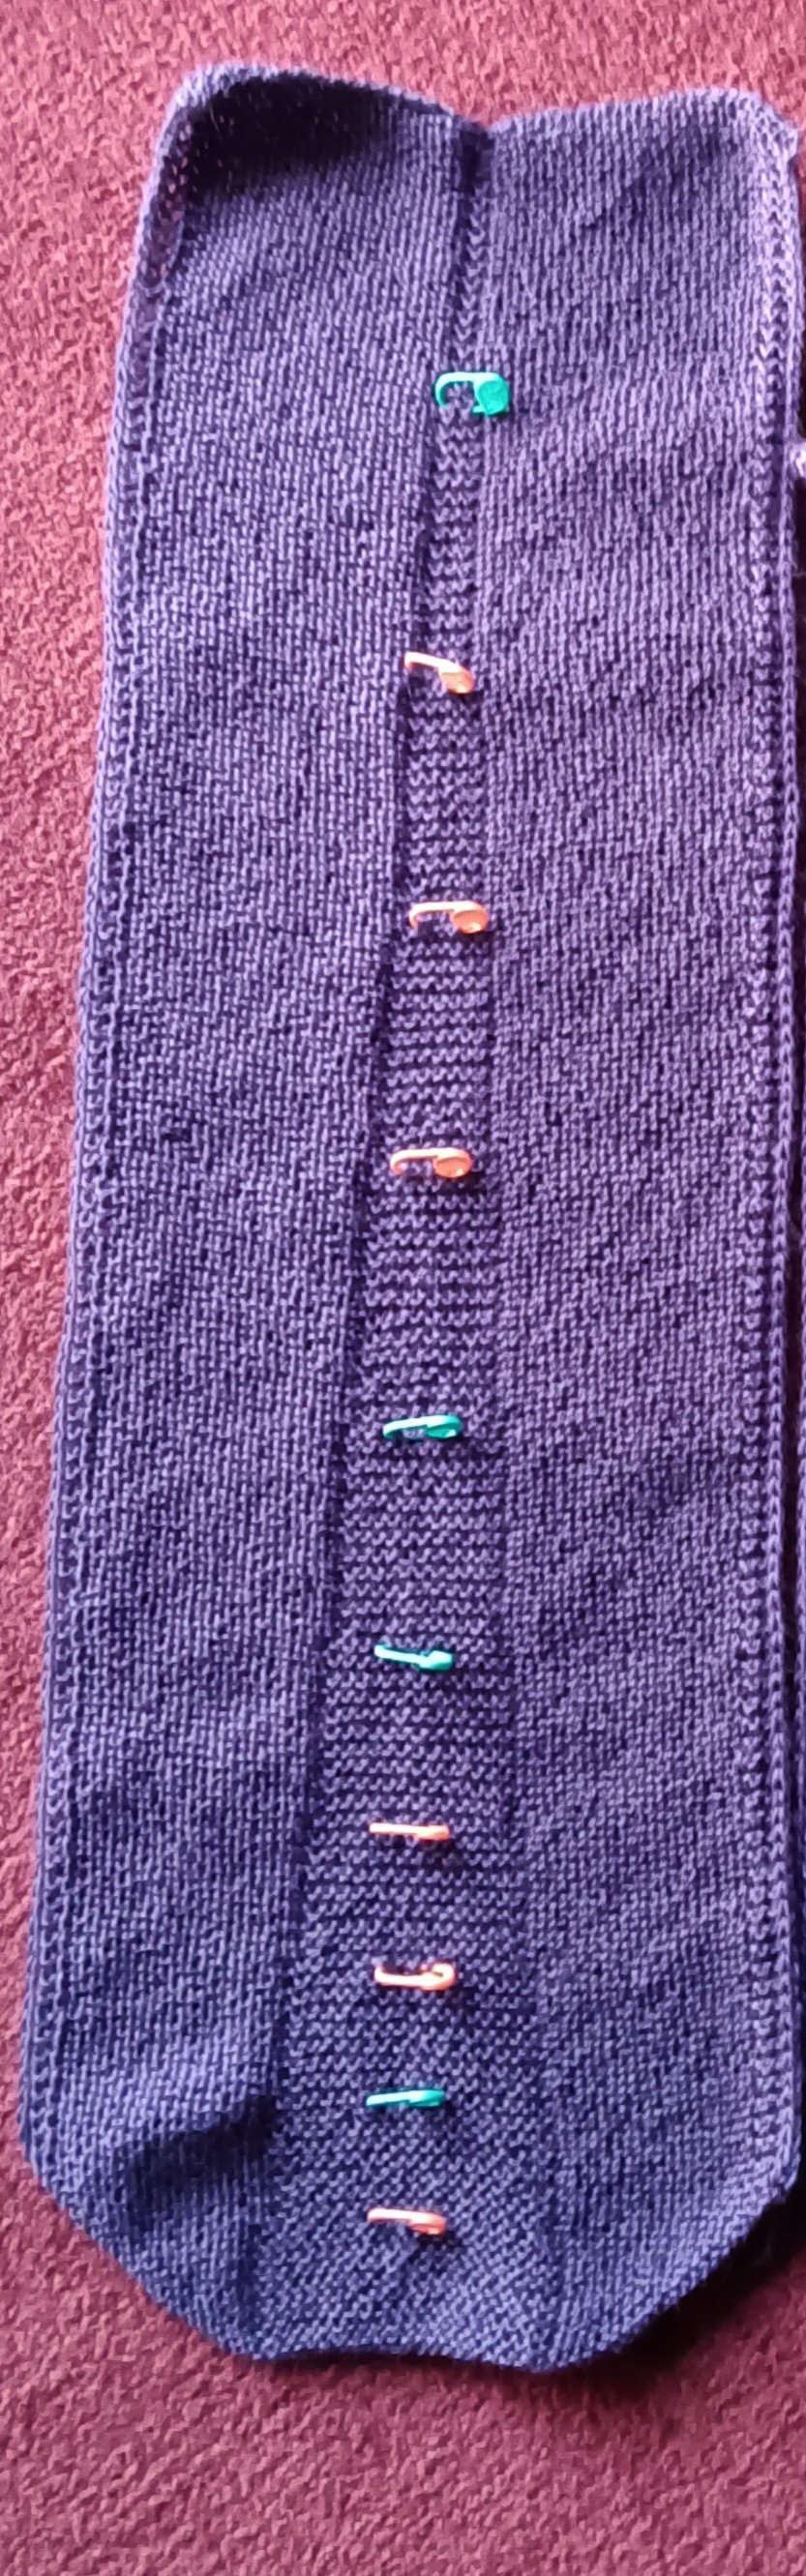
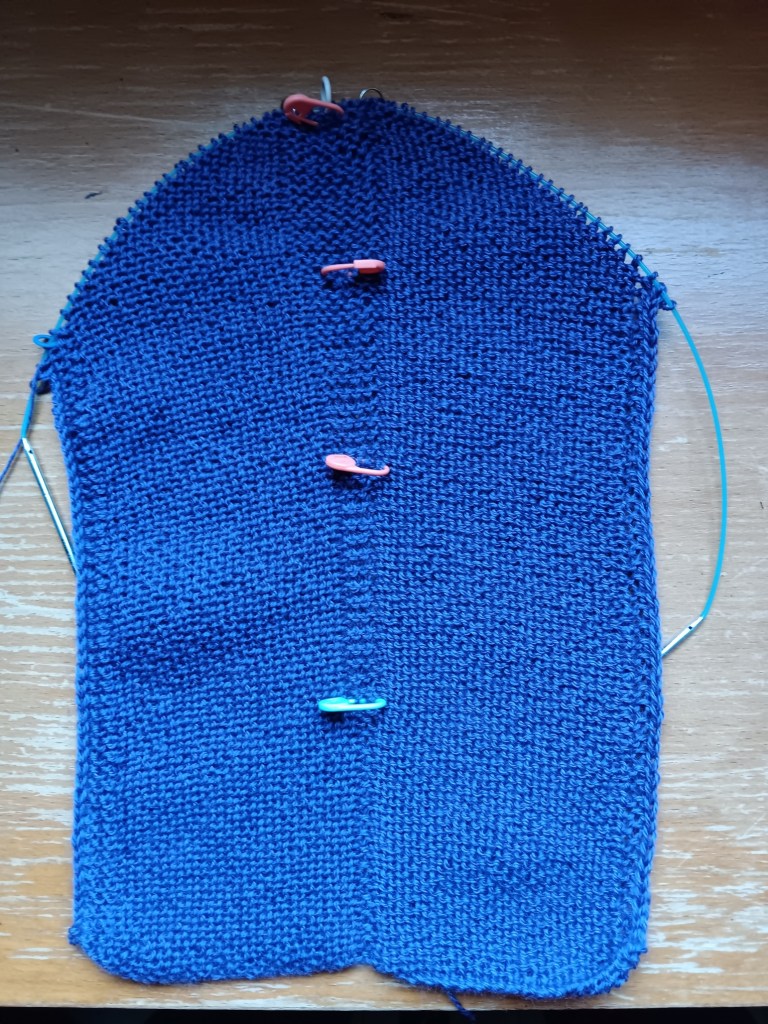
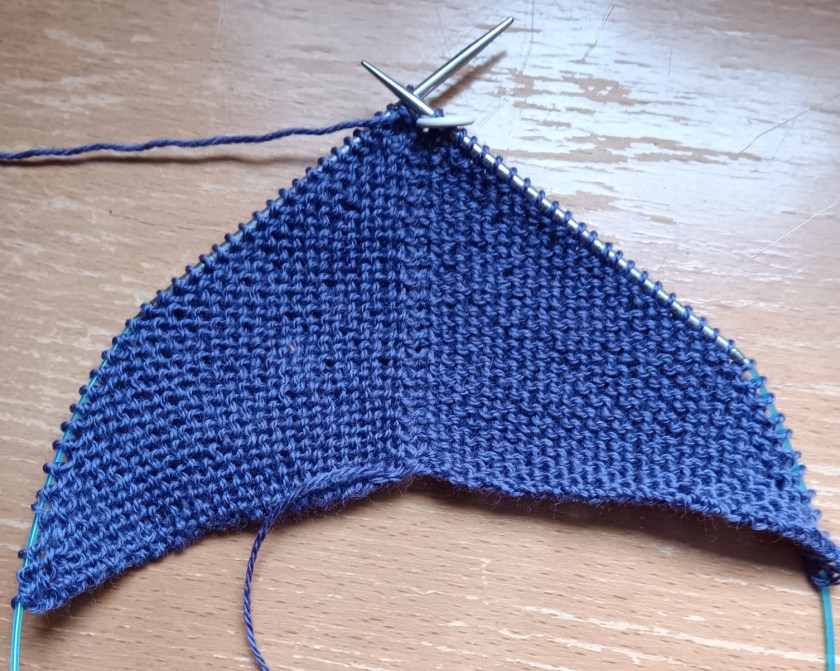
Here is my cast on. Gauge is DK weight yarn (5.5 sts = 1″), 4 year old size with 5″ Back of Neck (BofN).
Yes, there are a lot of Front sts, that’s totally correct. The extra Front sts will form a dropped front to the crewneck.
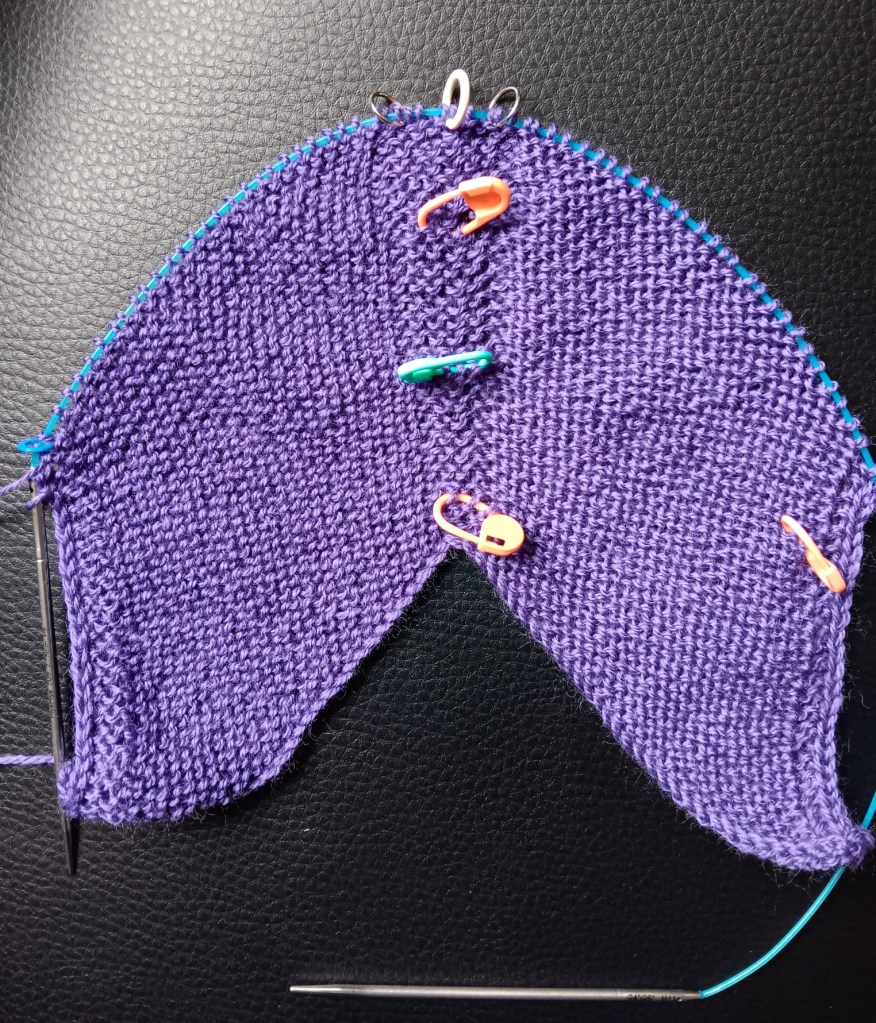
Here is my cast on for an adult size in worsted weight yarn (gauge is 5 sts = 1″) with an 8″ Back of Neck.

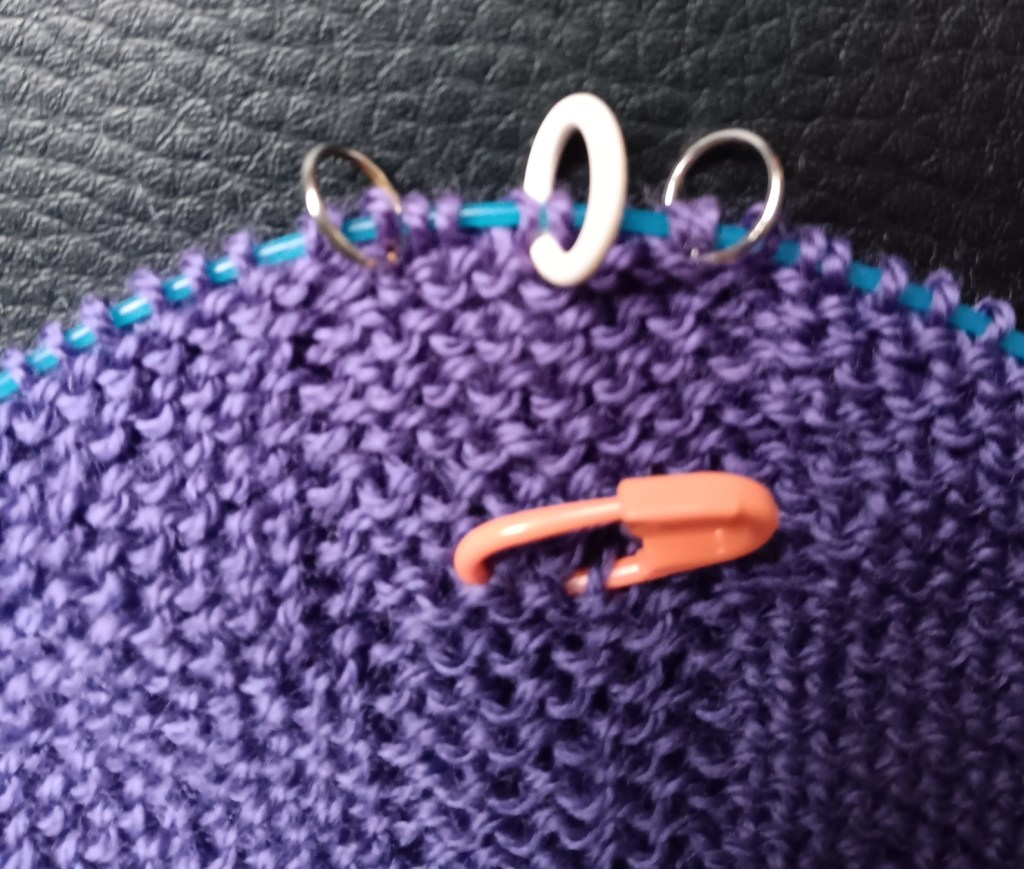
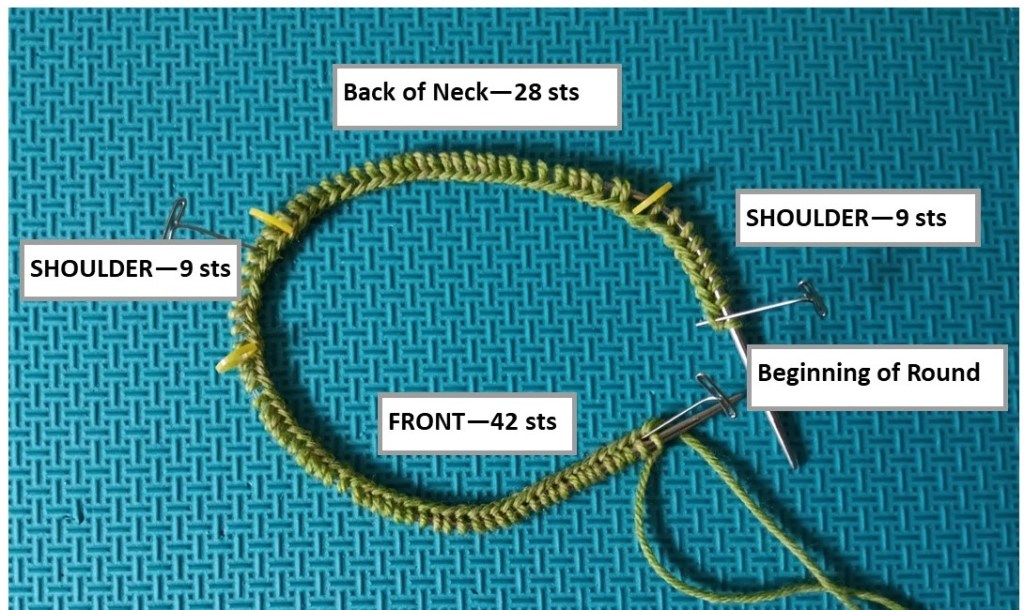
And now, how can you cast on when you will be beginning with the neck band and it needs to go over your head easily? I learned this from Cat Bourdhi and now use it all the time.
OR watch Crocodile Cast On by Cat Bordhi
OK, I’m on my way. Two versions of the Family Crew Neck are on the needles. Join me and knit along or just cheer me on.
Cheers, Deb
Any Gauge and Gauge-Free patterns by Deb
Deb.gemmell on instagram