Near the finish line

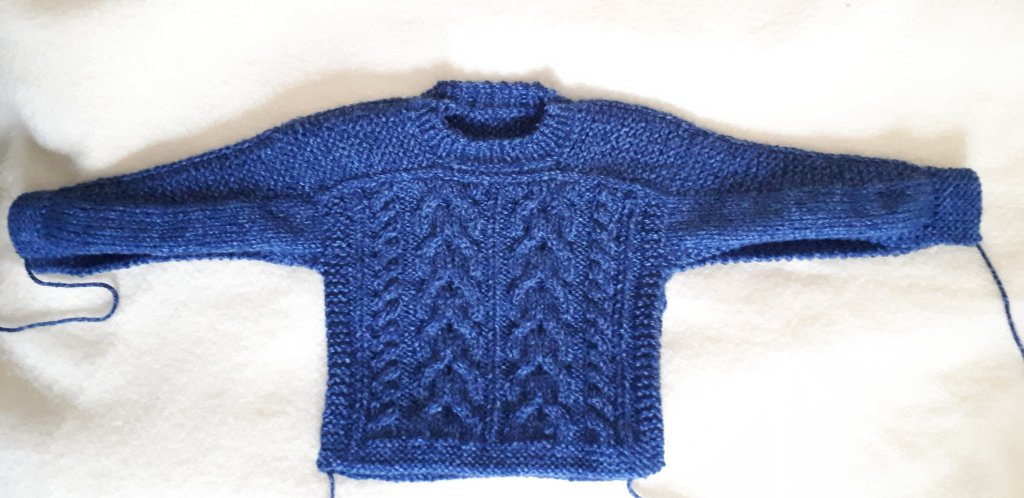
I thought the sleeves on this Saddle Up were quite long already and only needed a 3″ cuff to finish them off.

After I had my son try it on I was proved wrong. I need to add 2 more inches to the sleeve length and then do the 3″ cuff. Phew, good thing I checked.

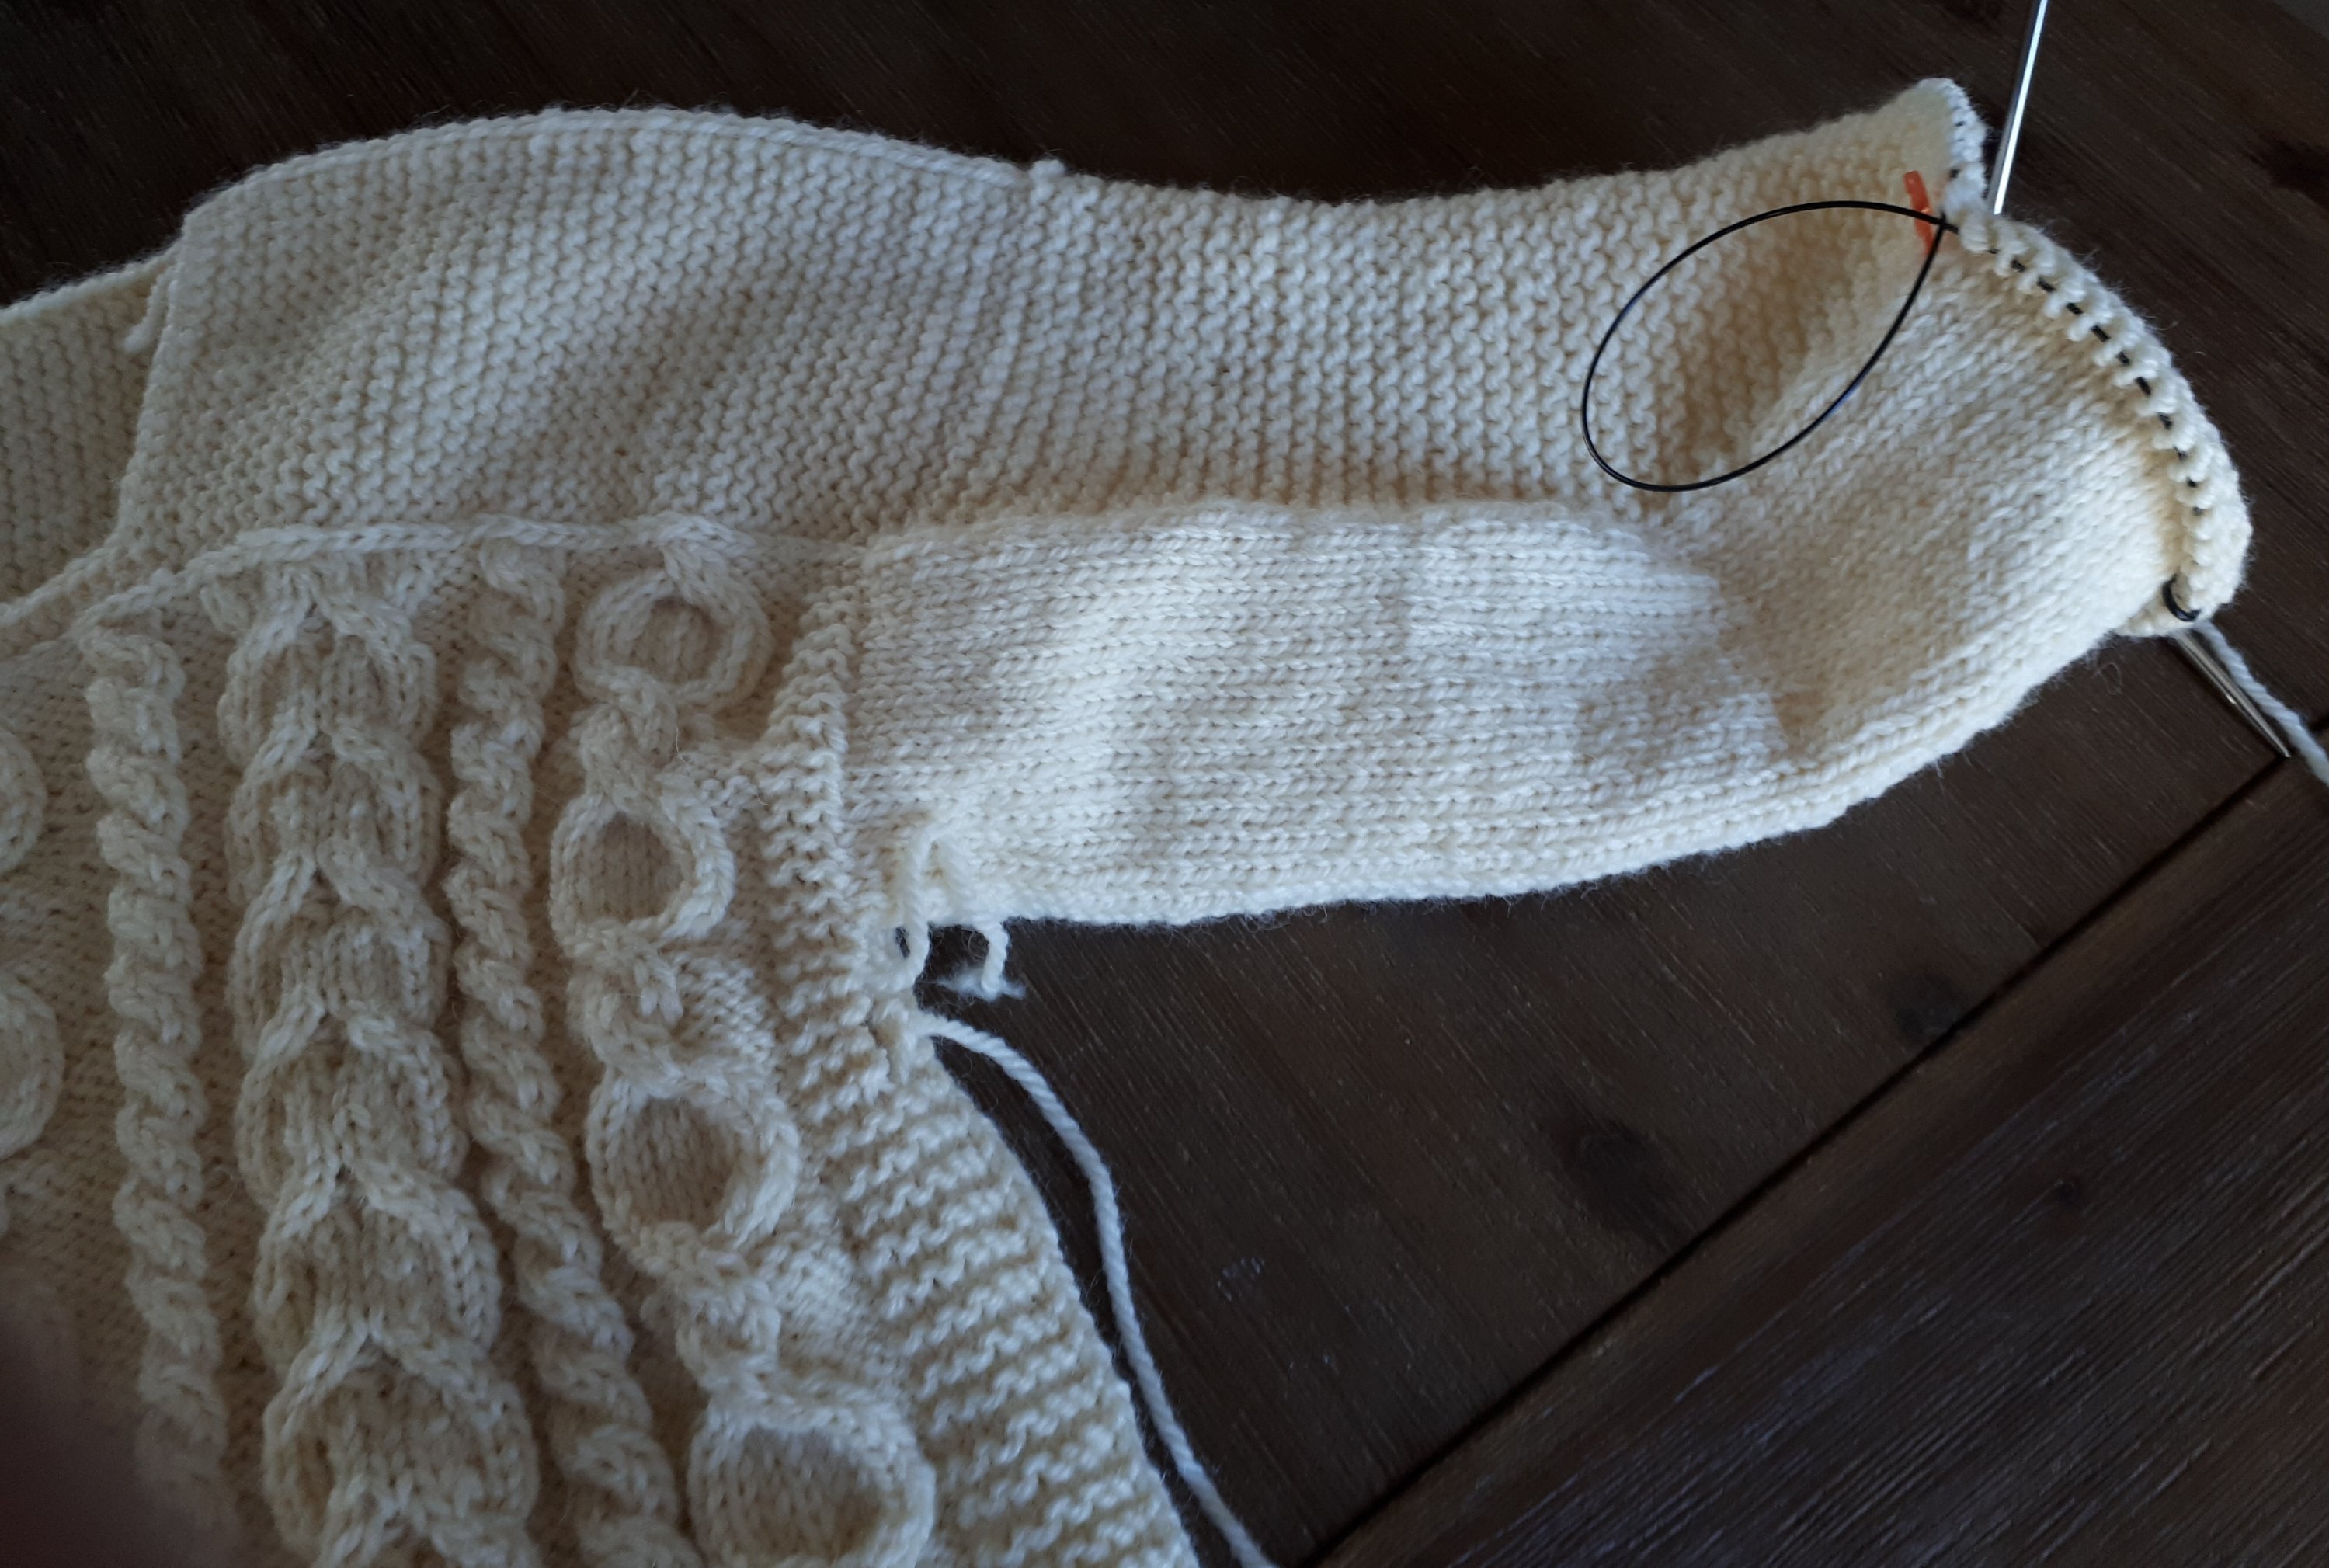
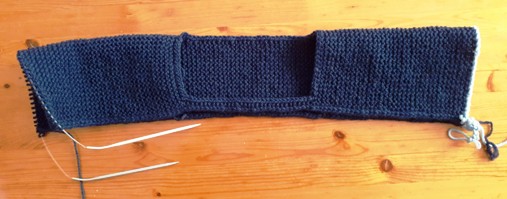
One cuff is done in sideways garter stitch.

The second one is really close to finished.

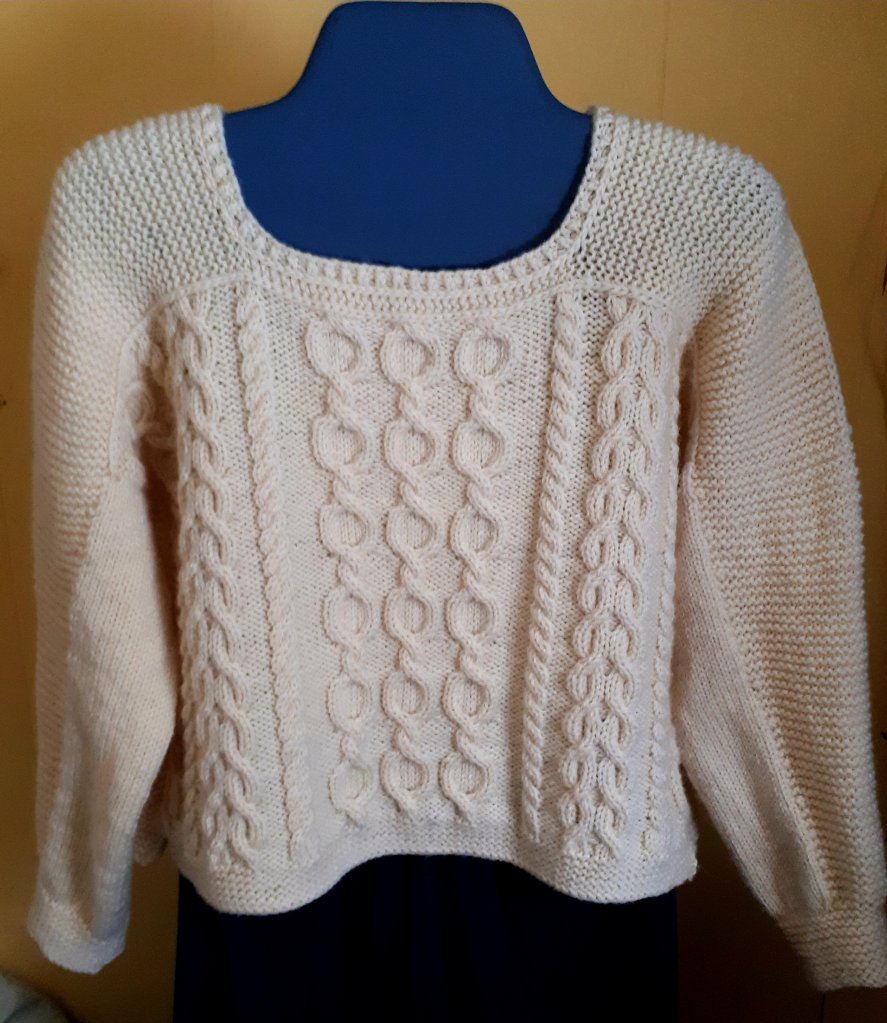
The best way I know of to get one project to the finish line is to start looking around for a new project. Unfortunately that’s as far as I’ve gotten, just looking. I can’t seem to settle solidly on anything. I’ve been scrolling through my library on ravelry.com to see if something would catch my eye but nothing yet. I started this striped cardigan but I’m not feeling the love right now.

So I’m knitting toe-up socks. There is always someone who could use another pair of socks, right?

I do want to make the striped cardigan. The pattern is mostly written but now doesn’t seem to be the moment. Its time will come I’m sure.

I hope your knitting is bringing you some comfort. Cheers, Deb

Any Gauge and Gauge-Free patterns by Deb

Second Sleeve

I’m enjoying some good timing. My internet is back, yay. The month without it was very weird. We got into reading which was great but because we don’t have cable, we usually stream our tv watching, very little knitting got done.

Now the Scotties (the women’s curling national championship) is on and I’m on my second Saddle Up sleeve. Is that perfect or what?! https://www.ravelry.com/patterns/library/saddle-up

I am working these sleeves slightly differently just to try something new. I’m working the sleeve decreases in the stockinette section on the underside of the sleeve instead of decreasing in the garter stitch panel on the top, as I did in the first two Saddle Up pullovers.

I worked some short rows in the garter stitch section to compensate for the different row gauge. I’m not sure I like it as much as decreasing the garter stitch panel.

The game is back on, so I have to go.

Bye, Deb

Any Gauge and Gauge-free patterns https://www.ravelry.com/stores/debgemmellmods

Purl Back Backwards

As I was knitting down the body of my last Saddle Up pullover, I was thinking about the Bottom Edge. I find they are always a bit tricky. I don’t want this Bottom Border to pull in. It’s for my son and he likes his garments loose, like an over-sized hoodie.

I could work it in garter stitch, round and round, which is what I did in the pattern but, well, I just did that, so what else could I do? I could work it in ribbing to match the ribbed neckband but I had a lot of time to think about it, and this is what I came up with: garter stitch worked back and forth with an SSK to attach to the open stitches at the bottom of the pullover.

I really like how it looks and it’s not pulling in.

As you know, garter stitch is worked back and forth and can be a real pain if you have to turn a garment over and over again to work the right and wrong side rows. Knitting back backwards to the rescue. No turning. The right side of the fabric is facing you all the time. Have you ever done this? It takes some practice for sure.

Knit the right side rows as usual. For the wrong side row you need to work purl stitches on the right side of the fabric. Here we go. With the right side facing and the yarn at the front …

… insert left needle into the next stitch, from back to front.

The left needle is sitting in front now. Wrap the yarn around the left needle counter-clockwise. Take the yarn under the left needle to the back, over the needle to the front again. I’m a continental knitter so the yarn is coming from my left hand but this can also be done with the yarn in your right hand.

Now, to finish I flip the part of the stitch on my right needle forward over the tip of the left needle. If you have the yarn in your right hand, you might push the left needle back through the stitch to finish up.

Ta, da, one purl stitch made.

I have to pay attention to do this but it is getting easier and easier as I work around the bottom of this Saddle Up pullover.

Here’s to learning something new. Cheers, Deb

Any Gauge and Gauge-Free knitting patterns by Deb

It’s a new year

I am coming to you from my local library since our internet at home went out before Christmas and now won’t be up for another couple weeks. We’ve been reading lots of books. Not a bad thing but it’s somewhat unsettling to be without the world wide web.

But look, I finished my Saddle Up pullover. Yahoo.

I would have liked to make the neckband deeper but I ran out of wool. I bought it in Scotland about 30 years ago so … there is no more. Yes, it was a deep dive into my stash but I’m so glad to finally have a sweater out of it. Ha, ha, about time, wouldn’t you say!

Did you make a knitting New Years resolution?

This is my New Years resolution for 2022: knit only from my stash. I’ve unfollowed all wool dryers from my Instagram account so I won’t be tempted. Ugh, that was really hard to do. How about you? Do you have knitting plans for the new year?

It’s a new year. All the best to you and yours in 2022. Cheers, Deb

Any Gauge and Gauge-Free patterns by Deb: https://www.ravelry.com/stores/debgemmellmods

Choosing Cables

How do you choose cables that go together on a sweater when the choice is yours? It’s not so hard. Here is how I get started. Maybe this will be helpful to you.

I am knitting a Top Down, drop shoulder sweater. Beware, any pattern in a stitch dictionary is meant to be knit bottom up. If knitting Top Down, turn the book upside down when you’re looking at the photos because that’s what they will look like when they are knit. If you do this on the subway you may get some interesting looks.

I chose two different centre patterns that were both 32 rows deep.

On the left is Tangled Ropes, pg.80 in Charted Knitting Designs, A Third Treasury of Knitting Patterns by Barbara G. Walker. On the right is #119 Crosshatch Bias from Knitted Cable Sourcebook by Norah Gaughan.

Now I chart them. This is swatching with a pencil. Even if they are charted in the stitch dictionary I do it again.

Is it hard to chart?

I love the Tangled Ropes but … I wore out an eraser charting this.

I found it hard to chart and I think it would be a little too complicated to knit for this project.

Look at this one, the Crosshatch Bias. Even though there are many cable crossings, they all cross the same way on each line. It doesn’t get any better than this.

OK, decision made. The centre pattern is settled. I’ve started knitting and it looks complicated even though it’s quite straight forward to knit. Gotta love that.

Then do the same for some side patterns. This time I need them to work with the 32 rows of the centre pattern, meaning that the repeats of the side patterns must add up to 32 rows.

I want one more wide pattern and found a couple I liked. One that was 8 rows deep and a second one that was 16 rows. I’m going with this one.

Then I need a small pattern to take up some space. A 4 stitch cable worked over 4 rows goes into 32 rows quite nicely.

Next, setting them up. Yes, still some work to do before the knitting can start.

Deb

Any Gauge and Gauge-Free patterns by Deb

Saddle Up for a new sweater

If you can’t think of anything else to do, start a new project. That’s a good motto, don’t you think?
I’m trying to convince myself to sew in the ends of the two V-Neck Cardigans I have finished. And that’s the trouble, right there. I think they’re finished. They are not. They require some after-knitting care and I struggle to do this with every single project I do. Every. Single. Project.

So of course, I started something new. A new sweater. It’s an idea I’ve been thinking about: a saddle shoulder, drop sleeve pullover with cables. Worked from the top down, of course.

So here we go. I started with a provisional cast on for an 8″ saddle which will be 4″deep on the front and 4″ deep on the back. I worked the shoulder in garter stitch to the width I wanted to the neck opening edge. Then I put the Front Stitches on hold and knit across the Back of Neck first.

Next I worked a small number of stitches for the bottom of the Front neck opening. This is going to give me a 3″ deep neck opening. I will pick up for the neckband later. Then I cast on for the other side of the neck opening and knit the other shoulder.

When it’s folded at the top of the shoulder it will work like this.

I hope this works because I’m quite captivated by this idea. Cables are coming up next.  What do you think?

Cheers,  Deb

Any Gauge and Gauge-Free patterns by Deb

%d bloggers like this: