Markers, how I use them

I am using several markers for this project. Only one is required by the Build a Bigger V pattern. That’s the white marker in the centre. The rest help me keep track of the shaping and remind me when and where to do things.
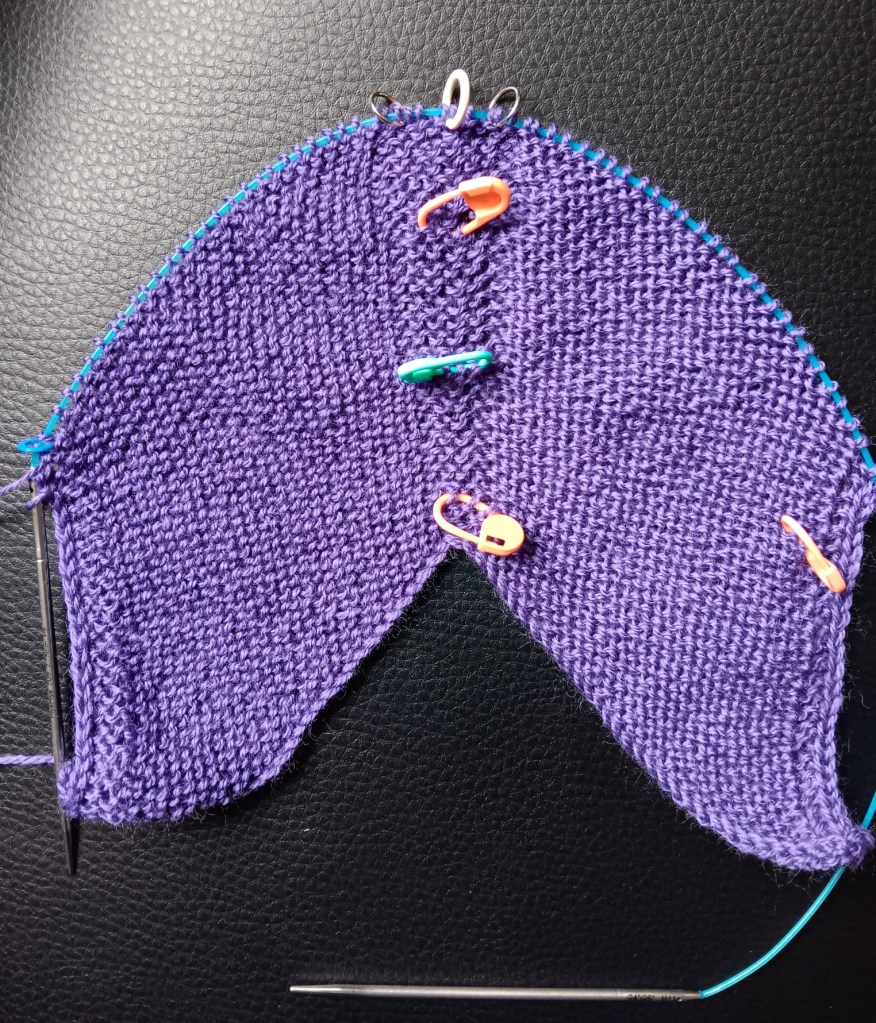
There are 7 more markers here which are all for me. Yes, there are quite a few. Yes, they are different colours and types of markers on purpose.

Marker for Right Side of fabric: That orange marker on the right is pinned through the fabric to tell me this is the beginning of the right side row. It is especially helpful at the start of the project when there aren’t as many other things to tell me I’m on the right side. It’s a removable marker so I can move it up as I knit.

Markers for length: The orange, green, orange sequence up the middle are for counting ridges so I don’t have to keep counting from the cast on. I am placing the first orange marker after the first 2 ridges, then every 8 ridges as I continue down this front panel because something happens every 8 ridges in this particular pattern.

Markers delineate: The two metal markers on either side of the centre marker (white) show me where the middle section is. You can place markers on either side of a stitch pattern or some section you need to keep track of.
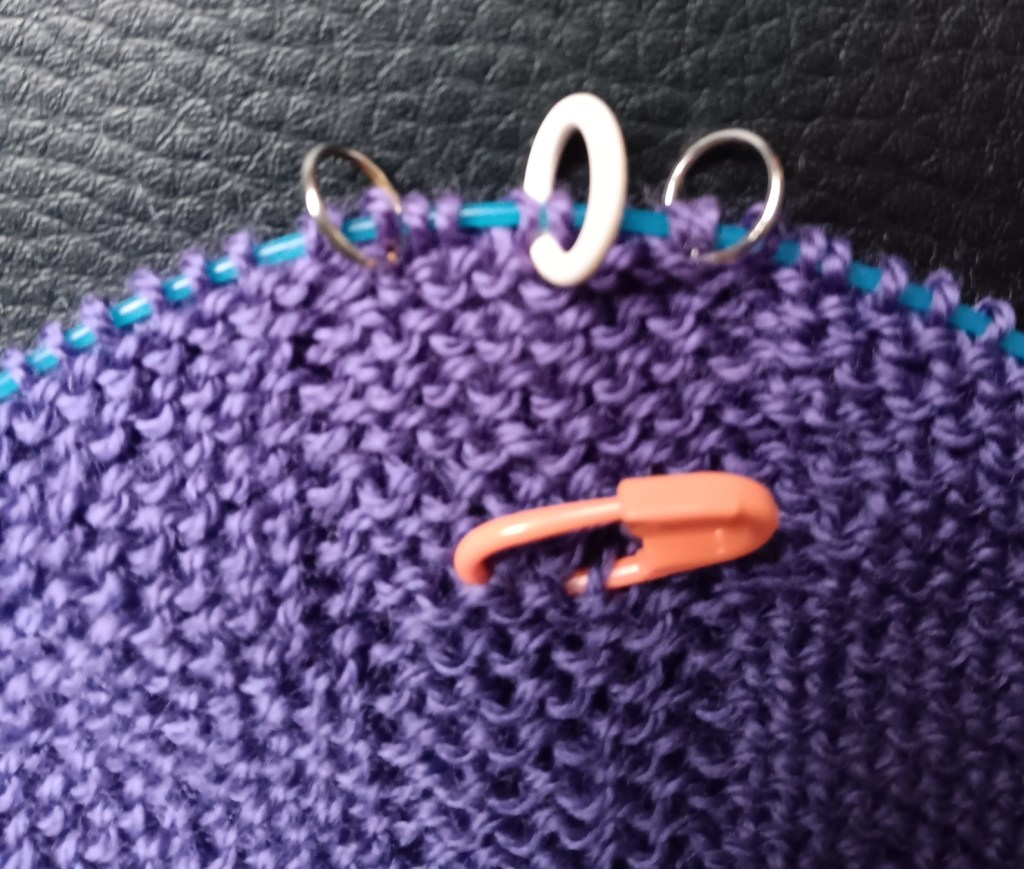
Markers – do something here: The metal markers on either side of the centre marker also help me find where I need to work increases. The instructions say to work an increase x number of stitches before the centre marker (white). I don’t have to keep looking ahead for those x number of stitches if I put a marker in. I work one increase before the metal marker, knit across the middle section to the other metal marker and work an increase after it.

Markers – pay attention: I have a lot of trouble remembering to do things at the ends of the rows. So the blue marker on the left edge is telling me to pay attention and work a decrease, duh. I know it’s supposed to be there but I have merrily knit right past it so many times, I needed a marker to remind me. It’s a rescue marker.

I have collected several different types of markers for this very purpose. They help me reduce the stress of paying attention, cut down on the amount of ripping back I have to do, and therefore, make my knitting so much more enjoyable.

Hope this is helpful, Deb

Any Gauge and Gauge-Free patterns by Deb

Deb.gemmell on instagram

Build A Vest, ready, set, go >>>

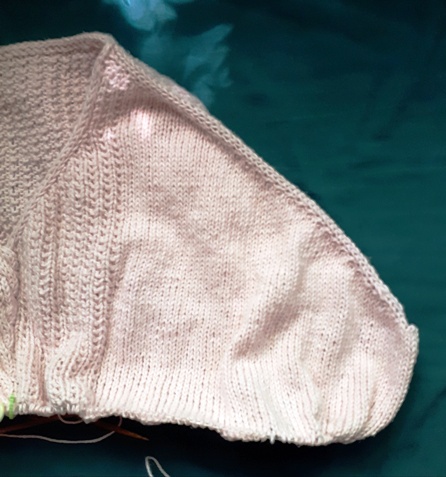
This is a photo of the Build A Bigger V cardigan before I knit the sleeves. This could be a vest as it is in this photo. It has 9″ of ease so if it was a little more fitted … it could work.

But I sort of like the idea of cutting in the armhole, for a sleeveless look (white line).

Better?

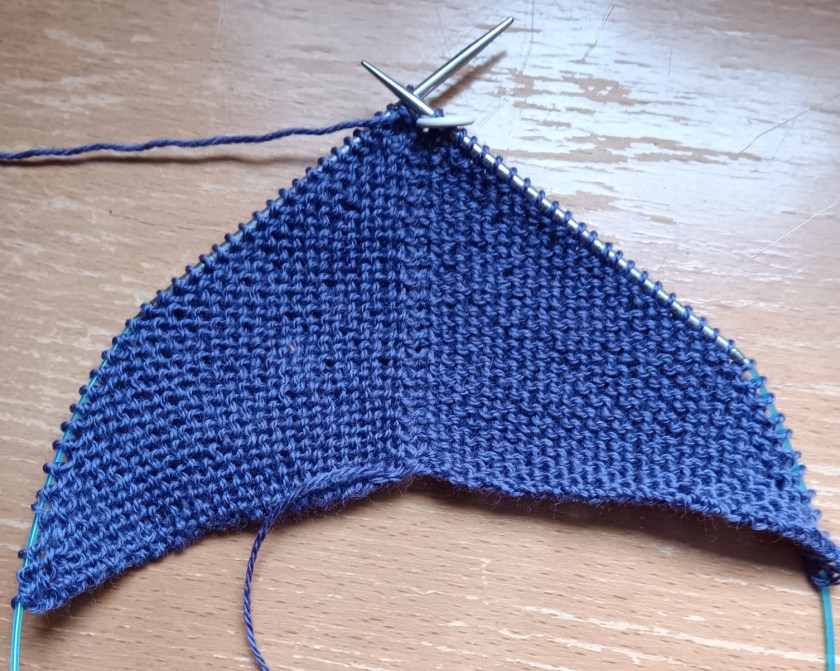
At any rate, I’ve started. This is the beginning of the Back Panel. I’m knitting in fingering weight yarn (80/20 fingering by Shelridge Yarns – colour Iris). Yes, this will be a lot of knitting but here I go.

The idea of Building a Vest using the Build a Bigger V cardigan intrigued several knitters. Thanks for voting. Cheers, Deb

Any Gauge and Gauge-Free patterns by Deb

Deb.gemmell on instagram

Act One and Act Two

3-Act Play Scarf

I finished the first Act of the 3-Act Play scarf. All three triangles are done. I do love how all the triangles join up. Somehow the joining makes me a happy knitter.

The triangles also determine the depth of the scarf which, for this one, is 12″. I’m hoping blocking will take it to 14″ deep.

I was suffering from eyelet fatigue so the third triangle is striped.

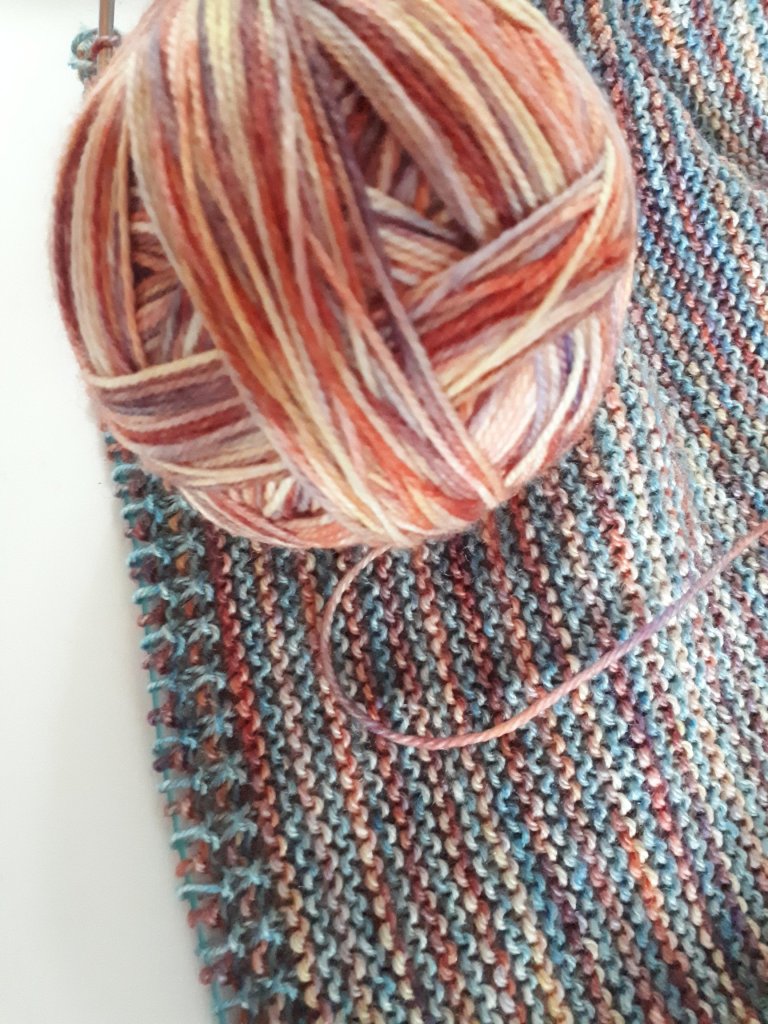
I added in this bronze/gold/orange colourway. I will be working with this colour across the centre portion of the scarf. This is Stange Brew, colour Sedona, by Shelridge.com. Look at all those lovely colours.

I’m sorry now that I didn’t work more ridges of blue against one ridge of the new colour. The colour change is a bit more abrupt than I had expected. Too late now.

It’s definitely time for something new.

The second Act is worked on the bias. It can be done in garter stitch, but I just did a garter triangle, so I’m done with that business. The Mods pages offer 4 slip stitch patterns and right now that sounds just about perfect.

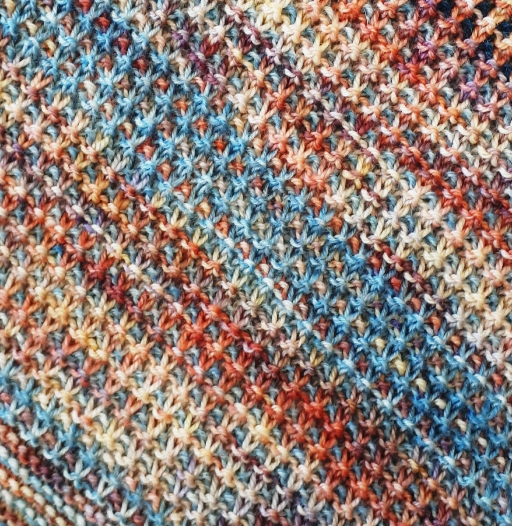
The Mods pages have this 1×1 slip stitch knitwise pattern worked over 4 rows. Two rows garter stitch and 2 rows slip stitch. I love how the colours work here.

Of course it didn’t take long before boredom set in which always leads to something fun. I kept playing with which colour was the background colour (the two knit rows). Can you see where the colour switches?

Then I changed the blue to a dark teal, just for the hell of it.

Hmm, well, it’s interesting.

Now to do some lace. Yay. Stay safe and enjoy the sun. Deb

3-Act Play Scarf on ravelry

Any Gauge and Gauge-free patterns by Deb

Did the Steeks work?

Any Gauge and Gauge-Free patterns by Deb

I know you’ve been waiting with baited breath to see if picking up around my steeked sleeve opening would hold as I knit my sleeves. You haven’t?!

Well, I was holding my breath, even as I did it. And, guess what, I found one more skein of the pink. Yay.

On the inside you can see the crochet work I did and the cut ends.

On the outside, the pick up is very neat and tidy. I picked up 3 stitches for every 4 rows.

One 3/4 length sleeve finished. I have to say that this construction sure makes short work of sleeve knitting. I love that.

As I approach the end of this large experiment I cast on for a new project. I’m holding it as a carrot in front of this sweater so that I get it done.

I can’t be the only one who does this, am I?

Cheers, Deb

Any Gauge and Gauge-Free Patterns by Deb

Deb.Gemmell on instagram

Celebrate as you go

It has occurred to me lately that working on two pullovers at the same time is not the best idea I have ever had. It seems like very little progress is made on either one. I am missing that satisfying feeling of getting something done. So today I am celebrating getting the lace section of the Corbis Sweater by Natasja Hornby DONE.

The left side is on waste yarn. The right side is ready to work. Short rows here I come. I’m excited.

My other project, the slope-shoulder pullover, is also coming along slowly. I decided to take MP’s advice to keep knitting and see how I felt about continuing or if it was time rip it out. It felt good so I’m carrying on.

I solved the problem of the centre front join by working a 6 stitch cable. That divides what was the beginning and the end of the rows when I was working the top of the yoke flat. The beginning of the round is still in the centre front, which is a little weird, but this is working.

Next is the long section for the sleeve openings. Usually you would work the front and back flat for the length of the sleeve opening. I had a car trip coming up (navigator and passenger only, of course) so I decided to continue to work in the round. It’s easier to be looking at the right side all the time. Not so much attention needed. This requires a steek. Eeek, a steek!

Yes, I’m going to cut the fabric to make the sleeve openings. To get started I cast on 5 sts at the end of each of the shoulders. These 5 sts are my steek stitches and the hole makes the machine sewing easier to work. Then I will cut. I can’t wait. I love this technique.

Lots of excitement to come. I’m looking forward to feeling like I’m getting somewhere on these two projects.

Cheers, Deb

Any Gauge and Gauge-Free patterns by Deb

Deb.Gemmell on instagram

Looking back from the Finish Line

I finished my last Saddle Up pullover. I started with this design idea as a pullover for my son. It has a complicated 32 row centre cable pattern that I thought reflected his passion for skateboarding.

My son likes it.

Caught him at work to get some photos. I think it fits very well.

I had to do some ripping after the first fitting. The back was flapping around his hips. This seems to be a problem with oversized pullovers for men. So I took out the garter border at the back, worked 3 sets of short rows, went down a needle size and knit the border again. Now it’s narrower and voila …

I think that fixed it. Yay.

Now onto something new I think. Cheers, Deb

Any Gauge and Gauge-Free patterns by Deb

Near the finish line

I thought the sleeves on this Saddle Up were quite long already and only needed a 3″ cuff to finish them off.

After I had my son try it on I was proved wrong. I need to add 2 more inches to the sleeve length and then do the 3″ cuff. Phew, good thing I checked.

One cuff is done in sideways garter stitch.

The second one is really close to finished.

The best way I know of to get one project to the finish line is to start looking around for a new project. Unfortunately that’s as far as I’ve gotten, just looking. I can’t seem to settle solidly on anything. I’ve been scrolling through my library on ravelry.com to see if something would catch my eye but nothing yet. I started this striped cardigan but I’m not feeling the love right now.

So I’m knitting toe-up socks. There is always someone who could use another pair of socks, right?

I do want to make the striped cardigan. The pattern is mostly written but now doesn’t seem to be the moment. Its time will come I’m sure.

I hope your knitting is bringing you some comfort. Cheers, Deb

Any Gauge and Gauge-Free patterns by Deb

Sleeve Length for Drop Shoulder

I need to finish the last Saddle Up pullover. I’m so close but I now know that I’m missing some important information. How long should the sleeves be? I have his sleeve measurement for a raglan but a drop shoulder length is different.

Using my best guess, I knit the sleeves to just above the cuff. They look too long to me. I need to do a fitting before I work the cuffs. Yesterday I dumped the pullover in the sink and laid it out to dry. The cables have relaxed nicely.

What I should have done at the beginning was measure him from the centre back of neck to his wrist. That’s a really good way to get the sleeve measurement for a drop shoulder.

These are the measurements I have for average adults for centre back of neck to wrist.

Women: centre back of neck to wrist

Petite; Regular; Tall
29”/74cm; 30”/76cm; 31”/79cm


Men: centre back of neck to wrist

Short; Regular; Tall
30”/76cm; 31.5”/80cm; 32.5”/83cm

After blocking I measured his sweater from the centre back of neck to the end of the sleeve (sans cuff) and I get 29″/74cm. I think he’s a regular size so I may be in the ball park after all. A 3″/8cm cuff may just finish it off nicely. Fingers crossed.

Cheers, Deb

Any Gauge and Gauge-Free patterns by Deb

Behind the design

When I was designing this Saddle Up

… I had a vague picture in my head, of another sweater. I knew it was an Elizabeth Zimmermann design and every once in a while I would wonder where I had seen it. I didn’t look for it, I just kept it there in my head. Yesterday I rooted around in my book library and I found it here.

https://www.ravelry.com/patterns/sources/knitting-workshop-updated-edition

It was the Gaffer’s Gansey.

Now that I’m looking at this sweater, I’m chuckling to myself as I see that it doesn’t really resemble my finished pattern. But the starting point was there. It was the sideways garter stitch saddle that caught my attention years ago and recently popped into my head again. The saddle idea would not go away. It needed to be knit.

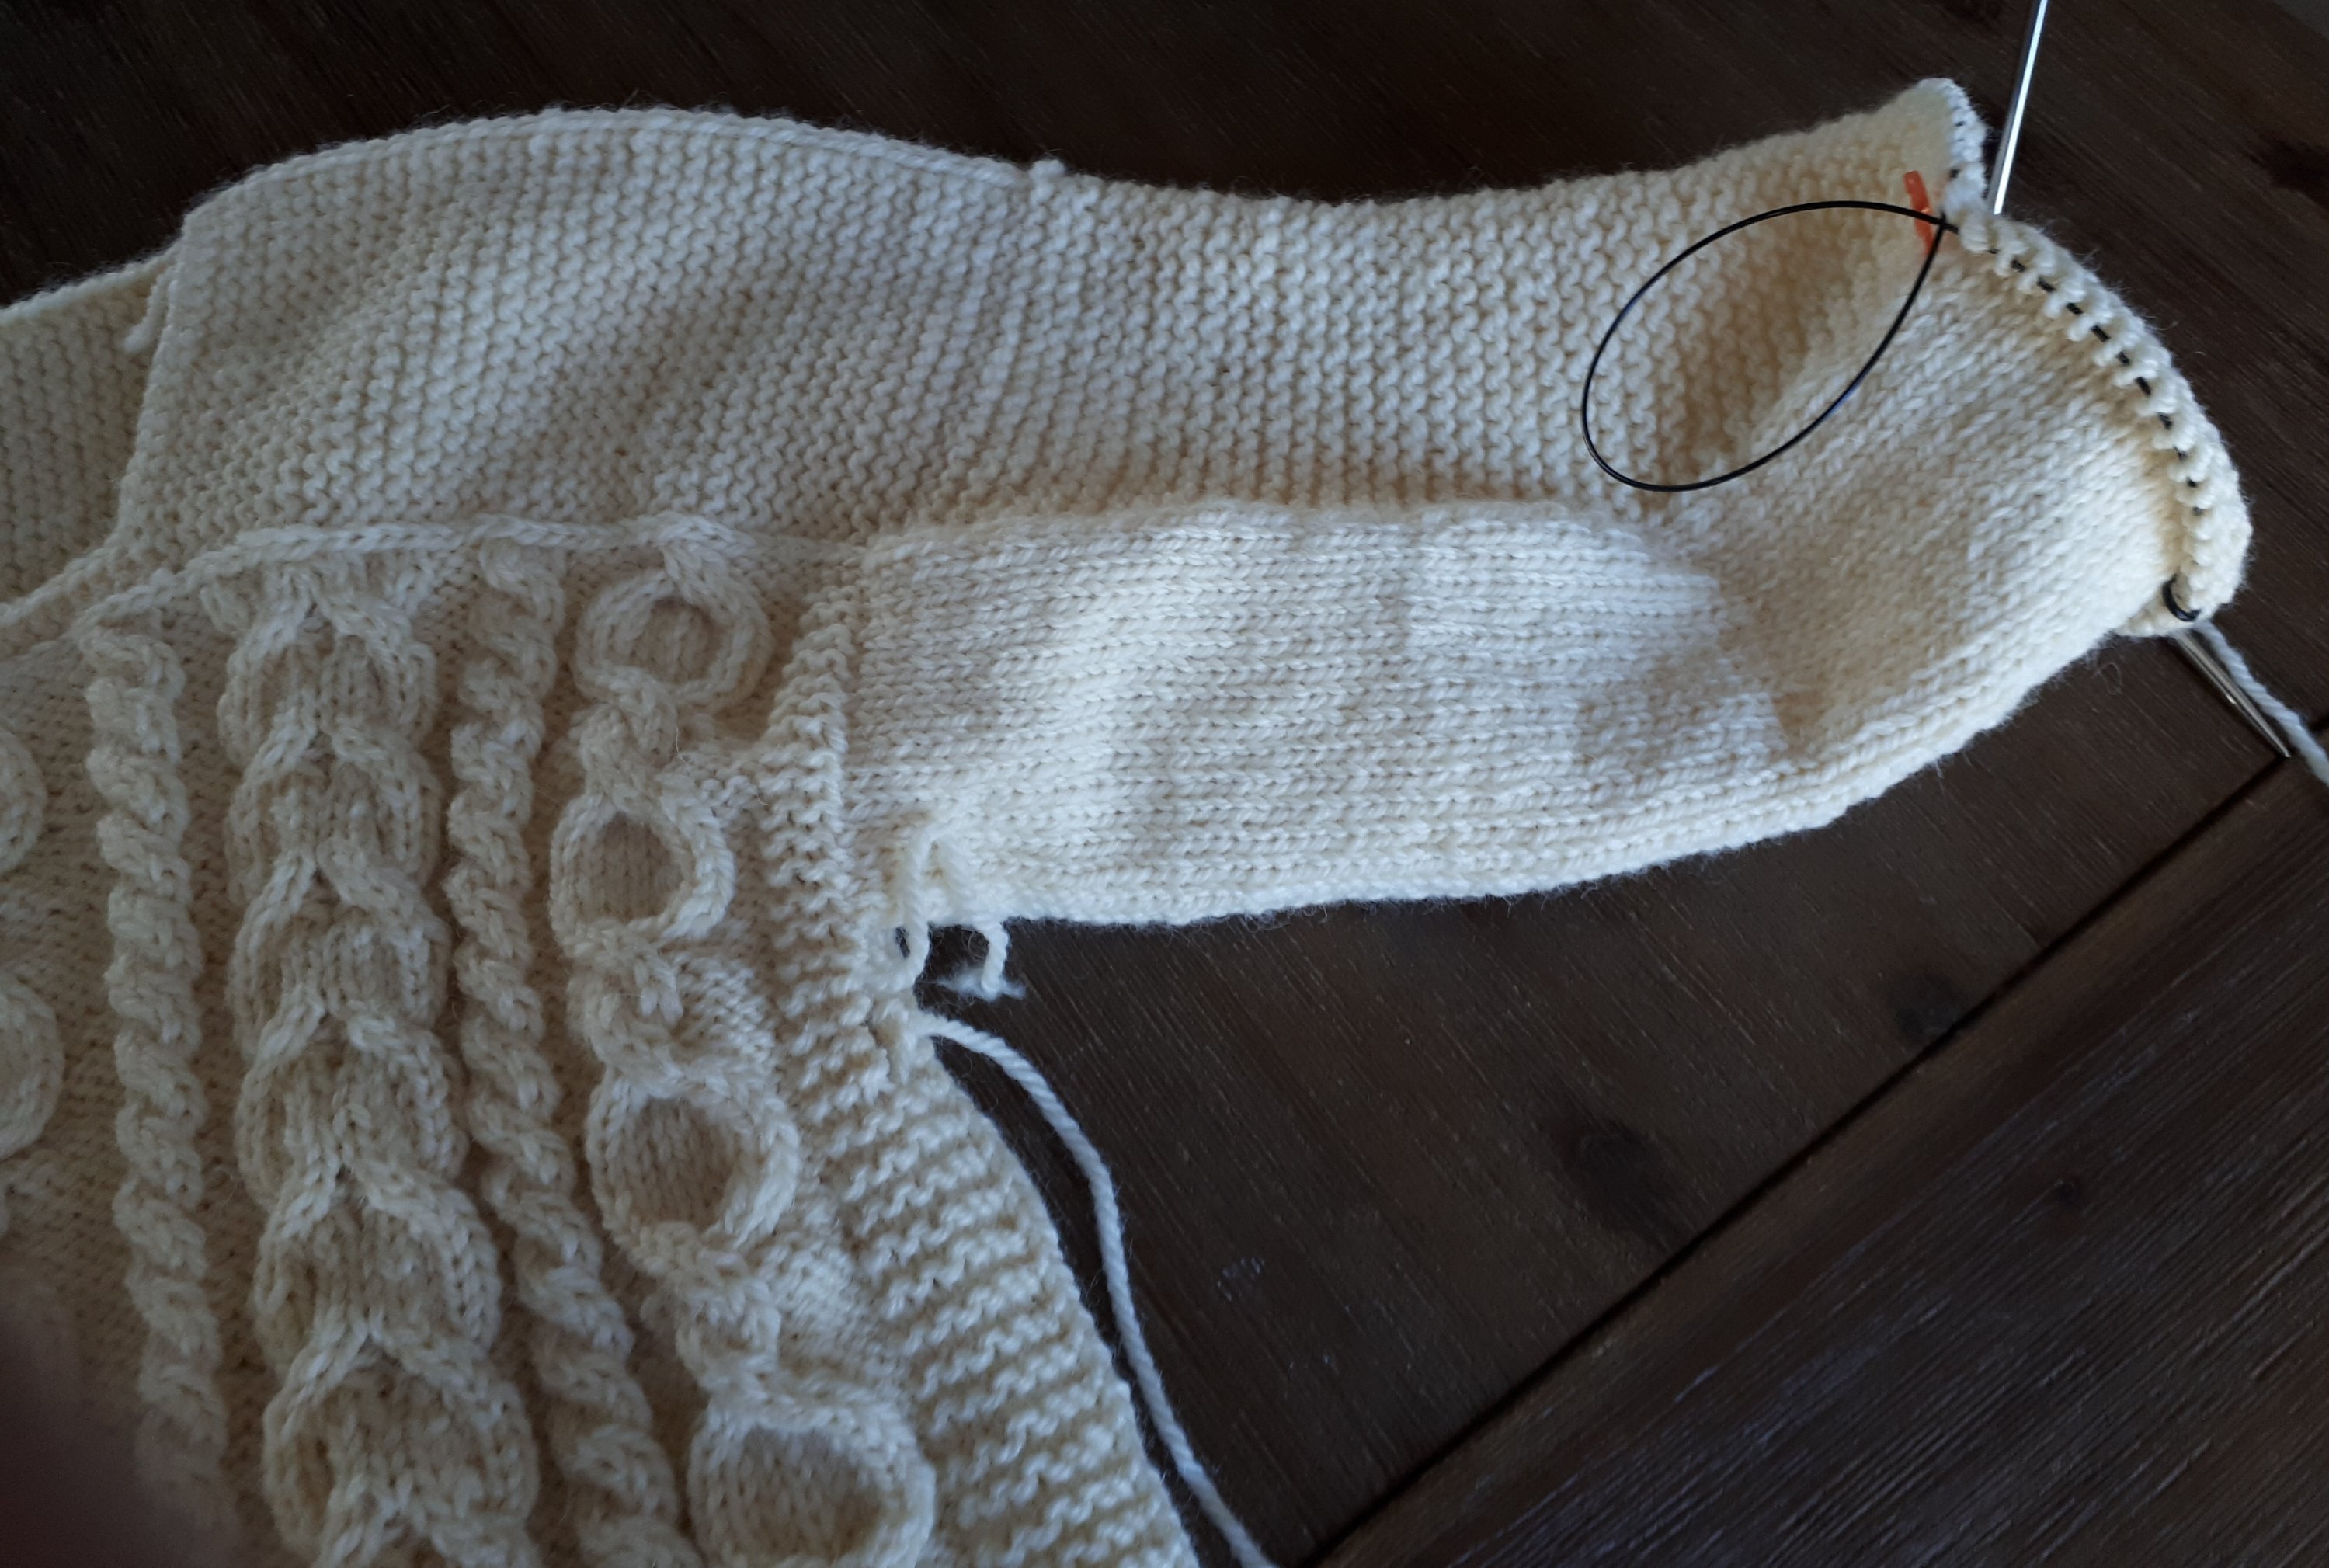
The gansey above is knit bottom up with the saddles worked last. My Saddle Up is turned on its head. It’s worked mostly top down, for any gauge of yarn, and for any size. The saddle is worked first, from one shoulder to the other. The width of the saddle is used to determine the final size of the pullover. Then stitches are picked up off of the edges of the saddle and the rest of the pullover is knit down.

It’s curious how the mind works. I started with a very vague idea about that garter stitch saddle and then wondered how I could make it Gauge-Free and for any size. There we have it, two sweaters with similar saddles but each worked with a different style of construction.

I hope you are also enjoying your knitting through this cold winter. Cheers, Deb

Any Gauge and Gauge-Free patterns by Deb

Second Sleeve

I’m enjoying some good timing. My internet is back, yay. The month without it was very weird. We got into reading which was great but because we don’t have cable, we usually stream our tv watching, very little knitting got done.

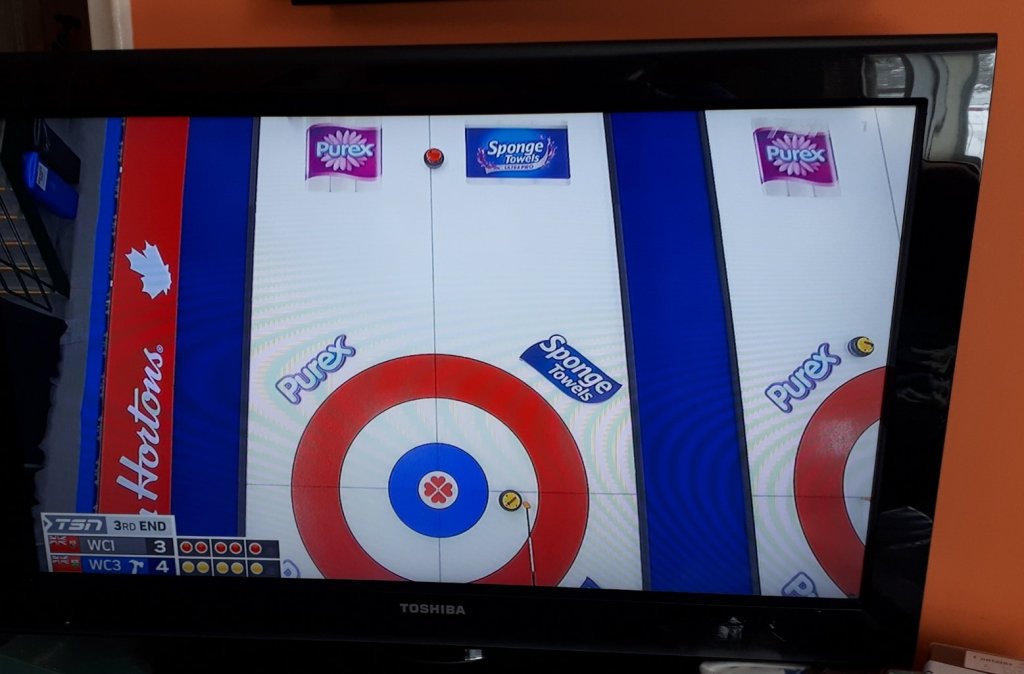
Now the Scotties (the women’s curling national championship) is on and I’m on my second Saddle Up sleeve. Is that perfect or what?! https://www.ravelry.com/patterns/library/saddle-up

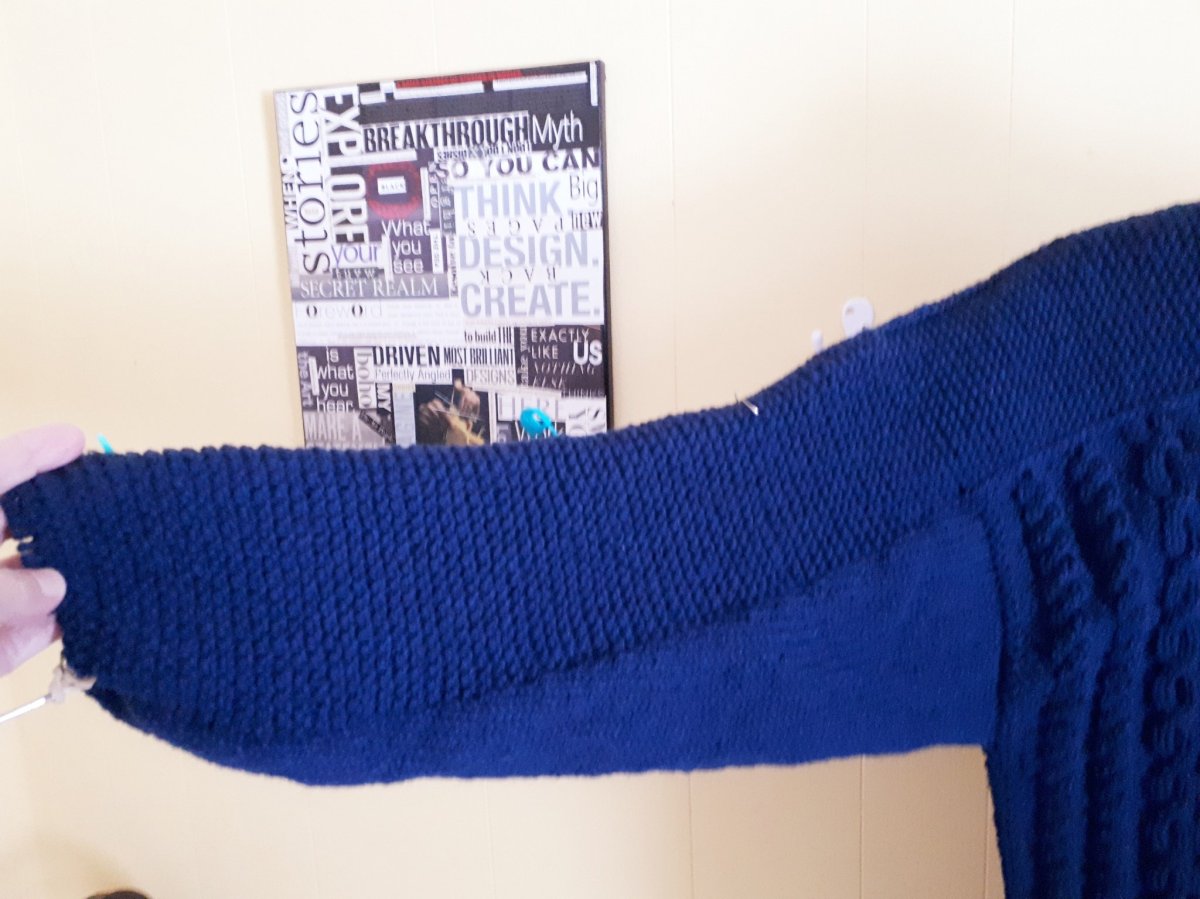
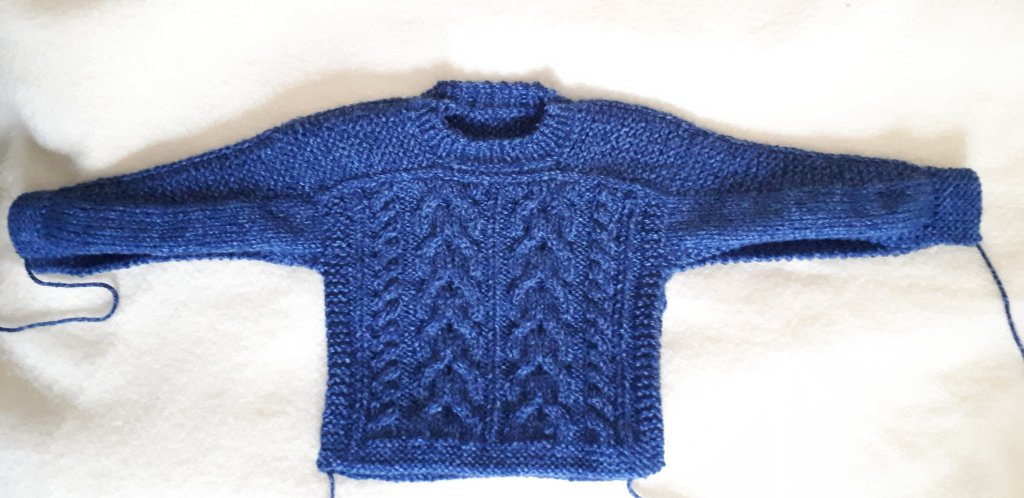
I am working these sleeves slightly differently just to try something new. I’m working the sleeve decreases in the stockinette section on the underside of the sleeve instead of decreasing in the garter stitch panel on the top, as I did in the first two Saddle Up pullovers.

I worked some short rows in the garter stitch section to compensate for the different row gauge. I’m not sure I like it as much as decreasing the garter stitch panel.

The game is back on, so I have to go.

Bye, Deb

Any Gauge and Gauge-free patterns https://www.ravelry.com/stores/debgemmellmods