What do I want this cardigan to look like? That probably matters, right? For me, the challenge is the construction, but in the end the sweater has to be something you want to put on, LOL.
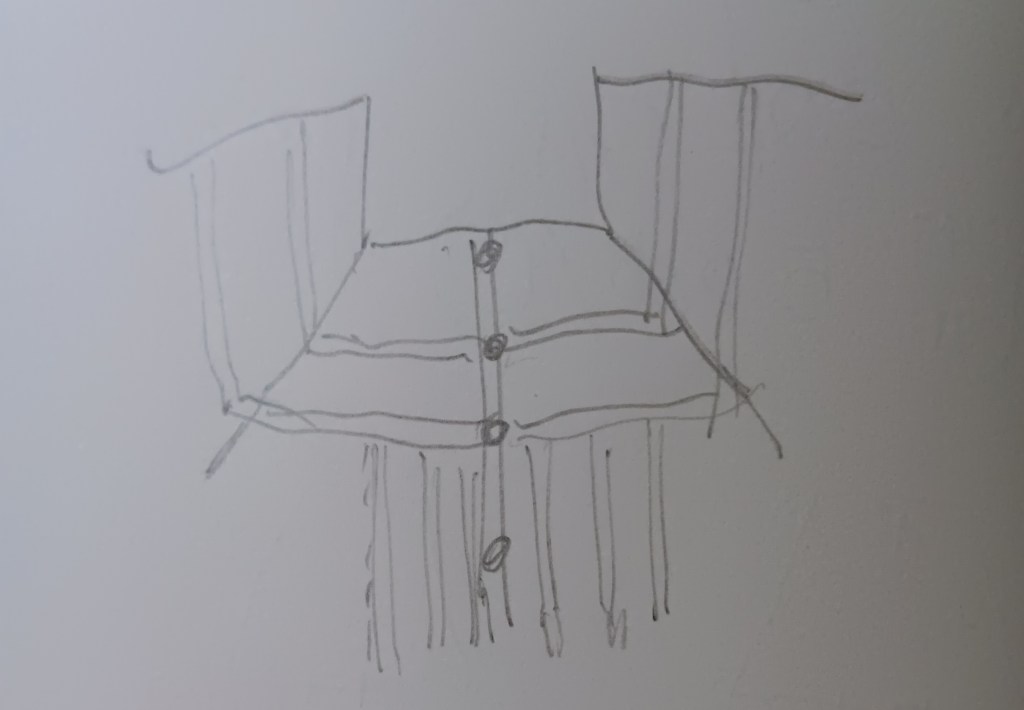
This is the general idea.
Time to do some swatching. Quite frankly, not my favourite activity but I persevered for several mornings, trying out some different ideas.
I did sort out what I liked and didn’t like (more in the video below). Now this cardigan is going places. It’s so much fun to knit.
Here’s how it starts in my head (read this really, really fast because that’s how it sounds to me in my head): I should give the knitter an easier version, yes, I could do that, I’ll knit a chunky version, that will be faster, fast is good, it could have a garter stitch neckband, yes, that will work, that’s easier, and where am I going to add in the extra bust stitches that I and lots of knitters need (?), where can I put them … under the last set of double ridges (?), right that would work, I could add in more double ridges and then that would give the knitters some additional control over where that last double ridge lands, yes, ok, I’ll do that on this chunky weight version, that will look great.
And then I start because how long can one listen to all that chatter and not cast on?!
And I hate it.
I’m not enjoying the knitting. I don’t like the garter neckband. I don’t like the garter buttonbands. This looks really plain to me. I had a fancier cardigan in mind, something summery, with stitch pattern panels running vertically down the fronts. The garter stitch is not doing it for me.
On the positive side, I do like the yoke with more double ridges. And I tried adding extra stitches on the Fronts for extra bust width and that worked too. So I’ll be adding those options in the Mods Pages.
And now, don’t look, it’s getting ripped out.
The good new is there is progress on the yellow cardigan. It’s bright and cheerful and a pleasure to knit.
I do have some thoughts on where I want to go from here. Some sort of panel of vertical stitches running down from the double ridges.
Here is some chat about where I am on this cardigan.
Now that the fog has cleared, I’m on to deciding on a stitch pattern. Haul out the stitch dictionaries, here I come. Cheers, Deb
I am on to a new idea: a cardigan with a square neck opening. It will be a pseudo crew neck, I guess.
I’m also experimenting with videos. There are three here. Let me know what you think. It’s so much easier for me to talk, rather than write, about a new idea. (You may have to turn the volume up. No idea how all this works yet.)
The Back of Neck is 2″ narrower than the two fronts added together, as they would be if they were buttoned up. It will be interesting to see how the neck fits.
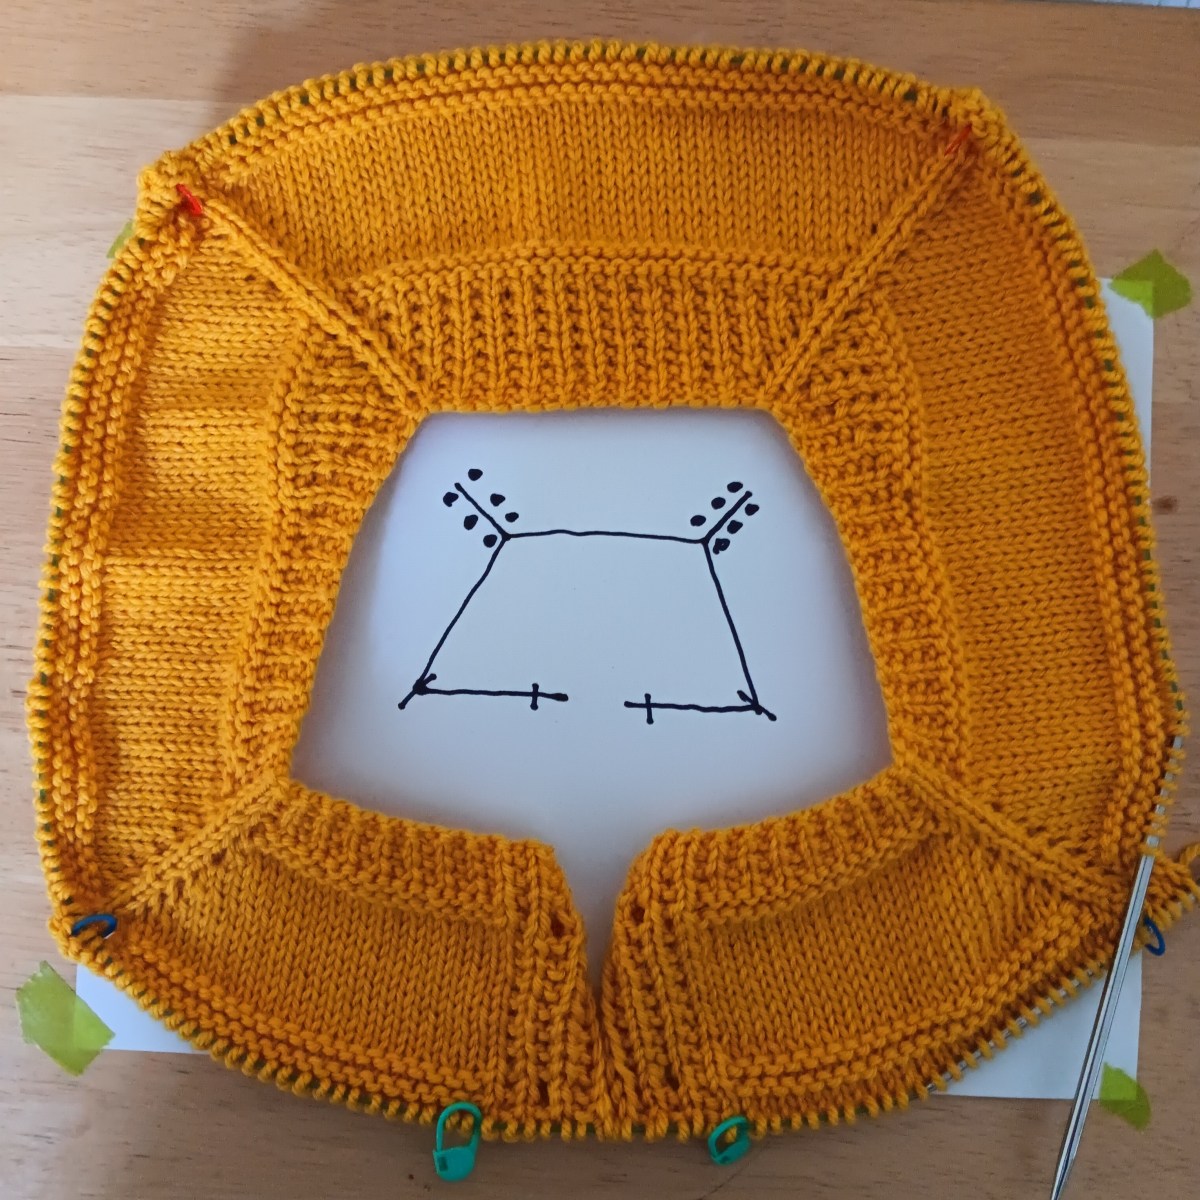
Here is the cast on with green raglan markers in place and two yellow markers to delineate the buttonbands.
Here we go, my first try with the short rows across the back of neck. They seem to be working fine.
I did a video of a really easy way to work short rows in a ribbed neckband.
I’m excited. Are you on the edge of your seat? LOL!!! Cheers, more next time. Deb
Sometimes, when you’re stuck, the best thing to do is cast on something new.
The writing for my v-neck cardigan is not going well. There is nothing wrong with the sweater, it’s done, just the writing part is stuck, stuck, stuck. I am dithering about my next sweater project, and … just generally indecisive. What sweater should I wear? Is it still cool enough to wear wool socks? What’s the weather like today anyway? Should I go for a walk or a bike ride? Is it raining? Sigh, it’s been that sort of week.
Quite often, when I have a deadline, I lose interest in my project. It becomes work and not play. Does this happen to you?
You would think, that giving myself deadlines wouldn’t work this way but it does. I guess, trying to do anything knitting-wise in a hurry is not a good idea. Making knitting fabric is just slow going and trying to move it along faster is frustrating. I also find the same thing with writing patterns. Forcing the writing doesn’t make it go any faster in the long run.
I have been pushing myself to finish this Any Gauge V-Neck Cardigan. Last night I went on a 5 hour Youtube binge to get the last of the sleeves done. I’m tired today but happy to show you it is done, or mostly. I have to sew in ends and find some buttons but the knitting is finished.
But … I bet you saw that coming, the writing is stalled big time.
If I got you started with the V-neck, I bet, with a few photos, you could finish the rest, right? I’m sure you could.
I’m going to give myself a week off, look for some buttons, maybe sew in the ends (that might be a stretch), knit on my socks and see if the writing improves next week. Note to self: having some finished sweater photos would help a lot.
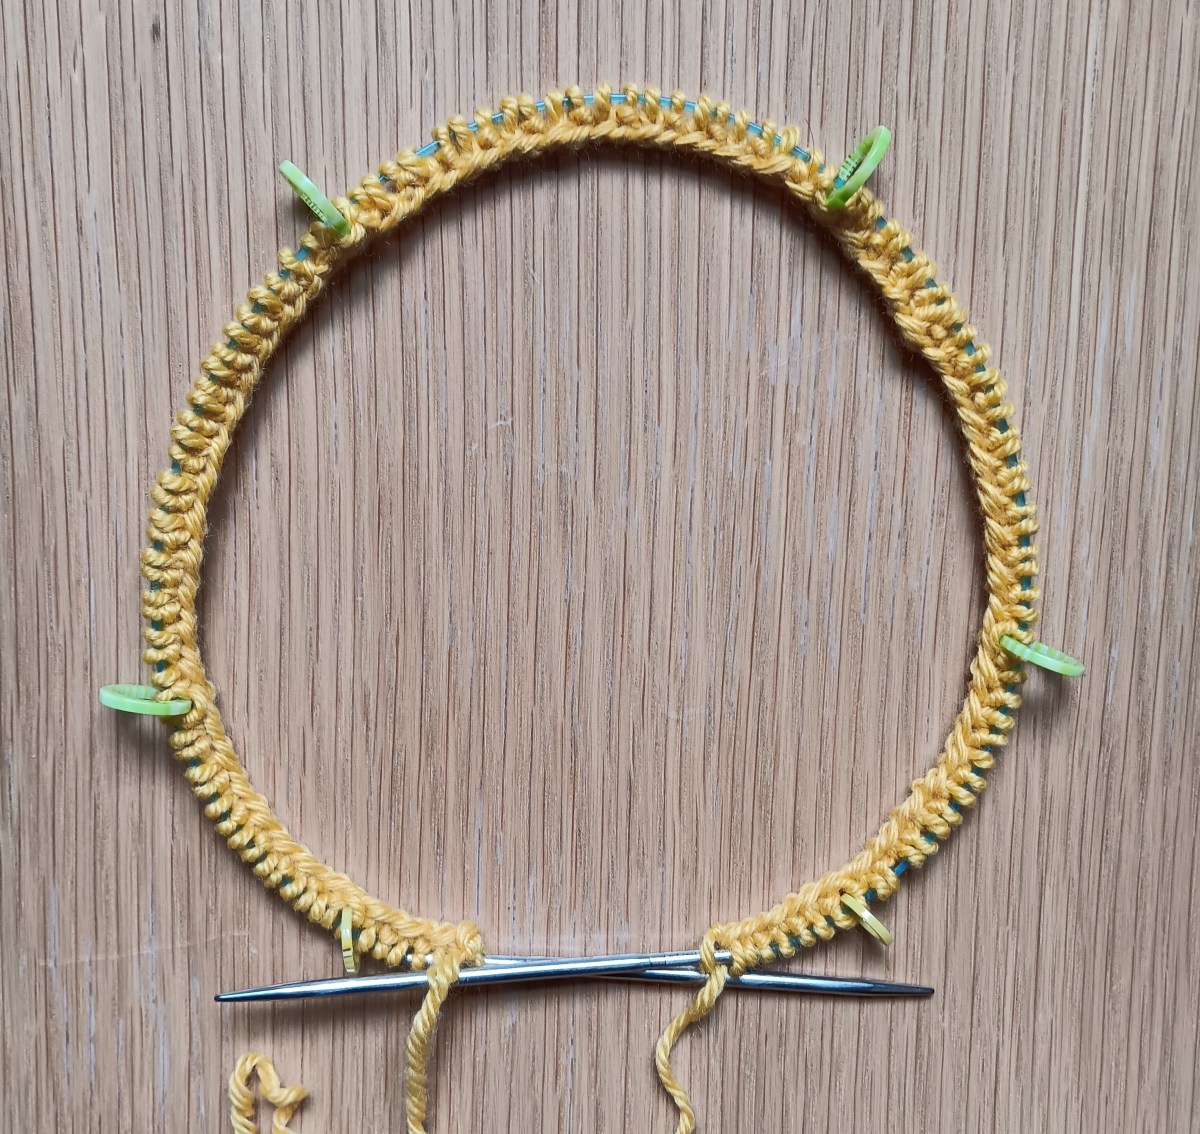
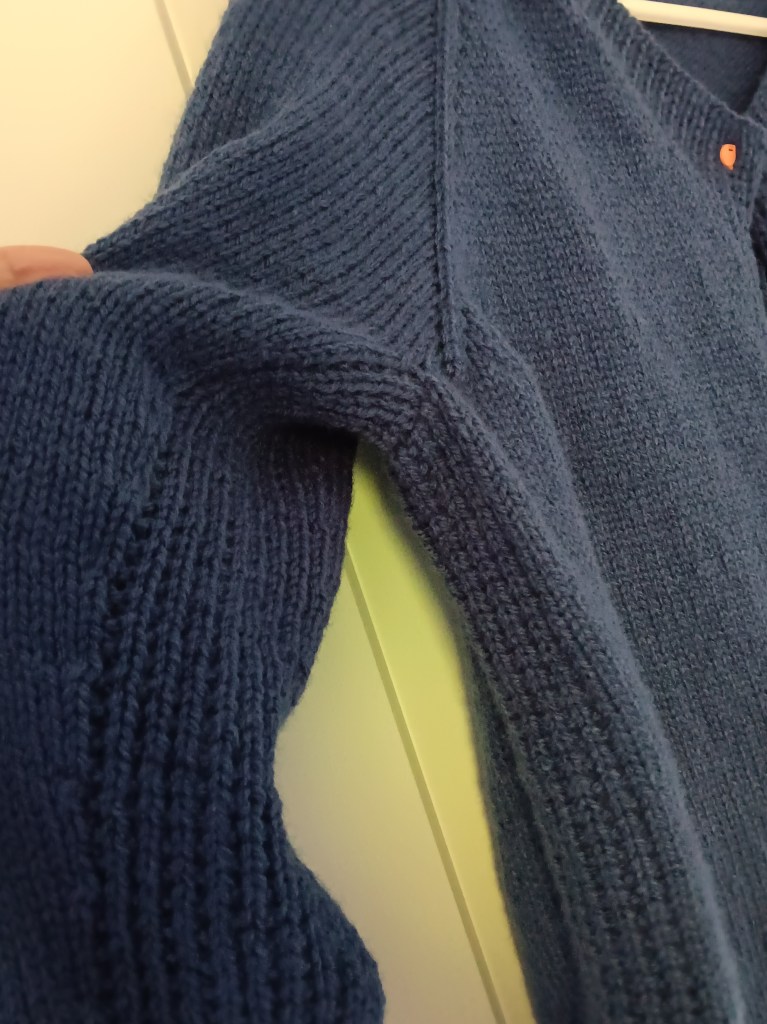
My favourite way to begin a Top Down garment is with the ribbed neckband. I’m not enamored with picking up stitches around the neck opening and would rather just jump right in and get going.
This is going to be a new Any Gauge project: a V-neck cardigan.
The Back of Neck in this type of Top Down tends to stretch. I have been experimenting with ways to make a firm edge across the Back of the Neck on the last row of the ribbed Neckband. Here it is.
Let me know if you try this. I think it’s working for me.
Walk away from knitting for a bit? No, no, no, of course not. You cast on something else.
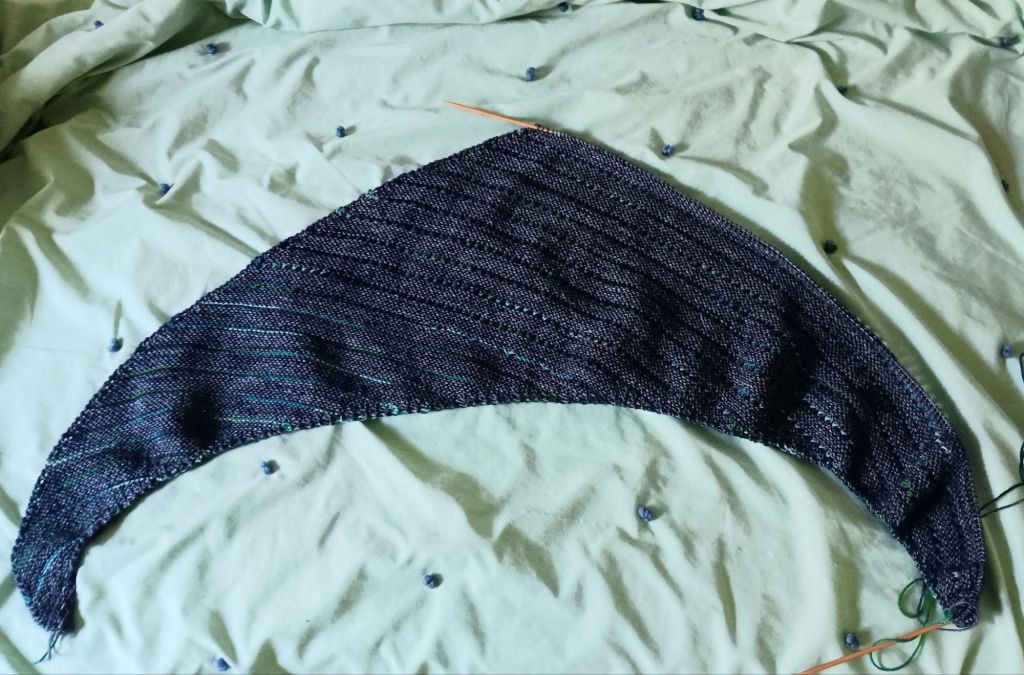
I was thinking about a small project, but what jumped onto my needle was a shawl. Not a small project, sigh.
It wasn’t actually as straightforward as that. I had some navy, hand-dyed sock wool and cast on for socks. A small project, at least small in size, to carry around.
The yarn had cashmere in it, and after I knit the cuff, I thought maybe cashmere is sort of wasted on socks, so I ripped it out and here I am.
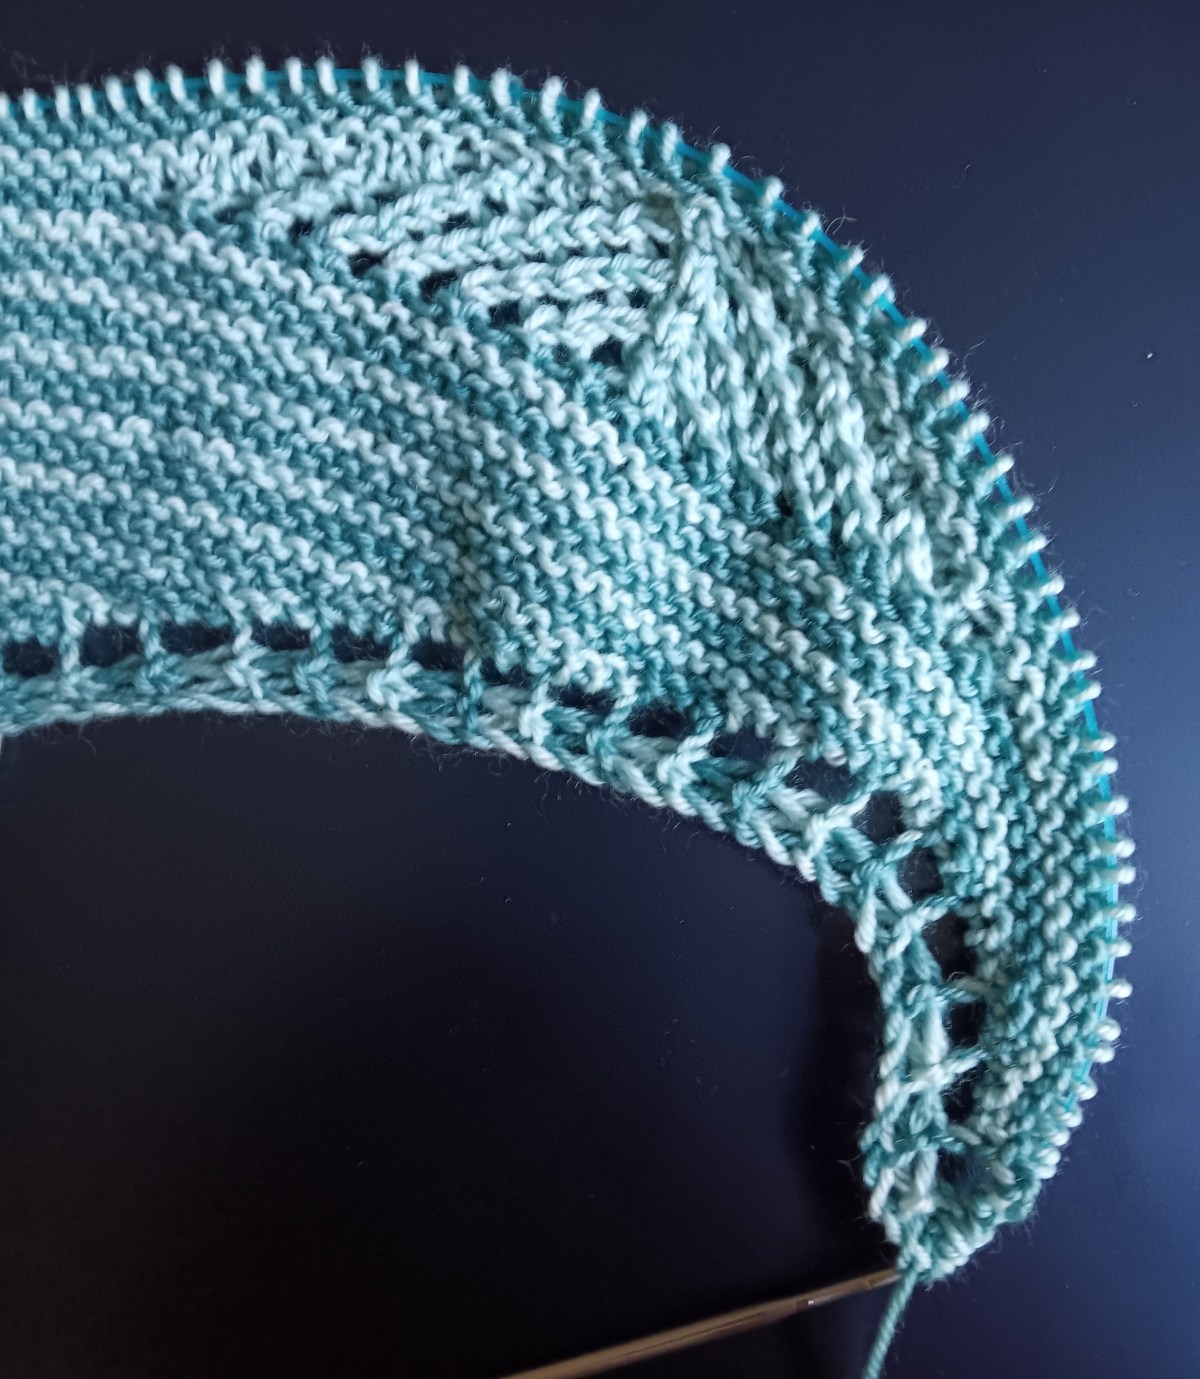
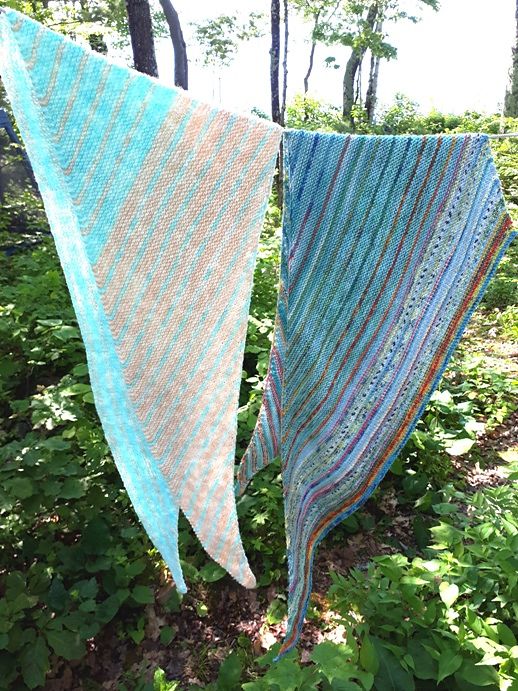
This is the Magic Symmetry Shawl, knit starting at the side with 3 stitches with increases worked on the leading edge.
This usually makes an asymmetric shape, but this is going to be symmetrical when it’s done, wider than it is tall. To my mind this makes it so much easier to wear.
I figured out a new stitch to add to the pattern. Doesn’t this show off the contrast colour?
I thought I would knit eyelets in the contrast colour rows. I worked [Yo, K2tog] and found I liked the wrong side better. So now I knit the right side row and on the wrong side row work [Yo, P2tog]. So happy with how this looks.
I’m stashbusting. I have quite a few 50g skeins of Shelridge 80/20 fingering wool and it’s going into a cardigan.
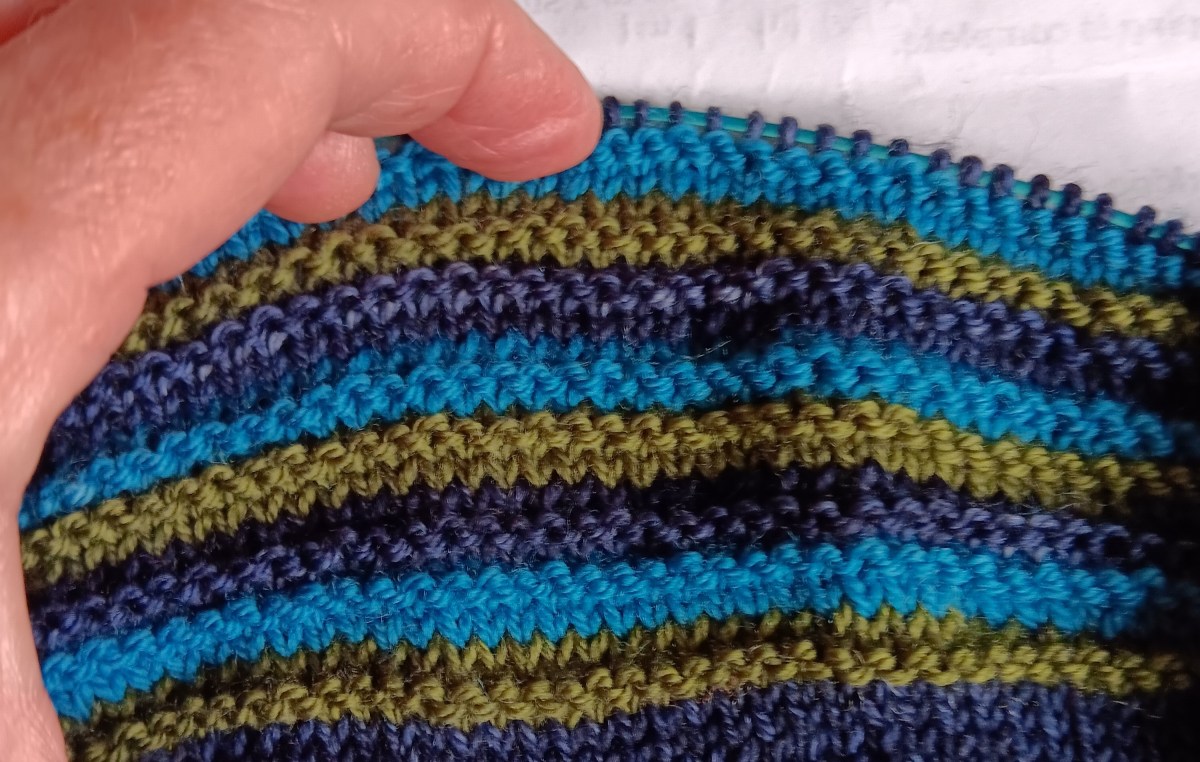
I’m going to work 3×3 stripes. Three colours, three rows of each. This is especially terrific if you are working back and forth. You’ll see why very soon.
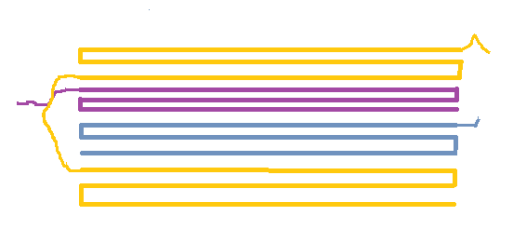
Getting started is fairly straightforward. Three rows of each of the three colours: yellow, blue, and ending with the purple on the left side.
Now for the next stripe: Yellow.
On the left side, when I finish the purple stripe, the yellow yarn is ready to work. There is no other colour strand available. The yellow stripe will end on the right side. What colour is available to knit with on the right side? You got it. The blue is available.
Three more rows of blue finishes on the left, and the purple is there waiting to be worked.
Is this not perfect? Each time you finish a 3 row stripe, the next colour is there waiting in the wings for you to pick up and continue.
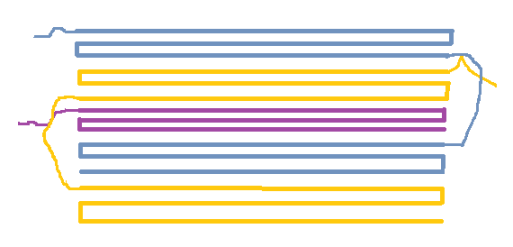
You can twist the waiting colour around the colour you are working with once during each stripe to keep the carries neat and tidy. You are carrying yarn up both front edges of your cardigan. I think this is a great advantage. I always worry if carrying the colours up only one side that that side will tighten up. This way they are even.
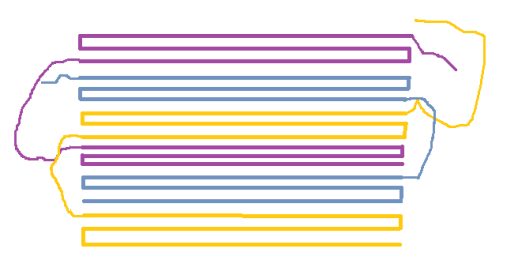
To add some extra interest to the 3×3 stripes, on a wrong side row, I knit one of the rows of each stripe to get some texture happening. It also cuts down on the amount of purling I have to do on this cardigan.
This little 4 year sized Family Crew Neck sat for quite a while because I didn’t know how to do the sleeves.
The colour fade yarn was great. I had already bought a second ball to do the sleeves.
I wound off the lime green, yellow and into the orange of the second ball of yarn.
I wound up all the orange into a separate ball. Then, I wound off some of that orange ball to make 2 equal sized balls. I knit one sleeve and then the other until the length of the orange in the sleeve was as close as I could get it to the body.
Then I did the same with the red and then again with the purple.
Yes, it was time-consuming, but I’m really happy with the result.